
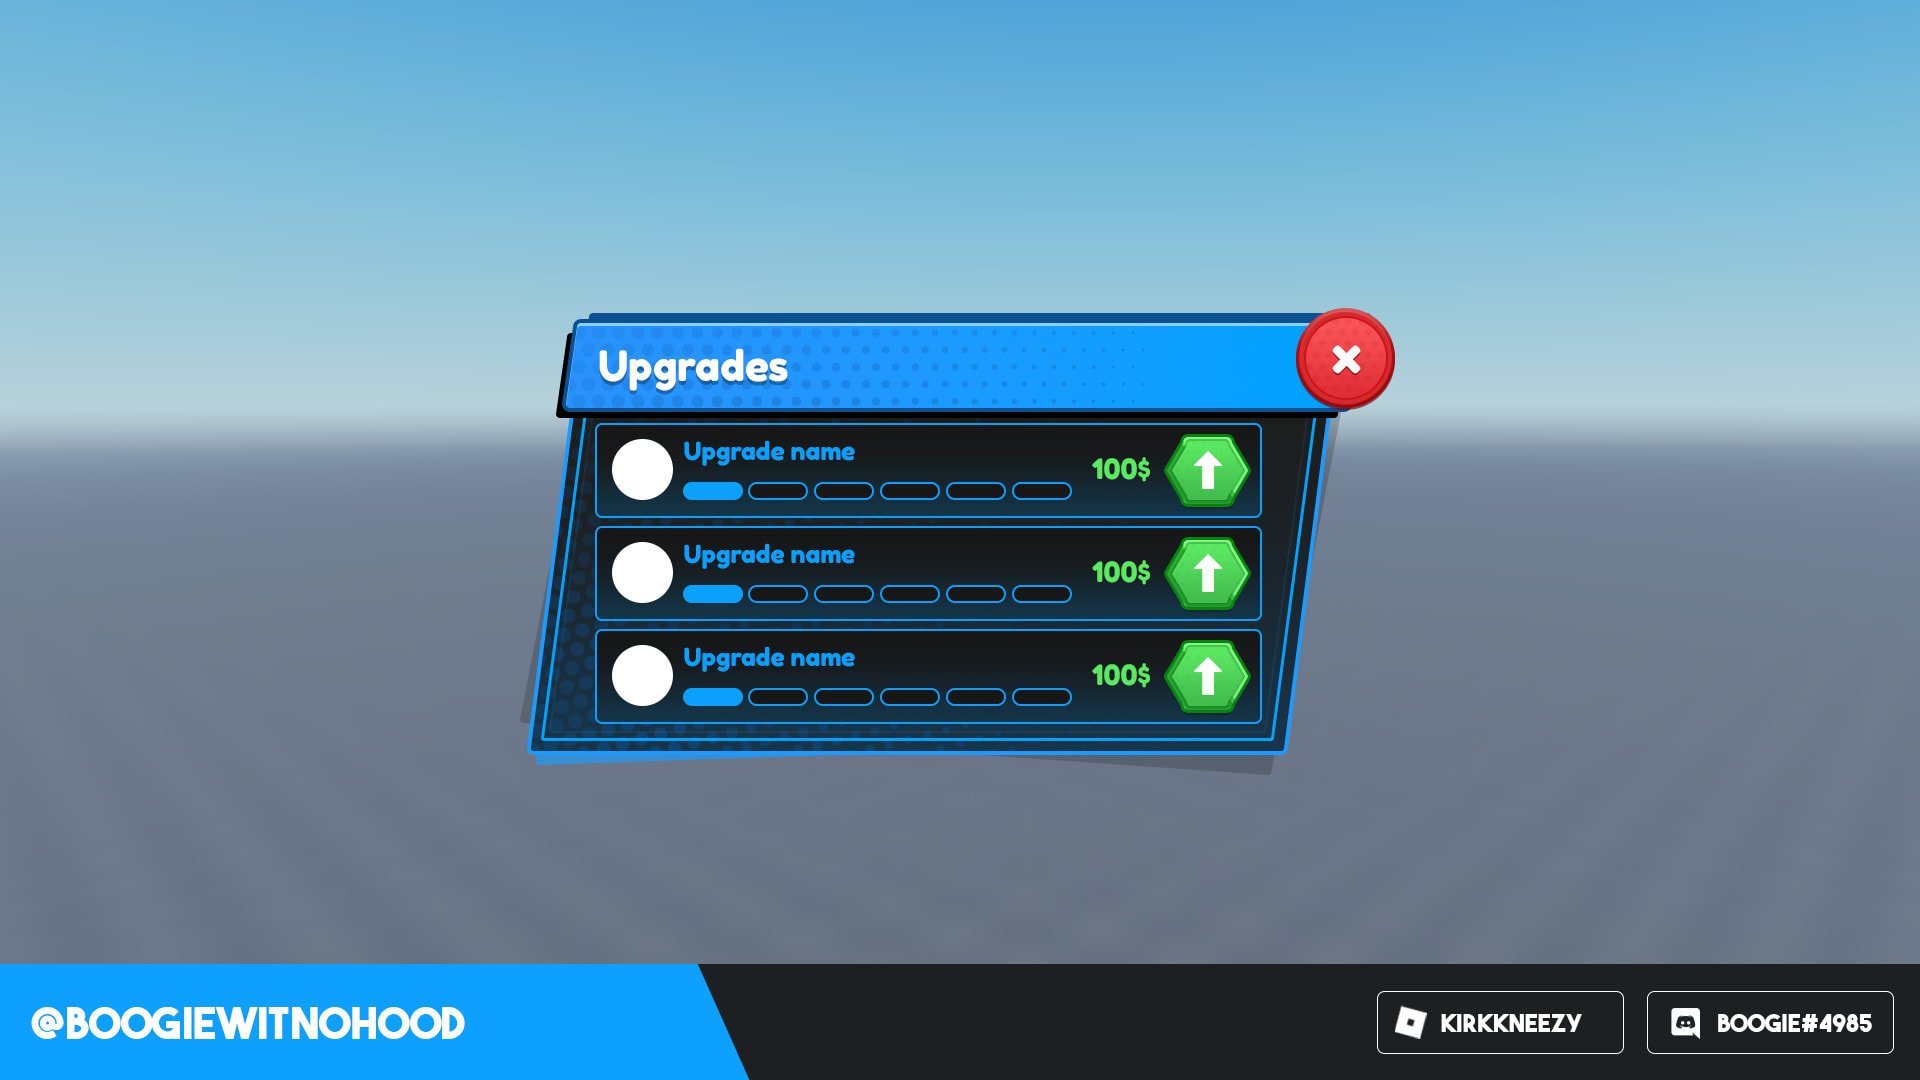
Creating advanced UI in Roblox Studio requires using scripting for dynamic behaviors, manipulating frames for complex layouts, and employing UI elements like scrolling frames for enhanced user experience.
Have you ever wanted to build interfaces that feel truly professional in your Roblox game? You can achieve amazing things by creating advanced UI in Roblox Studio.
It’s not just about basic buttons anymore; it’s about crafting interfaces that adapt, animate, and engage users. Let’s explore some techniques to get you there.

Creating Advanced UI in Roblox Studio
Making cool user interfaces (UI) in Roblox Studio can really make your games stand out. It’s like giving your game a beautiful and easy-to-use control panel. We’re not just talking about simple buttons here. We’re diving into the world of advanced UI, where things move, change, and feel super smooth.
Understanding the Basics of Roblox UI
Before we jump into the fancy stuff, let’s quickly review the basic UI elements. Think of these as your building blocks. You’ve got frames, which are like containers to hold everything. Then there are text labels for words, buttons to click, and image labels for pictures.
These are all found in the ‘ScreenGui’ object, which is like a canvas for your UI.
ScreenGui and its Importance
The ScreenGui is the main container for all your UI elements. It’s what makes your UI visible on the screen. If you don’t have one, you won’t see any UI. So, it’s a super important first step.
Exploring UI Elements
Let’s look at some essential elements. Frames act as backgrounds or containers. Text labels show words and titles. Buttons let players interact. Image labels display pictures or icons.
- Frames: The backbone of your layouts.
- Text Labels: Used for displaying text.
- Buttons: For user interactions like clicks.
- Image Labels: For icons and pictures.
Taking UI Beyond Simple Elements
Now that we know our basic building blocks, it’s time to add some pizzazz. We will make our UI more engaging and interesting. We will go beyond static frames and buttons to make moving, dynamic interfaces.
Animations for UI
Animations can make your UI feel alive. Instead of just appearing, UI elements can slide in, fade, or bounce. This adds a touch of professionalism and fun to your game.
To add animations, you will need to use scripting. We will use TweenService, a tool to animate property changes smoothly.
For example, when you click a button, a panel can slide from left to right instead of just appearing. Here is a simple animation concept:
- A Menu appears with a slide in animation.
- Buttons fade in when a menu is opened.
- UI elements pulsate on hover.
Using Scrolling Frames
Sometimes, you have more information than can fit on the screen. This is where scrolling frames come in handy. They allow users to scroll through content, which works well for inventories, options menus, or long lists.
To make it scrollable, you place the content inside and set the size properly. You need to make sure the canvas size is bigger than the frame size.
Creating Custom UI Elements
Don’t be limited by the default elements. You can combine simple UI elements to create entirely new ones. For example, you can make a custom slider using a frame, a button, and a little bit of scripting. This way, you can make a unique UI style for your game.
You can make custom sliders, radial menus, and progress bars by combining basic elements with scripts.
Advanced UI Design Principles
It’s not just about making UI elements work; you also need to make it look good and be easy to use. That’s where design principles come in.
Consistency
Keep a consistent style throughout your UI. Use the same colors, fonts, and spacing. This makes the UI feel polished and professional.
Readability
Make sure your text is easy to read. Use clear fonts and colors that contrast well with the background. Players should be able to quickly understand what each element means.
Avoid using too much text, and instead prefer using images or icons.
Responsiveness
Your UI needs to work well on different devices, such as phones and tablets. Use scale and offset to make it fit in different resolutions. Make sure elements don’t overlap each other.
Anchor points are very important when creating responsive UI designs.
Implementing Advanced UI Features
Let’s dive into some advanced ways to make your UIs work better and look better. We will cover themes, dynamic changes, and even UI states.
Theming and Customization
Theming lets players change how the UI looks. This can be a big selling point for your game. For instance, players could select a dark or light theme. This feature also lets you add player-specific colors.
You can use scripts that changes colors and styles based on user preferences or game settings. These kinds of advanced customization allows the player to make their own kind of gameplay style.
Dynamic UI Changes
UI doesn’t need to stay static. It can change based on what’s happening in the game. For instance, a health bar can go down as a player takes damage.
This is done with scripts that update the properties of your UI elements based on the game’s data. A progress bar can update with mission progress, or inventory panels can show items collected.
UI States and Transitions
UI states are different modes for your UI. Think of a menu that has “Normal”, “Hover,” and “Click” states. Each state can show the UI differently. Transitions are when you move smoothly between these states.
This is also achieved with scripting that changes the looks of your UI based on user actions. Buttons can get brighter on hover, and the whole menu can zoom on hover too.
The following shows states and transitions example:
- A button changes color when you hover your mouse over it.
- A menu smoothly slides in from the side when the menu button is clicked
- A character panel fades in when a character is selected.
Scripting for Advanced UI
Scripting is the secret sauce for making advanced UI. It allows you to do more than just display static elements. It allows you to add functionalities, dynamism and other features that enhances the gameplay.
Using Lua to Enhance UI
Lua is the language used in Roblox Studio for scripting. It allows you to connect your UI elements with game logic. For example, when a button is clicked, you can use a script to trigger an action in the game. This makes the UI interactive and fun.
Lua can help implement dynamic changes, animations and other features.
For example, this script can make a button bigger when the mouse hovers it.
lua
local button = script.Parent
local originalSize = button.Size
button.MouseEnter:Connect(function()
button:TweenSize(originalSize 1.2, “Out”, “Quad”, 0.2)
end)
button.MouseLeave:Connect(function()
button:TweenSize(originalSize, “Out”, “Quad”, 0.2)
end)
Handling User Input with Scripts
Scripts let you handle user input like mouse clicks, keyboard presses, and even touch gestures. When a player clicks a button, your script knows about it and you can tell the game what to do. This makes your UI feel responsive and alive.
You can use these types of user input with scripts:
- Mouse clicks for buttons and selecting items.
- Keyboard presses for shortcuts and movement.
- Touch input for mobile interaction.
TweenService for Smooth Animations
We talked about animations earlier. TweenService is how you make them happen smoothly. It animates properties gradually over time. TweenService makes things like sliding menus, fading in and out of elements, and bouncing buttons possible and easy.
Without TweenService, changes would be sudden and jarring. It makes your animations feel smooth and fluid.
Practical Examples and Walkthroughs
Okay, let’s make things more hands-on. We will go through a few examples to give you a feel for creating advanced UI. These examples would illustrate the previous concepts we talked about.
Creating a Dynamic Health Bar
First, let’s make a dynamic health bar. We will use a frame for the background and another frame to show the health. A script will change the width of the health bar based on player’s health.
First you create the health bar with two frames. One frame will be a background for the health bar. Another frame will represent the health itself. Change the color of these frames based on what you want them to be.
Next, make a script that updates the health bar according to a players health value.
lua
local healthBar = script.Parent.HealthBar
local player = game.Players.LocalPlayer
local character = player.Character or player.CharacterAdded:Wait()
local humanoid = character:WaitForChild(“Humanoid”)
humanoid.HealthChanged:Connect(function(health)
local healthPercentage = health / humanoid.MaxHealth
healthBar.Size = UDim2.new(healthPercentage, 0, 1, 0)
end)
Building a Slide-Out Menu
Now, let’s make a slide-out menu. This involves a frame that is initially hidden off-screen. A button will trigger it to slide into view. We will use TweenService for the animation.
First, create a frame for your menu. Position it outside the screen. Add buttons and other UI elements to the menu. Create a button that activates the menu.
Next, add a script to control the menu’s animation. The script moves the menu into the screen when the user clicks the menu button.
lua
local menuButton = script.Parent
local menuFrame = script.Parent.Parent.MenuFrame
local isMenuOpen = false
local hiddenPosition = UDim2.new(-0.3, 0, 0, 0)
local visiblePosition = UDim2.new(0, 0, 0, 0)
menuFrame.Position = hiddenPosition
menuButton.MouseButton1Click:Connect(function()
isMenuOpen = not isMenuOpen
if isMenuOpen then
menuFrame:TweenPosition(visiblePosition, “Out”, “Quad”, 0.3)
else
menuFrame:TweenPosition(hiddenPosition, “Out”, “Quad”, 0.3)
end
end)
Creating a Customizable Inventory Panel
Finally, let’s create an inventory panel with custom icons. We will use a scrolling frame for the items, each with its own image. A script will populate the panel with the current inventory.
Create a scrolling frame that allows the player to see all the items. Add a button that can trigger the panel to appear and dissapear. Make a script to populate the inventory panel with icons.
You can customize the inventory panel in this way:
- Add different types of items with icons.
- Set the panel to update when an item is collected.
- Make the player able to select or use items from the panel.
These examples will get you started on making advanced UIs for your games.
Making advanced UI in Roblox is a great way to make your game unique and user-friendly. Remember to experiment and use your imagination to create a UI that fits your game perfectly. Start simple, add animations, and remember to use scripts to make everything work together smoothly. Keep practicing, and soon you will be making really awesome UIs.
Best UI Plugins To Use In Roblox Studio
Final Thoughts
In short, creating advanced UI in roblox studio demands practice and a good understanding of its features. You can build very complex interfaces using techniques like scripting, animation and layout customization.
Effective use of these features directly leads to more engaging experiences for players. Remember that consistent effort and experimentation play a vital role when creating advanced UI in roblox studio.

