
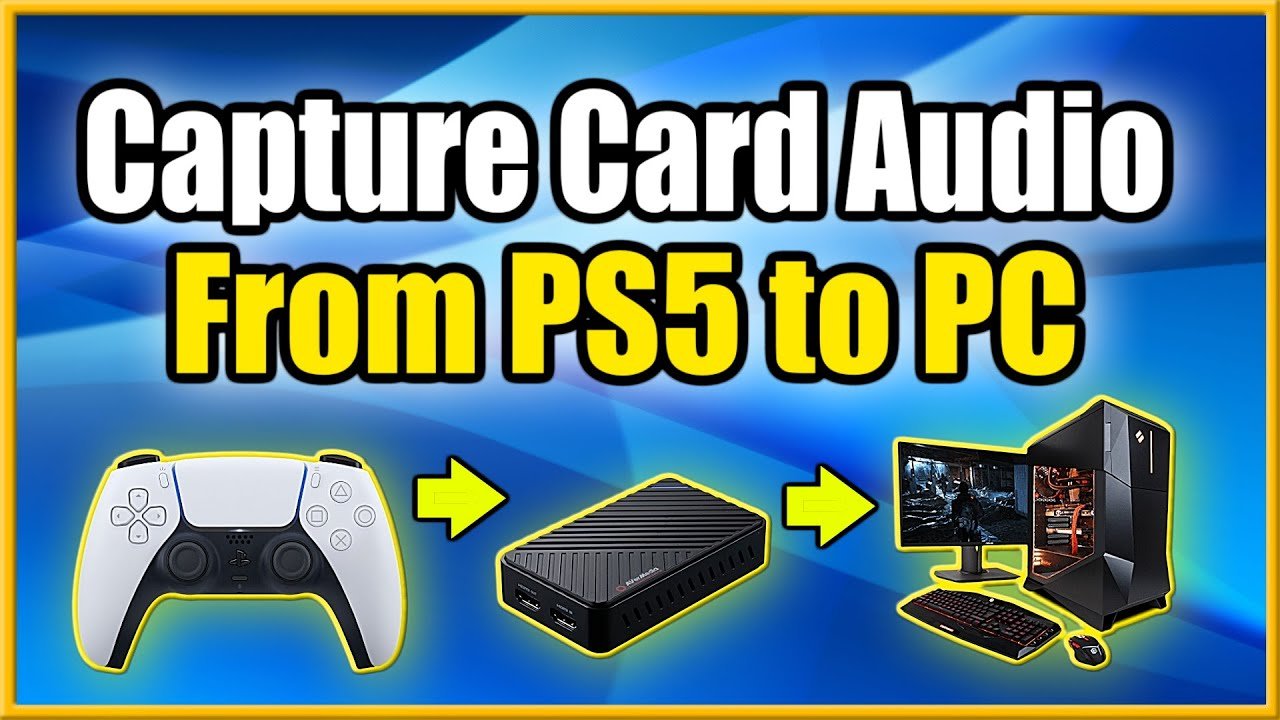
Accessing PS5 game captures on PC requires either a USB drive to transfer them or utilizing the PlayStation app for sharing.
Want to show off that amazing gaming moment to your friends, or perhaps you’re looking to edit them on a larger screen? Many gamers often wonder how to access PS5 game captures on pc. It’s a common question that thankfully has a few simple answers.
The easiest way is by plugging a USB drive into your PS5, copy the captures, and then move it to your PC. The PlayStation app also allows you to share captures, which you can then save from the app onto your computer.

How to Access PS5 Game Captures on PC
So, you’ve had some amazing gaming moments on your PlayStation 5 and captured them, but now you want to share them, edit them, or just keep them safe on your computer? Getting those awesome PS5 gameplay clips and screenshots onto your PC might seem like a tricky job, but it’s actually quite simple once you know the different ways you can do it. We’re here to show you exactly how to get your game captures from your PS5 to your PC, and we will also cover some frequently asked questions related to that.
Understanding PS5 Capture Methods
Before we jump into the how-to, it’s good to know about the different ways your PS5 saves game moments. When you hit that “Share” button, your PS5 can do a few things:
- Screenshots: These are like still pictures of your game. Perfect for capturing that winning moment or a beautiful scene.
- Video Clips: These are short recordings of your gameplay. You can record the last few seconds or even longer, depending on your settings.
Your PS5 saves these captures either on its internal storage or on an external USB drive if you have one connected. Now let’s look at different ways you can access those captures on your PC.
Method 1: Using a USB Drive
This is probably the most straightforward method. You will need a USB flash drive, that should be formatted using exFAT file system for better support. Here’s a detailed step-by-step guide:
Step 1: Plug in Your USB Drive
Start by making sure that your USB drive is connected to one of the USB ports on your PS5. If it’s your first time using the USB drive with the console, the PS5 might ask you if you want to use it as an extended storage for games, just say ‘no’ and proceed. If you already use it as extended storage, it will not be possible to copy captures to that drive, so you should use different USB drive for copying your captures.
Step 2: Access the Capture Gallery
Next, navigate to your games and media section, usually represented by a series of icons at the top of your PS5’s home screen. Find “Media Gallery” (it looks like a camera icon) and select it. Here, you will find all of your screenshots and video clips.
Step 3: Select Your Captures
Browse through your media. Choose the screenshots or video clips you wish to transfer to your PC. You can select multiple captures at once to make the process faster. To select the files, press the Options button on your controller, then choose the ‘Select multiple’ option. After selecting the files, again press the Options button and select the ‘Copy to USB Drive’ option. The system will now copy selected capture to the drive.
Step 4: Safely Remove the USB Drive
Once the copying process is complete, make sure to safely eject your USB drive by going to ‘Accessories’, ‘Controllers’ section of ‘Settings’, choose your controller, choose ‘USB drive’ and then ‘Stop Using USB Drive’. Failing to do so might result in corrupting the data of your USB drive.
Step 5: Connect the USB Drive to Your PC
Plug the USB drive into a USB port on your PC. Your computer should recognize it as a removable storage device, just like any other USB drive.
Step 6: Locate and Copy Captures
Open your File Explorer (or Finder on macOS). Find your USB drive. Inside it, you’ll see folders with your PS5 captures. The folder structure might look something like: PS5/CAPTURE/. Inside, you’ll find your screenshots (usually in .jpg format) and video clips (usually in .mp4 format). Just copy and paste these files to any folder on your PC you wish.
Advantages of using USB Drive:
- It’s a direct method, no internet required.
- It’s relatively fast, especially for smaller files.
- It works with both screenshots and video clips.
Disadvantages of using USB Drive:
- You need a USB drive to start with.
- It might become a hassle to move files this way frequently.
Method 2: Using the PlayStation App
The official PlayStation app for smartphones can actually help you transfer your PS5 captures to your phone and then from your phone to your PC. Here is how it works:
Step 1: Set Up Automatic Uploads on Your PS5
On your PS5, go to ‘Settings’ then select ‘Captures and Broadcasts’. Then, find the ‘Captures’ section, and in this section, enable the ‘Auto-Upload’ option. By enabling the auto-upload, each capture will be saved in the cloud and then you can see it in the app.
Step 2: Install the PlayStation App
If you don’t already have it, download and install the PlayStation app on your smartphone (it’s available for both Android and iOS). Log in using the same account you use on your PS5.
Step 3: Access the Capture Gallery on the App
In the app, tap the ‘Game Library’ option at the bottom, and select ‘Captures’ option in the menu. The application will now show all the available screenshots and video clips that are available from your cloud account.
Step 4: Download Captures to Your Phone
Select the captures that you want to have on your PC. You can select one file or several files together. After selecting all the necessary files, press the ‘Download’ button. The files will now be downloaded to your phone’s gallery.
Step 5: Move Files to Your PC
Now, you have two options for getting those captures to your PC:
- Option A: Using a USB cable. Connect your smartphone to your PC using a USB cable. Navigate to your phone’s storage using your PC’s file explorer. Then, locate the folder containing the photos and videos you downloaded from the PlayStation App and copy them to your desired location on your computer.
- Option B: Using a Cloud Service. You can also use a cloud service like Google Drive, Dropbox, or OneDrive. Upload your photos and video clips from your phone to your preferred cloud storage, and then access and download them on your PC.
Advantages of using the PlayStation App:
- It’s convenient, especially if you already have the app.
- It’s wireless, so you don’t need a USB drive.
- It can automatically upload your captures.
Disadvantages of using the PlayStation App:
- It relies on the internet connection.
- It might take some time to sync and upload files to the cloud.
- You will still need to copy captures from your phone to your computer.
Method 3: Using Social Media or Messaging Services
This method involves sharing your captures to a social media platform or a messaging service and then downloading them on your PC.
Step 1: Share Your Captures
Go to the Media Gallery on your PS5, select the captures you want to transfer, and choose the ‘Share’ option. From there, choose the platform you want to share them to, such as X (formerly Twitter), YouTube, or even a chat on Discord.
Step 2: Access on PC
On your PC, log in to the social media account or messaging service where you shared your files. Then, find your captures and download them. Keep in mind that some services might compress your video files a little bit.
Advantages of using social media or messaging services:
- It’s easy to share your captures.
- You don’t need a USB drive or even the Playstation App.
Disadvantages of using social media or messaging services:
- The quality of captures might be slightly reduced.
- It can take more steps than other methods.
- You might not want to share all of your captures publicly.
Choosing the Right Method
So, which method should you use? It depends on your specific situation:
- For quick, simple transfers: The USB drive method is generally the fastest and easiest way.
- For wireless convenience: The PlayStation App method is great if you don’t want to deal with USB drives and want captures to sync to the cloud.
- For sharing and downloading later: Social media or messaging services can work well if you’re already sharing your gameplay elsewhere.
Tips and Troubleshooting
Here are some extra tips to help you avoid any problems when getting your PS5 captures to your PC:
- Make sure your USB drive is formatted: For the best compatibility, format your USB drive as exFAT. This is usually done by right clicking on the USB drive in file explorer and selecting ‘Format’. Then choose ‘exFAT’ option. But, keep in mind that formatting the drive will delete all the contents present on it, so make a backup of its contents before formatting it.
- Check your file sizes: Large video clips can take a long time to transfer. Consider breaking them down into smaller segments or use USB Drive, as it is generally the fastest way to transfer large files.
- Keep your PS5 updated: Make sure your PS5 has the latest system software. This helps ensure that everything runs smoothly, especially when transferring your captures.
- Restart your devices: If you are having trouble, try restarting your PS5, PC or even your phone.
Getting your awesome PS5 game captures onto your PC doesn’t need to be difficult. With these methods, you can easily move your screenshots and videos for editing, sharing, or safe keeping. Now, you are ready to take your gaming experience to the next level!
How to Transfer PS5 Clips to PC with NO USB NEEDED (Get Clips Fast!)
Final Thoughts
To access PS5 game captures on PC, you’ll first need a USB drive. Format it using exFAT for compatibility. Next, transfer your recorded gameplay from your console to the USB. Finally, plug the USB into your computer to view and edit the files.
This straightforward process lets you easily manage your game captures. Remember the file type is must supported by your video editor. You are now ready to share your best moments.

