
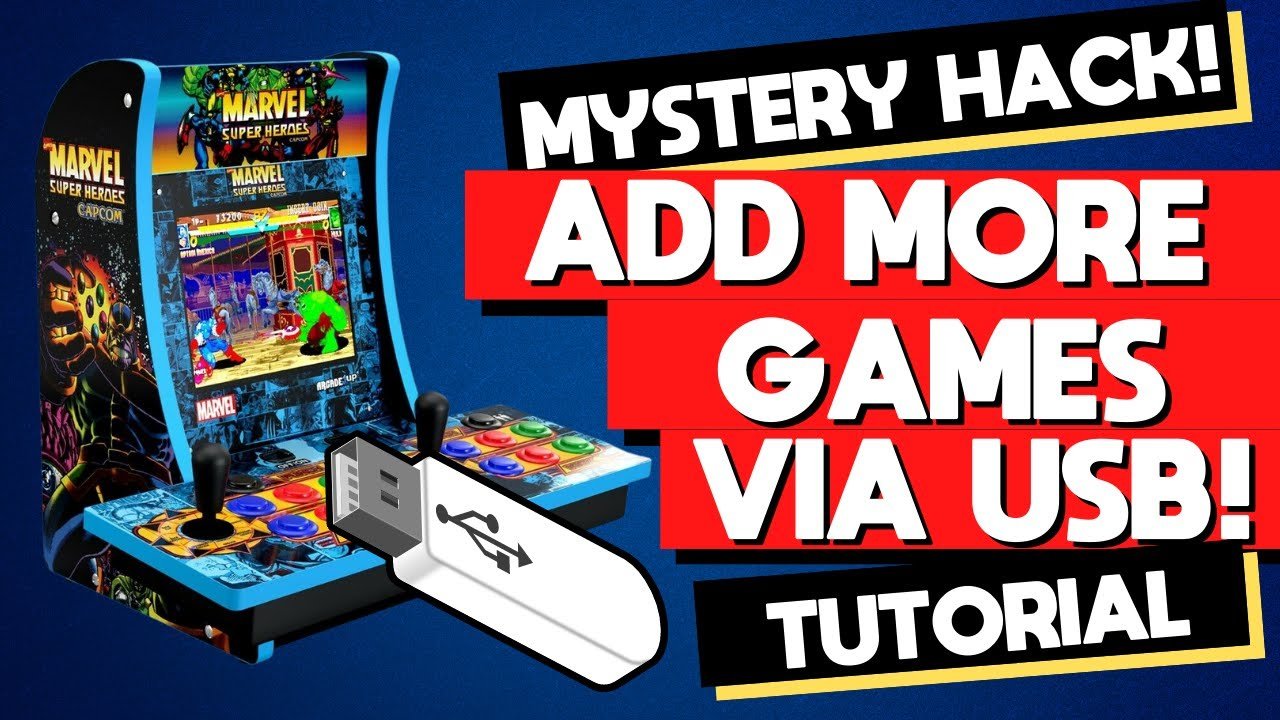
Adding games to an Arcade1Up often requires modifying the existing hardware or using a Raspberry Pi with custom software.
Want to play more than the pre-installed games on your Arcade1Up? Many gamers wonder how to add games to arcade1up and thankfully it’s achievable with a little effort. This typically involves either replacing the internal board with a modified one or installing a Raspberry Pi.
These methods allow you to play a wide variety of classic games. The process varies depending on your comfort level with tech. We’ll guide you through the general approaches in this article.

How to Add Games to Arcade1Up
So, you’ve got an Arcade1Up machine, that’s awesome! Maybe you’re tired of playing the same old games or want to play some new exciting titles. The good news is that adding more games to your Arcade1Up is possible and is easier than you might think! Let’s explore how you can get more games on your machine and level up your retro gaming experience. This guide will show you the different ways to expand your game library, whether you want to keep things simple or try more involved methods.
Understanding Your Options for Adding Games
Before we get into the how-to, let’s talk about the different ways you can add games to your Arcade1Up cabinet. There isn’t just one single approach, and the method that’s best for you might depend on your comfort level with technology, your budget, and what you’re hoping to achieve. Here are some of the main routes you can take:
Using a Pre-Made Mod Kit
One of the easiest methods for expanding your game library is using a pre-made mod kit. Many companies create these kits that include everything you need to add extra games without any complicated processes. These kits usually involve a new circuit board and memory, where you can load additional games.
They are designed to be relatively user-friendly, often requiring only basic tools and a bit of time.
Pros of Pre-Made Mod Kits:
- Simplicity: These kits are made for ease of use, which makes the process less daunting.
- All-in-one: Everything you need, from the board to cables, is usually provided.
- Pre-loaded: Most kits come with many games already installed, ready to play right away.
- Reversibility: Generally, you can revert your cabinet back to its original state if needed.
Cons of Pre-Made Mod Kits:
- Cost: They can be more expensive than other methods.
- Limited Customization: You might be limited to the games that come pre-loaded or that the kit specifically supports.
Using a Raspberry Pi
A popular choice for many Arcade1Up owners is using a Raspberry Pi. The Raspberry Pi is a small, affordable computer that can be used to run retro game emulation software. This method offers a lot of flexibility and customization.
How it Works:
Instead of using the original Arcade1Up board, you replace it with the Raspberry Pi. The Raspberry Pi runs an operating system that has emulation programs that allow you to play the extra games. This method takes a bit more technical knowledge and effort but offers the most customization and access to many more games.
Pros of Using a Raspberry Pi:
- Affordability: The Raspberry Pi is relatively inexpensive.
- Huge Game Library: Access a large variety of retro games from different consoles and arcades.
- Customization: Change themes, add your own games, and personalize the setup.
- Community Support: Extensive help and guidance available online and from other users.
Cons of Using a Raspberry Pi:
- More Technical: Requires more technical know-how, and a bit of effort to set up.
- Time-Consuming: Setting up the software and loading games may take some time.
- Potential for Problems: Sometimes things can go wrong, and you may need to do troubleshooting.
Using PC-Based Solutions
Another approach involves installing a small PC inside your Arcade1Up cabinet. This approach gives you a lot of power, allowing you to play high performance games. This is often for more advanced users with experience working with computer hardware.
How it Works:
You replace the original electronics with a small PC. You then install an operating system and gaming software. This setup gives you power and access to more demanding games, including more modern titles.
Pros of a PC-Based Solution:
- Power: PC hardware can handle more demanding games than the Raspberry Pi.
- Modern Titles: Gives you the capability to play more recent games that the original hardware cannot.
- More Options: Provides a wide range of software options.
Cons of PC-Based Solutions:
- Expense: More costly than the Raspberry Pi method.
- Complexity: Requires strong technical knowledge.
- More Space: A PC setup can take up more space inside the cabinet.
Step-by-Step: Adding Games Using a Pre-Made Mod Kit
Let’s go over a more detailed guide on how to add more games using a pre-made mod kit. These kits vary a bit between brands and models, but the general process is mostly the same.
Before You Begin
Gather Your Tools:
- A Phillips-head screwdriver.
- A set of small screws.
- The mod kit you purchased.
- A clean working area.
- The manual that came with your kit.
Prepare Your Arcade1Up:
- Unplug the Arcade1Up from the power source.
- Move it to a location where you have enough space to work comfortably.
Steps to Install the Mod Kit
- Open the Arcade1Up Back Panel:
Using your screwdriver, remove the screws that hold the back panel of your Arcade1Up machine. Set the screws aside safely where you won’t lose them. - Locate the Main Board:
Look for the main circuit board of your Arcade1Up. It’s usually a green or black board with lots of chips and connectors. - Remove the Original Board:
Carefully disconnect all of the cables from the original board. Take pictures or notes to help you remember where everything connects. Use the screwdriver to remove the screws holding the board in place and carefully remove it. - Install the New Mod Board:
Place the new mod board into the cabinet. Use the screws that came with the mod kit to secure it. - Connect the Cables:
Reconnect all the cables to the new mod board. This step is important because some cables go in certain places. Refer to your pictures or notes from step 3 and the instructions from the mod kit to make sure the cables go in their correct spots. - Secure the Cables and Board:
Make sure all cables are securely connected and not loose or causing interference. Do not pinch the cables. - Close the Back Panel:
Put the back panel back in place. Use the screws you removed in step 1 to secure the back panel. - Test Your Installation:
Plug the Arcade1Up back into the power and turn it on. If your install was correct, you should now have access to the new games.
Troubleshooting Your Install
If you’re having issues, double check these things before getting frustrated:
- Power: Make sure that the cabinet is plugged into a working power outlet.
- Cable Connections: Make sure all cables are correctly plugged into the proper places.
- Installation Instructions: Review the instructions to ensure you followed every step.
- Online Resources: Check online forums or YouTube videos for help with your specific kit.
Diving Deeper: Adding Games Using a Raspberry Pi
Using a Raspberry Pi offers more flexibility. Let’s look into this method.
What You’ll Need
- Raspberry Pi: A Raspberry Pi 3B+, 4, or similar will work well.
- MicroSD Card: A fast card with at least 32GB of storage is ideal.
- Power Supply: A compatible power supply for your Raspberry Pi.
- HDMI Cable: To connect to the Arcade1Up screen.
- USB Keyboard and Mouse: To set up the Raspberry Pi.
- Game Controller: (optional) USB game controller for better play.
- MicroSD Card Reader: To copy the operating system and games.
- Operating System Image: Software like RetroPie or Recalbox.
- Game ROMs: Copies of the games you want to play. (make sure you legally own the physical copy of the game)
- Screwdrivers: For opening up your cabinet.
- Optional: USB Hub: For connecting multiple controllers.
Preparing the Raspberry Pi
- Download the Operating System:
Go to the website for your chosen operating system (RetroPie, Recalbox, etc.) and download the image file. - Flash the OS to MicroSD Card:
Use software like BalenaEtcher or Rufus to write the OS image to your microSD card. - Insert the MicroSD Card:
Place the prepared microSD card into the Raspberry Pi.
Setting Up the Raspberry Pi in Your Arcade1Up
- Open Your Arcade1Up Cabinet: Follow step 1 of the Pre-Made Kit setup to open the back.
- Remove the Original Board: Disconnect all the cables and remove the board like with the mod kit instructions.
- Mount the Raspberry Pi: Secure the Raspberry Pi inside the cabinet. Use a case or mounting bracket. Make sure that the board doesn’t cause shorts by touching the metal components inside the arcade cab.
- Connect the Cables:
Connect the HDMI cable from the Raspberry Pi to the screen’s connection. If your Arcade1Up’s LCD panel uses a specific driver board, you might need to connect the Raspberry Pi through the proper input on that board, not directly to the LCD itself. Connect the power to the Raspberry Pi. - Initial Boot: Connect a USB keyboard and mouse to the Raspberry Pi. Plug in the power to the cabinet and the Raspberry Pi. The Raspberry Pi will start and you will be able to see the setup screen. Follow the on-screen steps to set up your new system.
- Configure the Emulator: Navigate to the emulator settings for your chosen system (e.g., NES, SNES, Arcade, etc.) and adjust your controls to match the Arcade1Up joysticks and buttons.
- Add Game ROMs: Use a USB drive or a network transfer to transfer your games over. Place the ROMs in the appropriate folder for each emulator. (e.g., SNES roms go in the SNES folder).
- Test Your System: Play some games to make sure that everything is working properly.
- Fine-Tune Settings: Adjust settings as needed until your system works the way you like.
Troubleshooting
- Screen Issues: If you don’t see anything on the screen, double-check the HDMI connection. Also, make sure the monitor is set to the correct input source.
- Controller Issues: Make sure your controllers are recognized and configured correctly in the emulation system.
- Game Crashing: Some ROMs may not work, or may need specific emulators to run properly.
- Performance Issues: If your games are running slowly, consider using a faster MicroSD card or a Raspberry Pi model with better processing power.
A Look at PC-Based Solutions
For the technically minded, using a small PC is a powerful option.
Things You’ll Need
- Small Form Factor PC: A small PC capable of running your chosen games.
- Operating System: Windows or Linux can work, depending on your chosen game software.
- Storage: SSD drive for the OS and your games.
- Video Card: For better graphics performance.
- Power Supply: A power supply suited to the PC’s requirements.
- Cables: Power, video, and USB cables.
- Game Software: Game launchers, frontends like Launchbox, and games.
- Mounting Hardware: Brackets to secure the PC in the cabinet.
Installation Process
- Prepare Your Cabinet: Open the back of your Arcade1Up and remove the old board.
- Mount the PC: Find a good spot in the cabinet, and install the PC using mounting brackets.
- Connect the Components: Hook up the power supply, video output, and USB ports.
- Install OS and Game Software: Install your desired operating system on the PC. Once the OS is installed, install your chosen game management software or game emulator.
- Set Up Your Controls: Connect your Arcade1Up’s buttons and joystick to your PC via a USB interface or using an adapter. Use the game software to adjust all the inputs to the correct settings.
- Transfer Games: Transfer your game files to the PC.
- Test and Fine Tune: Play some games and make sure that they work correctly.
Troubleshooting a PC setup
- Driver Issues: Make sure you install the correct drivers for your video card and other components.
- Game Compatibility: Some older games may need special configuration.
- System Issues: If your PC is running slowly, look at upgrading your hardware.
This method provides good flexibility, but does come with increased complexity and financial investment.
Important Things to Think About
Legal Aspects
It is very important to ensure you legally own the games you are playing. It’s important to note that while playing roms is common practice, you must own the original game to do it legally. If you did not buy the game, you are pirating. Only download roms of games that you own legally.
Safety First
Always make sure that your cabinet is disconnected from power before you start any work. Make sure you have a clean workspace to work. If you’re not sure about something, check for help online or get a tech savvy friend to help.
Community Resources
Lots of people have done this before. There are communities on Reddit and other forums with lots of people who have modified their Arcade1Ups. Use those resources to learn about people’s experiences.
Adding games to your Arcade1Up can really add a new layer of enjoyment to your machine. Whether you choose a pre-made kit or build out your own setup with a Raspberry Pi or PC, you’ll have a lot of options. Enjoy your gaming experience!
How to add 33,000 games to your Arcade1up #subscribe #arcade1up #how
Final Thoughts
Modifying your Arcade1Up cabinet to include additional games can significantly enhance your gaming experience. The process typically involves using a Raspberry Pi or similar board. This allows you to install emulators and ROMs.
Remember, acquiring ROMs requires a legitimate copy of the game. You must be careful and respect intellectual property rights. Adding games this way can give you many more options.
Ultimately, the steps on how to add games to arcade1up involve hardware modifications and software installations. Be sure to research your specific cabinet model and follow a trusted guide carefully. Always proceed cautiously.

