Animating characters in Roblox requires using scripts with the Roblox API to manipulate character joints and properties, often using the Animation Editor for keyframes.
Ever wondered how to make your Roblox avatar move with more than just the default animations? Learning how to animate characters in roblox adds a whole new level of expression to your games. It can seem daunting at first, but with a little guidance, you can create awesome character movements.

How to Animate Characters in Roblox
Ever wanted to make your Roblox characters move in cool and unique ways? It’s not as hard as it looks! Animating characters in Roblox lets you create custom walks, dances, and even fight scenes. Let’s dive into how you can get started with animating your own Roblox avatars.
Understanding Roblox Animation Basics
Before we jump into making our own animations, let’s understand how Roblox animation works. Roblox uses a system of keyframes and animation properties.
Keyframes: The Building Blocks of Movement
Keyframes are like snapshots in time that tell your character what position to be in. Imagine taking pictures of your friend moving, one picture every step of the way. These pictures are like keyframes for animation. The computer then fills in the movement between these pictures.
Animation Properties
Animation properties control how your character moves. These include things like position, rotation, and scale of different body parts. You can change these properties in keyframes to create different poses and movements.
Getting Started with the Roblox Animation Editor
Roblox provides a built-in animation editor that makes it easier for us to create animations. It’s called the Animation Editor, and we can find it inside Roblox Studio. Here’s how to open the editor:
- Open Roblox Studio.
- Create a new game or open an existing one.
- Go to the “Plugins” tab at the top of the screen.
- Click on “Animation Editor”.
Once you open the Animation Editor, you will see a window with a mannequin. This is the model we will use to test our animations. You’ll also see a timeline where you will add your keyframes.
Creating Your First Simple Animation
Let’s make a simple waving animation to get started. We’ll move one arm of the mannequin back and forth, a classic waving motion. This helps us grasp basic animation techniques.
Adding Keyframes to the Timeline
To begin, move your character’s arm in the way you want it to be at the start of the animation, then, add a keyframe. Now, move the arm to another position, and add another keyframe. These keyframes mark the start and end of a specific pose or movement.
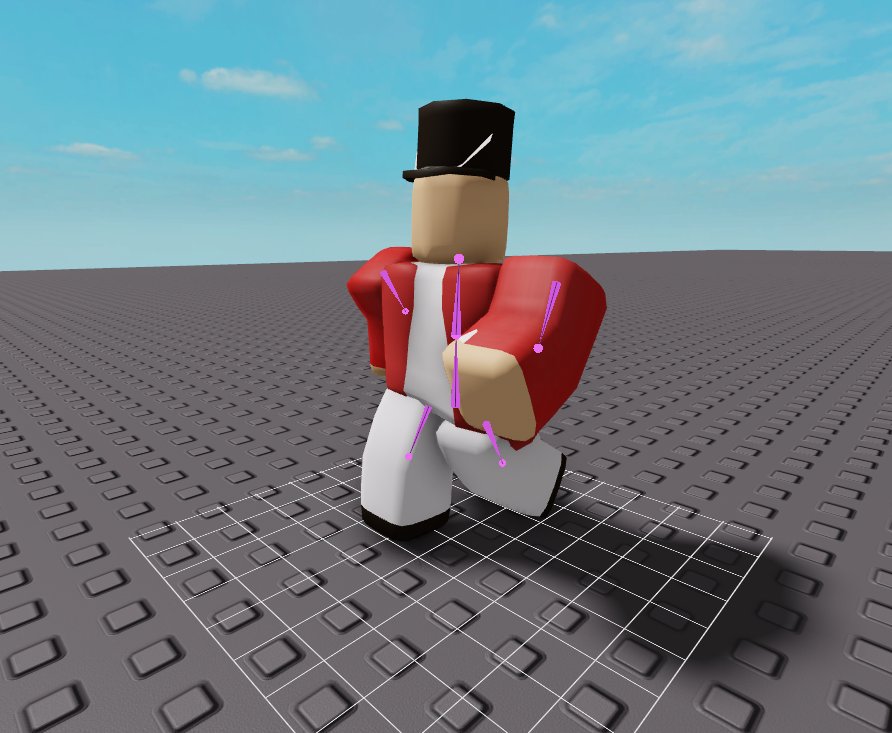
Make sure you choose the specific part of the mannequin you want to move by clicking on it. It will highlight when selected. Once the part is selected, you can adjust its position using the rotate and move tools.
The keyframes you add appear on the timeline bar at the bottom of the animation editor. You can change the timing of these keyframes by dragging them around on the timeline.
Adjusting and Testing the Animation
After setting up the keyframes, preview your animation by pressing the play button. Watch carefully to see how the movement looks. You might need to adjust keyframes and timing to get the movement exactly as you want.
If the movement is too fast, spread your keyframes further apart on the timeline. If it’s too slow, bring them closer. You can always make changes to improve the fluidity of the movement.
More Advanced Animation Techniques
Once you understand basic keyframing, you can explore more advanced techniques. These techniques involve combining multiple movements and adding special effects.
Using Multiple Body Parts
You are not limited to only animating one body part at a time. You can animate multiple parts of your character together for more complex movements. For example, you can animate legs for walking while animating arms for swinging.
Select different parts of the character, and adjust their position. This lets you bring complex motions to life, such as running, jumping or dancing. You can create really amazing animations.
Tweening: Creating Smooth Transitions
Tweening is a technique that lets Roblox automatically create frames between two keyframes. This creates smoother transitions between poses and less jerky animations. The Animation Editor does this for you automatically between your keyframes.
Try adding keyframes that create the most important parts of your animation. Let tweening do the work for the in-between movement. This will significantly improve animation quality and smoothness.
Looping Animations
Looping animations are animations that repeat continuously. This is important for things like walking, running, and idle poses. To make an animation loop, you need to make sure the starting pose is the same as the end pose. The last keyframe should match the first.
Once you have a looping animation, you can set it to repeat forever or for a certain number of times. This way, your characters can walk and run with consistent motion in your Roblox games.
Animation Priorities
Animation priorities help determine which animations should play when multiple animations try to play at the same time. For example, if a character is walking and jumps, we want to prioritize the jump animation. Roblox has different levels of animation priorities that you can choose for each animation.
When creating an animation, make sure to give it the proper priority. If you have walking, running, and jumping animations, give the jump a higher priority. That way, it will play when the player jumps instead of another animation.
Exporting and Using Your Animations
After creating your animation, you need to export it to use it in your Roblox game. The animation needs to be saved and applied to a character or game object. Let’s see how to do this:
Saving Animations
After you have finished your animation, click on the “…” icon in the animation editor, and then choose the “Save” option. You can also create different animation groups. This will save it as an animation asset which you can reuse.
Adding Animations to Your Game
To use your saved animations, you need to upload the animation. Then, use scripts within your game to make them play when specific things happen. For instance, use scripts that triggers animation when a player jumps, runs, or walks.
This involves using Roblox’s scripting language, Lua, to tell your characters when to play the animations you have created. This can be more complicated, but you can start with basic animation scripts and build up your skills.
Tips for Creating Better Animations
Creating awesome animations takes practice. Here are some tips that will help you create better character animations:
- Start Simple: Begin with basic movements and gradually move to more complex animations. Don’t try to do too much, too soon.
- Use References: Look at real-life videos of people moving to understand the timing and flow of movements.
- Practice Regularly: The more you animate, the better you will become. Try to animate at least a little every day.
- Experiment: Don’t be afraid to try new things and create unusual animations. You never know what cool things you might come up with.
- Get Feedback: Ask others to look at your animations and give you feedback on how to improve.
Common Animation Mistakes to Avoid
As you start creating your own animations, it is common to make mistakes. Here are some common issues and how to avoid them:
- Stiff Movements: Avoid having too few keyframes. Make sure you have smooth transitions between poses.
- Inconsistent Timing: Ensure your animation’s speed is consistent and doesn’t suddenly speed up or slow down.
- Sudden Changes: Don’t change character poses abruptly. Use tweening and more keyframes to make sure movement looks natural.
- Improper Looping: Make sure the end pose of a looping animation matches the start pose perfectly to avoid unnatural jumps.
Resources for Learning More About Roblox Animation
There are many resources that can help you learn more about Roblox animation. These include:
- Roblox Developer Hub: The official documentation for Roblox development that has articles and tutorials about animation and scripting.
- YouTube Tutorials: Search for “Roblox Animation Tutorial” to find hundreds of videos from experienced animators.
- Roblox Community Forums: Ask for help, share your animations and learn from others.
Start by exploring the resources available. With patience and practice, you’ll be creating amazing animations in no time.
Animating characters in Roblox can seem tricky at first, but it’s definitely achievable. By understanding keyframes, properties, and how to use the Animation Editor, you can begin to create your own awesome animations. Remember to start simple, practice often, and always seek feedback. Before long, your Roblox characters will be moving like never before. Keep exploring, keep creating, and have fun with Roblox animation!
The ULTIMATE Beginner's Guide to Animating in Roblox Studio
Final Thoughts
Animating characters in Roblox involves using the animation editor. You can create custom animations by manipulating joints and keyframes.
Remember to test your animations in-game. This ensures they appear as intended.
Experimentation is vital for improving. The process of how to animate characters in roblox requires practice.

