
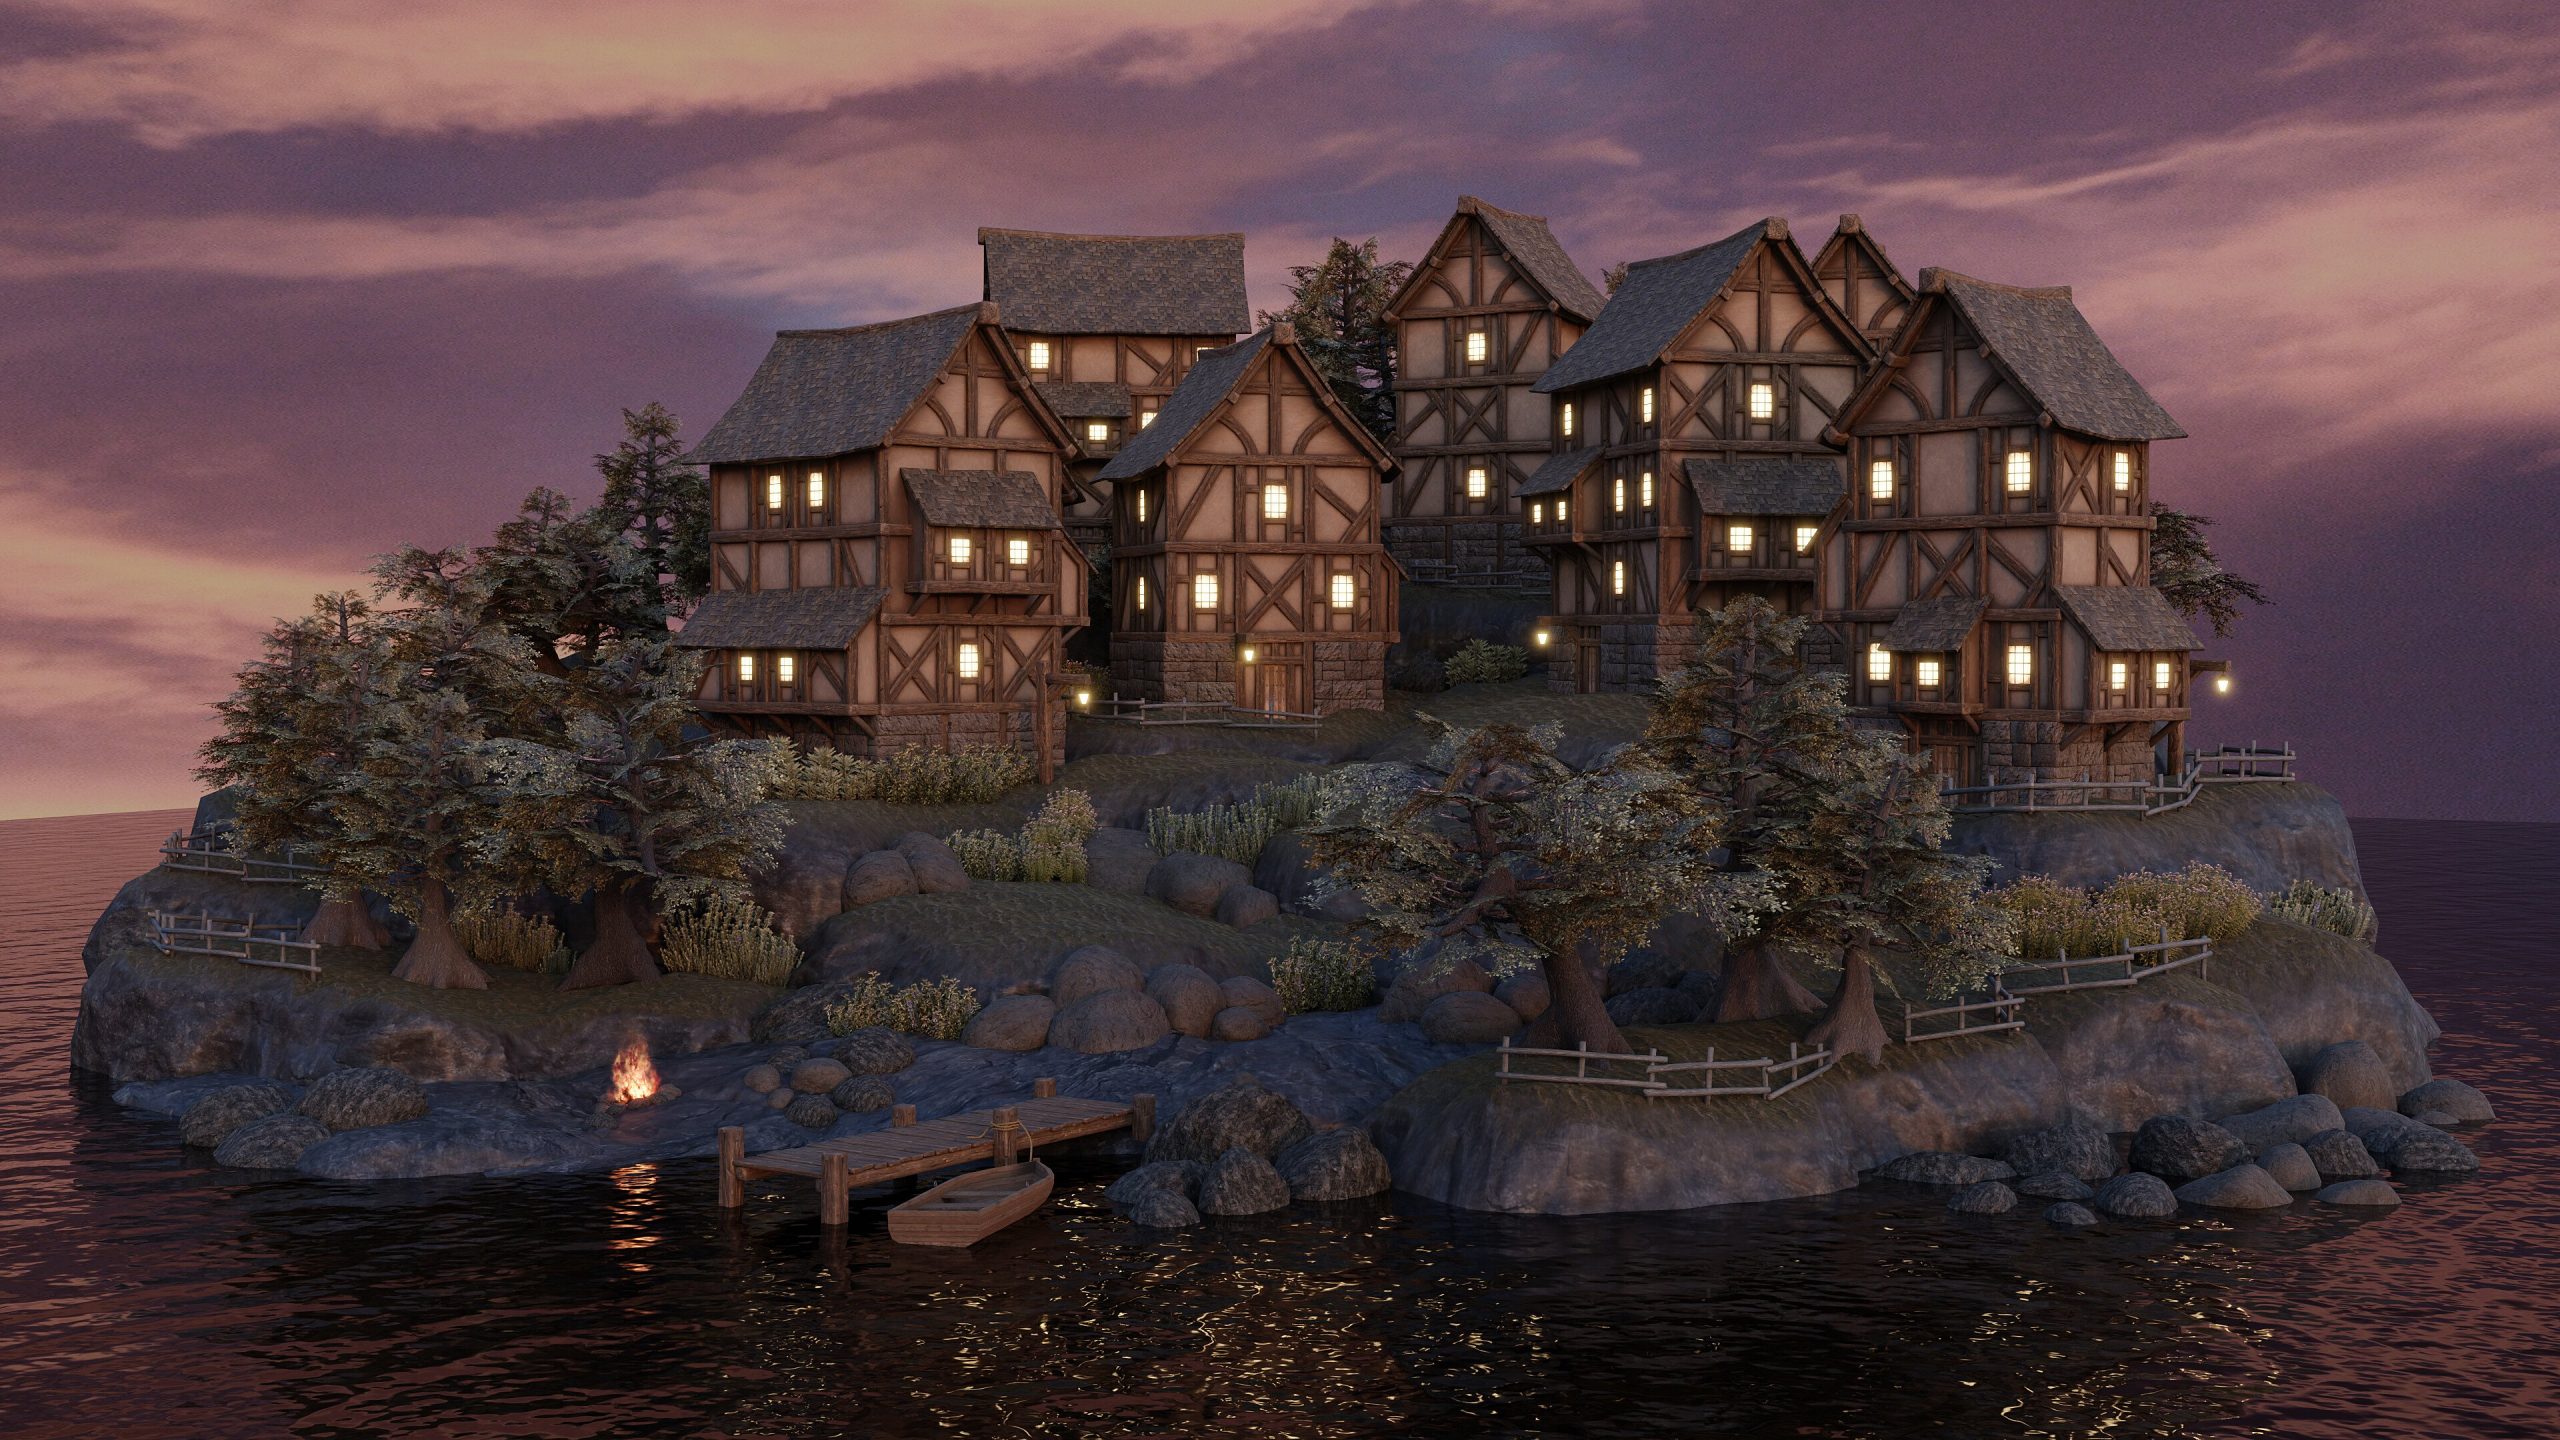
Building a 3D game world in Blender involves creating and arranging 3D models, applying textures, sculpting terrain, adding lighting, and setting up game logic using Blender’s game engine or exporting to other game engines.
Ever dreamt of creating your own virtual landscapes? Then you’re probably curious about how to build a 3d game world in blender. It’s a fascinating process that combines artistic skill with technical know-how, and it’s more accessible than you might think. We’ll be guiding you through the essential steps.
Creating a compelling 3D world requires planning. We will explore tools for modelling, texturing and lighting. Stay tuned for a journey into the core of 3D game world creation.

How to Build a 3D Game World in Blender
Creating a 3D game world might seem like a huge task, but with Blender, it’s totally achievable! Blender is a free and awesome software that lets you build anything you can imagine in 3D. This guide will break down the process, step-by-step, so you can start building your dream game world. We’ll go over all the important parts, from planning to adding the final touches. Let’s get started!
Planning Your 3D Game World
Before you jump into Blender, it’s a good idea to plan out your world. Think of it like building a house—you wouldn’t just start throwing bricks, would you? Here’s what to consider:
Concept and Theme
What kind of world are you building? Is it a bright, colorful fantasy land? Or a dark, spooky forest? Maybe a futuristic city? The theme you choose will guide all your design choices. Sketching out some ideas on paper can really help you visualize things. Consider the mood you want to create. The colors, shapes, and even the type of objects you put in your world should all match your chosen theme.
- Fantasy: Think castles, dragons, and mystical forests.
- Sci-Fi: Imagine spaceships, robots, and neon-lit cities.
- Modern: Picture houses, cars, and parks.
- Historical: Consider ancient ruins, historical buildings, and old landscapes.
Layout and Scale
How big will your world be? Will it be a small, enclosed space or a huge, open area? Think about the layout. Where will the player go? What paths will they take? Will there be hills, valleys, or rivers? Planning the layout helps you organize the different parts of your world and avoid getting lost in the process. Make a simple map to show how different areas connect.
- Small World: Perfect for a single-level game or a practice area.
- Medium World: Good for a game with a few levels or sections.
- Large World: Great for open-world games, but will require more time and resources.
Key Features
What makes your world special? What important landmarks or structures will there be? Maybe there’s a giant tree in the center or a hidden cave. Think about these “landmarks” because they can guide the player and give your world a personality. Consider the following:
- Landmarks: A tall tower, a special statue, or a unique rock formation.
- Structures: Buildings, bridges, walls, or fences.
- Natural Elements: Trees, rocks, rivers, mountains, and even clouds.
Getting Started in Blender
Now that you have a plan, let’s open Blender! If you don’t have it, you can download it for free from Blender.org. Once you open it up, you will see a cube, a camera, and a light. This is the default scene. Don’t worry, you can always delete them, and start with a clean scene.
Understanding the Blender Interface
Blender’s interface might seem complicated at first, but it’s not that hard once you get used to it. Here are the main parts:
- 3D Viewport: This is where you will see and work on your 3D world.
- Outliner: This shows all the objects in your scene, like a list.
- Properties Panel: Here, you can adjust the settings of the objects you choose.
- Toolbar: This is where you will find the tools like move, rotate, and scale.
- Timeline: Useful for animation, but not so much for building game worlds.
You can move around the viewport by holding the middle mouse button and dragging. You can zoom in and out by using the scroll wheel. Try to get comfortable moving around. It is very important to know basic of navigating the blender before you start building the world.
Basic Navigation and Object Manipulation
Learning to move objects is the key to building your world. Select an object by clicking on it with the left mouse button. Now you can do following:
- Move: Press ‘G’ on your keyboard, then move your mouse to move the object. You can also use the arrows that appear.
- Rotate: Press ‘R’ on your keyboard, then move your mouse to rotate the object.
- Scale: Press ‘S’ on your keyboard, then move your mouse to change the size of the object.
- Axis Locks : You can lock the movement of the object to an axis (X, Y, or Z) by pressing ‘X’, ‘Y’, or ‘Z’ after pressing ‘G’, ‘R’, or ‘S’.
Building the Terrain
The terrain is the foundation of your 3D world. You can create it from scratch or use existing tools to speed up the process. Let’s explore a few ways of doing that.
Using the Plane and Sculpting Tool
The easiest way to start is with a plane. Here’s how you do it:
- Delete everything on the scene.
- Go to ‘Add’ menu, then select ‘Mesh’ and then select ‘Plane’.
- Now, go into ‘Edit Mode’ by pressing Tab on your keyboard or by selecting ‘Edit Mode’ from the dropdown on top left corner.
- Right click to select ‘Subdivide’. Use this to increase the number of vertices. You will need a good number of vertices to sculpt properly.
- Go back to ‘Object Mode’ by pressing Tab on your keyboard or by selecting ‘Object Mode’ from the dropdown on top left corner.
- Now, click on the “Sculpting” tab at the top of the screen.
You will see a set of brushes on the left side of the screen. Use these brushes to raise and lower parts of the plane. You can also use the “Smooth” brush to make smooth transitions. Experiment with different brushes and settings to get the terrain shape you want. Remember, you can always undo (Ctrl+Z) if you make a mistake. Don’t forget to save your work regularly.
- Draw Brush: Use to pull vertices up to create hills and mountains.
- Flatten Brush: Use to create plateaus and flat areas.
- Smooth Brush: Use to blend the terrain together, making smooth transitions.
- Grab Brush: Use to move larger areas of the terrain.
Adding Material to Terrain
After completing the shape of your terrain, we can add materials to the terrain to make it look more natural. To add a material:
- Select your terrain.
- Navigate to the properties panel, which is on the right of the blender screen.
- Click on the ‘Material Properties’ tab.
- Click on ‘New’ to add a new material to terrain.
- Now you can adjust color, roughness, metallicity, and many more options to set proper color for your terrain. You can also add image texture from the ‘Base Color’ section to make terrain more real looking.
You can add multiple materials to make different regions look like different types of ground, e.g., grass, sand, rocky surfaces, etc.
Adding Objects and Structures
Now that you have the terrain, it’s time to add some objects! These could be buildings, trees, rocks, or anything else that makes your world interesting.
Using Primitives
Blender provides primitive shapes like cubes, spheres, and cylinders. These are great for quickly creating basic objects. To add a primitive:
- Go to ‘Add’ menu.
- Select ‘Mesh’.
- Choose your desired primitive (e.g., Cube, Sphere, Cylinder).
You can then move, rotate, and scale these primitives to create different objects.
Creating Simple Buildings
Let’s create a simple house. This will give you an idea how you can combine basic shapes to create something more complicated.
- Add a cube.
- Scale the cube to be wider and taller to make the main body of the house.
- Duplicate the cube, reduce its size, and place it on top of the base to create the roof of the house.
- Add new cubes to create doors and windows.
- Change the material to give the house different colors.
Adding Trees and Foliage
Trees and bushes can bring life to your world. You can add trees in different ways: by creating them from scratch or by using pre-made assets from a library.
Using Simple Primitives:
- Add a cylinder for the trunk.
- Add a sphere for the leaves.
- Adjust the shape of the leaves by scaling and rotating.
- Duplicate and rotate the leave parts to create a fuller crown.
You can copy and paste trees to create a forest.
Importing Assets
Blender lets you import pre-made assets from various sources. This can save a lot of time and effort. Websites like Blendswap offer free assets that you can use. To import an asset:
- Go to ‘File’ then select ‘Import’.
- Select the file type of the asset you want to import (.obj, .fbx, .blend).
- Navigate to the asset file on your computer.
- Click ‘Import’.
Once imported, you can move, rotate, and scale the asset to fit into your world.
Texturing and Materials
Textures and materials give objects their appearance. They are what make a rock look rocky and a tree look leafy.
Adding Basic Colors
We have already discussed this in terrain section. You can repeat the steps to add different colors to your game objects.
Using Image Textures
Image textures let you use photos or digital art to add a realistic look. For example, you could use an image of grass for the ground or a picture of wood for a building. To add an image texture:
- Select the object.
- Go to the ‘Material Properties’ tab.
- Click on ‘Base Color’.
- Choose the ‘Image Texture’ from the dropdown menu.
- Click ‘Open’ to choose an image from your computer.
You might need to adjust how the texture appears on your object by using the UV Editing tools.
Understanding UV Mapping
UV mapping is how Blender knows where to place a 2D texture on a 3D object. Think of it like unwrapping a box and laying it flat. To edit the UV map of an object:
- Select the object.
- Switch to ‘UV Editing’ layout at the top of the blender.
- You will see the 3D object on left side and a flat version of the object on the right. This is the UV Map of your object.
- Select vertices or faces in the UV map and move them to adjust how the texture looks.
Lighting Your World
Lighting is super important for making your world look good. Good lighting can create atmosphere and make your game world feel more realistic.
Adding Different Types of Lights
Blender has different types of lights that can be used in different ways. Here are some examples:
- Point Light: A light that shines from a single point, like a light bulb.
- Sun Light: A light that shines from a distance like a sun.
- Spot Light: A light that shines in a cone shape, like a stage light.
- Area Light: A light that shines from a surface, like a window.
To add a light, go to ‘Add’, then select ‘Light’ and then choose your desired light.
Adjusting Light Intensity and Color
You can change the intensity and color of each light by selecting the light, then going to the ‘Object Data Properties’ tab. Here, you can adjust settings such as:
- Power: How bright the light is.
- Color: The color of the light.
- Radius or Size: The size of the light source.
Experiment with these settings to get the lighting just right.
Shadows and Reflections
Enable shadows in the render settings, and adjust the ‘Shadow’ properties of the lights to make your scene look more realistic.
Optimizing for Games
When building a game world, it is important to make sure your scene is optimized so that the game can run smoothly. This includes simplifying geometry and using level of details.
Simplifying Geometry
Too many triangles in the scene can slow down the game. Try to simplify the geometry as much as possible without losing details. You can use the ‘Decimate’ modifier to reduce the number of triangles.
Using Level of Detail (LOD)
Level of detail involves creating multiple versions of the same object with varying levels of detail. The less detailed versions are shown when the object is further away. This will help increase performance. You can duplicate the same object and use a ‘Decimate’ modifier to lower the detail of it. Then, when you import it to your game engine you can use code to control which level to render.
Exporting Your World
Once you’re happy with your world, you’ll need to export it in a format that your game engine can use. Common formats are:
- FBX (.fbx): A popular format for game assets.
- OBJ (.obj): Another common format that is supported by many game engines.
- GLTF (.gltf and .glb): Modern and efficient format that is gaining in popularity.
To export your world, go to ‘File’, then ‘Export’, and choose your desired format.
Building a 3D game world in Blender is a journey that takes time, practice, and creativity. Don’t worry if it feels overwhelming at first. Just keep experimenting, learning, and having fun. Remember, every great game world starts with a single step, and every step you take brings you closer to the world you’ve imagined.
Blender Terrain in 2 CLICKS!
Final Thoughts
Building a 3D game world in Blender involves careful planning and execution. You begin with basic shapes, sculpting terrain and adding details. Then, you populate the world with models, textures, and lighting.
Remember that iterative process is key. You constantly refine your design, adjusting elements. Understanding Blender’s tools is crucial to build a 3d game world in blender successfully.
Finally, testing ensures smooth gameplay. Creating an immersive environment requires practice and patience.

