To choose which monitor a game opens on, adjust the primary display setting in your operating system’s display options before launching the game.
Frustrating, isn’t it? You’ve meticulously set up your dual or even triple monitor setup, ready for an immersive gaming experience, yet the game insists on launching on the wrong screen. This article is directly aimed at helping you avoid that annoyance. You might have asked, “how to choose which monitor a game opens on,” and we will address that very point.
We’ll walk you through the straightforward steps you can take to designate which of your displays should be used for your games. By making a few simple tweaks in your system settings, you will gain full control over your gaming visuals and how it displays.

How to Choose Which Monitor a Game Opens On
Having multiple monitors is super cool, right? You can play a game on one screen while chatting with friends on another, or maybe have a guide open while you’re battling a tough boss. But what happens when your game decides to pop up on the wrong screen? It can be a little annoying! Luckily, there are lots of easy ways to make sure your games always open on the monitor you want them to.
Understanding How Windows Handles Multiple Displays
Before we dive into specific solutions, let’s talk about how Windows usually manages multiple monitors. Windows thinks of your monitors as being arranged in a certain order. It assigns a “primary” monitor, which is typically where your start menu and icons live. It also numbers the other monitors. When a game starts, it often defaults to opening on the primary monitor. This works okay for a lot of people, but what if you want your primary screen for work and gaming on a different display? Don’t worry; there are simple fixes!
The Primary Display: Your Computer’s Home Base
The primary display is essentially your computer’s main stage. This is where your taskbar appears, where new apps usually launch for the first time, and where the lock screen lives. Think of it as the monitor Windows considers most important. But importantly, you have the complete power to change that! We’ll show you exactly how you can change the primary monitor to your preferred display for playing video games.
Monitor Arrangement: Setting Up Your Virtual Workspace
Your computer sees your monitors like tiles on a floor. They can be next to each other, above each other, or diagonal to each other. The way you have them set up in Windows, which we call monitor arrangement, decides how the mouse moves between them. If your monitors are in the same order virtually as they are physically, moving the mouse cursor from one screen to another will feel very natural. Messing with your monitor arrangement incorrectly can be confusing! Let’s get it right.
You can find this arrangement area by going to:
- Right-click on your desktop.
- Choose “Display settings.”
- In this setting you can find each of your display numbered
- You can click and drag the boxes to represent how they’re positioned physically
Methods for Directing Games to Your Preferred Monitor
Now, let’s explore the different ways you can control which screen your games use.
Using Windows Display Settings
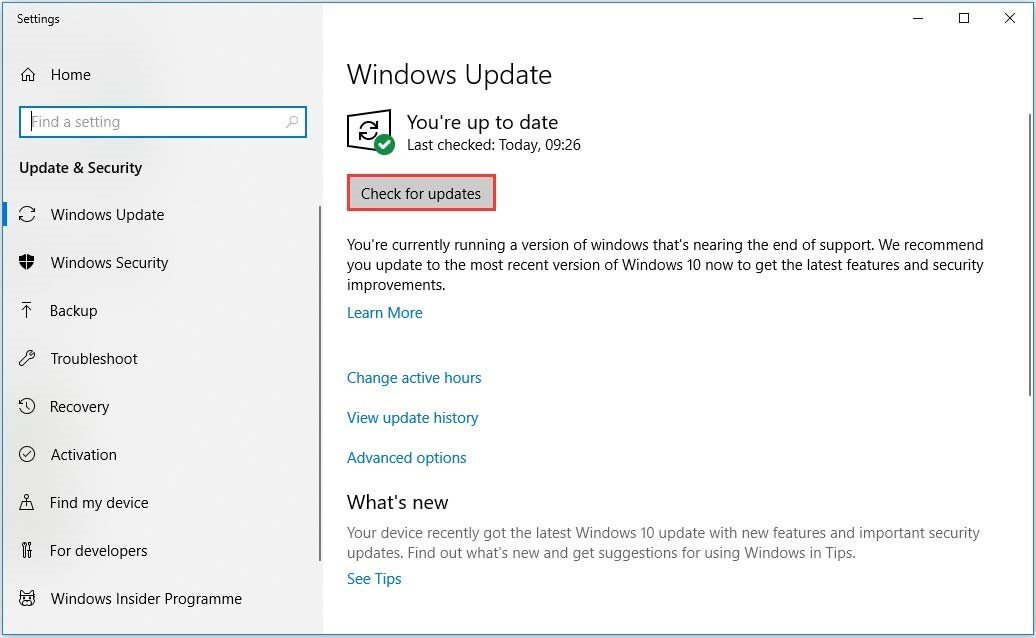
The easiest first step is to use the Windows display settings. As we described above, Windows display settings can change the arrangement of the display. But it also allows you to define a primary display. Here’s how:
- Right-click on your desktop and select “Display settings.”
- Look for the boxes representing your monitors, each labeled ‘1’, ‘2’, or another number.
- Select the monitor that you want to be your main gaming screen
- Scroll down the display settings and under the “Multiple Displays” section, select the option “Make this my main display”.
If that monitor is not your main display and selected as primary display, clicking this will assign the selected monitor to primary display.
After you’ve done this, any new program or game that is opened, should now open to the monitor you assigned as your primary monitor.
This should ideally solve a lot of the problems of getting your game to open on the right display.
Changing the Primary Monitor Before Launching a Game
Another quick trick is to change your primary monitor just before you start a game. This is a temporary solution, and you’ll need to switch it back when you’re done, but sometimes this is the fastest approach to get a game onto your desired screen. Just use the display setting instructions given above to quickly change your primary monitor.
Using Game Settings Directly
Many games have settings that let you choose which monitor to use. This is often the best method because it’s specific to the game itself. If the game has these settings, it will always open to the display you specify. Look for settings such as:
- “Display”
- “Monitor Selection”
- “Graphics”
- “Video”
These settings are often in the game’s menu and let you pick exactly which screen to show the game on. It is also possible to select different display options, like fullscreen, windowed or borderless windowed, which sometimes impact which display a game may use. Try experimenting with each of these settings. If a game only opens in windowed mode, try changing to a borderless windowed mode to see if you have more flexibility in moving it between screens.
Using Windowed Mode for Easy Dragging
If you’re finding it difficult to get a game to launch on the correct monitor, running it in windowed mode may be helpful. While in windowed mode, you can grab the top bar of the game’s window and drag it to any monitor you want. Once you’ve moved the game window to the correct monitor, you may be able to switch to fullscreen mode. Be sure to save any in-game setting changes to ensure the game remembers your display preference the next time you launch it.
Keyboard Shortcuts: Moving Windows Like a Pro
Windows has some great keyboard shortcuts that can be used to move a game to the correct screen quickly.
- Windows Key + Shift + Left/Right Arrow: This moves the active window (including your game) to the next monitor on either the left or right side of your arrangement.
Using Third-Party Utilities
There are several third-party programs designed to help you manage multiple displays. These tools often come with extra features, like:
- Saving monitor arrangements
- Easy window management
- App-specific display settings
Some popular options include:
- DisplayFusion
- Actual Multiple Monitors
- UltraMon
These utilities are usually not free, but they can make handling multiple displays much easier for power users or those with more complex setups.
Troubleshooting Common Issues
Sometimes, even after following all these steps, your game still opens on the wrong monitor. Here are a few things to check:
Check for Game Updates
Old versions of games sometimes have bugs that can mess up display choices. Make sure your game is up to date and check for any settings that may have changed recently.
Graphics Card Driver Issues
Outdated or buggy graphics card drivers can cause problems with display handling. It’s a good idea to make sure you have the newest drivers installed. You can usually download the latest drivers from the website of the company that made your graphics card (like NVIDIA, AMD, or Intel).
Full Screen vs. Windowed Mode
Sometimes, how a game behaves with display selection is different depending on the mode. Experiment with running the game in windowed, borderless windowed, or full-screen mode to see if this affects which screen it uses.
Game Configuration Files
Some games store their settings in configuration files outside of the game’s interface. If your game is still not opening on the correct monitor, it may be worth digging into the game’s files to find the setting. Be very careful when changing these as incorrect modifications can cause a game to be unplayable.
Multiple Graphics Cards
If you have multiple graphics cards in your computer (for example, an integrated GPU on the CPU and a dedicated one), that can cause problems. Try telling your computer to use only one card. In the case of having both, ensure that your main graphics card is the primary graphics card assigned to the display of your choosing.
Tips for a Smooth Multi-Monitor Experience
Here are a few final tips to help make your multi-monitor gaming experience go off without a hitch:
- Keep your monitor setup consistent. If your gaming screen is always on the left, it’s more natural to find it every time you launch a game.
- Label your monitors. When your multiple monitor setup becomes more involved, it may be helpful to label the physical monitor, such as Monitor 1, monitor 2 and so on, so that when going through the windows display settings you can easily know which is which
- Take some time to check each game. Sometimes each game has different requirements to get the correct display. Make sure you go through each game to find the correct setting
By using these methods, you should be able to have the game on the monitor you want every time you start playing.
How to Open Games on a Certain Monitor (Best Tutorial)
Final Thoughts
Choosing your primary display in settings ensures most applications, including games, start there. However, some games ignore this, defaulting to a different monitor. You then must adjust the game’s settings.
To force a specific monitor, try using the Windows key + Shift + arrow keys. This method moves the game window between displays quickly. These methods effectively address how to choose which monitor a game opens on.

