
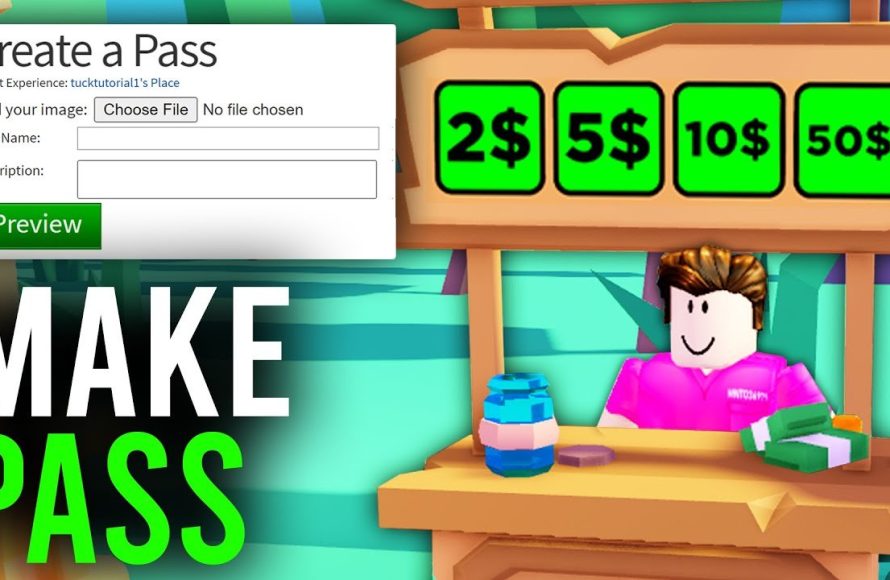
To create game pass for pls donate, you first navigate to the Roblox create page, select your game, then under associated items, click passes and create a pass and finally set its price.
Ever wonder how people get those cool donation buttons in Pls Donate? Well, it all starts with learning how to create game pass for pls donate. It’s easier than you might think and it allows you to receive robux from generous players.
This process involves navigating through a few menus on the Roblox platform, which we will guide you through. Don’t worry, even if you’re new to Roblox creation, it’s a simple process. Once done, you’ll be ready to collect donations in your favorite game!

How to Create Game Pass for Pls Donate
Alright, let’s dive into the exciting world of creating game passes for Pls Donate! If you’re looking to earn some Robux while playing this popular Roblox game, you’ve come to the right place. Creating game passes is a great way to get donations and support your in-game hustle. It might sound a little tricky at first, but don’t worry, we’ll break it down step-by-step so it’s super easy to understand. This guide will teach you everything you need to know, from the very basics to some helpful tips and tricks.
Understanding Game Passes in Pls Donate
Before we jump into the how-to, let’s quickly chat about what game passes are and why they’re important in Pls Donate. Think of game passes as special upgrades or items you create that players can buy from you. When someone donates to you by purchasing your pass, you receive a portion of the Robux. It’s like selling cool virtual stuff! The better and more creative your game passes are, the more likely people will want to buy them, helping you collect those precious Robux.
Why Create Game Passes for Pls Donate?
Why bother with game passes, you ask? Here’s the scoop:
- Earn Robux: The main reason! Selling game passes is one of the best ways to make Robux in Pls Donate.
- Express Creativity: It allows you to put your unique spin on the game. Think about interesting or funny ways to label your passes.
- Encourage Donations: When people see something they like, they’re more likely to donate by buying that pass.
- Become Popular: Well-designed passes can help you stand out from the crowd.
Getting Started: Preparing Your Roblox Account
Okay, before we create those fantastic game passes, let’s ensure your Roblox account is ready. Here are a few essential things to keep in mind:
- Roblox Account: Make sure you have an active Roblox account. This is where all the magic happens!
- Roblox Studio: You will be working in the Roblox studio, the platform where you make games and items.
With those basics in place, you’re all set to move on to the exciting part of creating passes!
Step-by-Step Guide: Creating Game Passes
Now, for the moment you’ve been waiting for! Follow these easy-peasy steps to create your first game pass for Pls Donate.
Step 1: Access the Roblox Create Page
First, you need to go to the Roblox website. Once you’re logged in, look for the “Create” button at the top. Click on it! This will take you to the page where all the creating happens.
Step 2: Navigate to Your Experience
On the Create page, you’ll see a list of your experiences. If you’ve never created any, you’ll still see a default experience associated with your account. Click on that experience. Don’t worry if it seems empty, this is the place where your passes will be linked.
Step 3: Find the “Associated Items” Section
On the left-hand side of your experience page, you’ll see a menu. Look for something called “Associated Items.” Click on that, and then select “Passes.” This is where all your game passes will be listed.
Step 4: Create a New Pass
Now, you’re at the right spot! Click on the blue “Create a Pass” button. It’s time to get creative. You’ll notice that you need to upload an image, name your pass, and add a short description.
- Image Upload: Pick an image for your pass. You can use a picture of yourself, your avatar, or something funny! Remember, the image should be appropriate and appealing. You can easily make one or find one online for free. The ideal size for image is 512×512 pixels.
- Name Your Pass: Give your pass a catchy name. This could be something like “Super Donation,” “Mega Support,” or something silly like “Give Me Candy.” Get creative!
- Description: Write a short description. It tells people what your pass is for. Something like, “Thank you for your donation” or “Support my game,” works perfectly.
Once you have finished filling in all the fields, Click on “Create Pass” Button, and you’re halfway there!
Step 5: Configure Your Pass
Okay, you’ve created your pass, but it’s not ready to sell yet. Find your new pass in the list of created passes, and click on it. Now, navigate to the “Sales” tab. Turn on the “Item for Sale” toggle. Then, set a price for your game pass. How much Robux will you charge? Remember, Roblox takes a cut, so if you set a price of 10 Robux, you won’t receive the full 10.
Here are some common and good game pass prices
| Game Pass Price | Description |
|---|---|
| 5 – 10 Robux | Good for small donations or silly passes. |
| 20 – 50 Robux | A nice range for medium-level support. |
| 100+ Robux | For super supporters who really want to help you out. |
After setting your price, click on the save button. You’re done!
Step 6: Test Your Game Pass (Optional)
Before you go into Pls Donate, you can actually test your game pass. Go to your experience page. Click on the three dots next to your experience name, and select “Edit” to start Roblox Studio. Inside Roblox Studio, you can test the pass by purchasing it to ensure everything is working smoothly. If all is well, close Roblox Studio. You don’t have to do this but is highly recommended.
Adding Game Passes to Your Pls Donate Booth
Now that you have your passes, it’s time to put them to work in Pls Donate. Here is how you do it:
- Start Pls Donate: Open the Roblox app and start the Pls Donate game.
- Find a Free Booth: Locate an empty booth and walk up to it to claim it.
- Your Game Passes Should Appear: If your passes don’t show up right away, you might have to wait a few minutes, or leave and re-join the game. Usually, all the game passes will be there at your booth, where players can buy from you.
Tips for Success with Game Passes
Creating a game pass is only the beginning. Here are some tips to make your passes stand out and encourage more donations:
Creative and Appealing Names
The names of your game passes are important! Instead of boring names like “Donation 1,” try to make them creative and interesting. Some great examples include “Legendary Supporter”, “Kind Heart Donation”, “Ultimate Robux Shower”, “Pizza Fund”, or even something related to the season, like “Halloween Donation.”
Eye-Catching Images
Make sure your images are clear, colorful, and interesting. Use images related to your in-game theme, a character you like, or something that looks visually appealing. Avoid pixelated or low-quality images because they will look unprofessional.
Descriptions that Pop
While keeping your descriptions short, also make them clear. If you have a pass that gives a little funny in-game shoutout, let people know that! If its just a support pass, write something simple like, “Thanks for helping me” or, “I really appreciate your support!”
Offer Variety
Don’t just make one or two passes. Create many different game passes with various prices and descriptions. This offers players more choice and can encourage them to buy more from you.
Promote Your Passes
Once your booth is setup, advertise your passes in the Pls Donate chat. Just dont spam too much. A polite, “Check out my new game passes!” is better than posting repeatedly with a ton of caps and emojis.
Be Active and Engage with Players
Don’t just stand there! When someone purchases your game pass, thank them. Be friendly and engaging with other players; this can encourage them to purchase from you.
Don’t Be Afraid to Experiment
Try out different combinations of images, names, and descriptions. See what works best for your booth. Sometimes the silly ones are the best!
Keep Things Fresh
Regularly update your passes with new designs and ideas. You can make holiday-themed game passes or adjust the prices to see how they sell.
Troubleshooting Common Issues
Sometimes things don’t go exactly as planned. Here’s a quick guide to help you with some common problems:
Game Passes Not Showing Up
If your game passes aren’t appearing in Pls Donate, here’s what you can do:
- Wait a Bit: Sometimes it takes a few minutes for the passes to sync with the game.
- Rejoin the Game: Try leaving and rejoining the Pls Donate server.
- Check Your Sales Settings: Make sure you set your pass “Item for Sale” to “on” and set a price.
- Check Your Account: Make sure you are using the same Roblox account to create the game pass and play Pls Donate.
Images Not Loading
If you see that your images don’t load properly, try:
- Double Check Image Size: Ensure that the image you are using is 512×512 pixels.
- Try a Different Image: Some image files might cause problems.
- Check your internet: A weak internet connection might cause problems with images to load, try to reload page again after you have proper connection.
Prices Not Saving
Sometimes the price won’t save correctly. If this happens:
- Reload the Page: Try refreshing the page after changing the settings.
- Use the Correct Controls: Make sure you are using the “Item For Sale” Toggle correctly.
- Try Again Later: Sometimes it’s just a temporary glitch with the Roblox platform.
Creating game passes for Pls Donate is a fun and rewarding experience, and with these tips, you’re ready to make some amazing passes! Always have patience, be creative, and you will surely see those Robux numbers go up. Remember to have fun, engage with other players, and let your creativity shine!
How To Make Gamepass In Pls Donate – Full Guide
Final Thoughts
Creating a game pass for “pls donate” involves accessing the Roblox creator dashboard. Navigate to your experiences and select the desired game. Then, create a game pass with a clear name and price.
Remember to use an attractive image for the game pass. This makes it more appealing to potential donors. The key is to make it easy for others to find and purchase, supporting your in-game presence.
In essence, how to create game pass for pls donate is about creating an accessible and visually appealing product on Roblox. Proper setup allows you to receive donations effectively.

