To get game pass in PLS DONATE, you need to create one on the Roblox website, then list it for sale within your PLS DONATE booth.
Ever wondered how some players have those cool game passes for sale in PLS DONATE? It’s actually quite straightforward. You, too, can learn how to get game pass in pls donate and start earning Robux.
It all begins with creating your own game passes on Roblox’s official website. After that, you will need to make sure they are listed correctly in the game. It is not a long process and it is very simple.

How to Get Game Pass in Pls Donate
So, you’re playing Pls Donate and you see all those cool booths with special game passes, and you’re thinking, “I want one of those!” It’s super understandable! Having game passes in Pls Donate can help you earn more Robux because people can buy them from you. They’re like extra ways for players to support you while you’re making games. This article will guide you through all the steps of making and putting your game passes in Pls Donate so you can get started too.
Understanding Game Passes
Before we jump into the steps, let’s talk about what game passes actually are. In Roblox, a game pass is a special item you create for your games. It gives players who buy them some extra perks or cool things inside your game. When you use Pls Donate, you’re basically using a ‘game’ where people can donate Robux to other players through these passes. It is super easy to understand. Think of them as digital items that people can buy to support you and your creative endeavors on Roblox.
Here are some reasons why game passes are useful:
- Earning Robux: Players can purchase game passes as a way of sending you support, which earns you Robux.
- Offering Exclusive Items: They allow you to create special items, abilities, or access that players can get by purchasing.
- Building Community: Game passes encourage players to donate, creating a community around your booth.
Creating Your Game Pass
Now for the fun part – creating your own game pass! It might seem a little tricky, but trust me, it’s not that hard. Here’s how you do it, step-by-step:
Step 1: Accessing the Roblox Create Page
First, you need to go to the Roblox website on a computer (you can’t do this on a phone or tablet). Log in to your Roblox account and find the “Create” tab at the top. This is like your own little studio where you make things for Roblox.
Step 2: Finding Your Experience
When you click “Create,” you’ll see a list of experiences. These experiences are like the different worlds you make in Roblox. If you haven’t made any yet, Roblox makes one for you automatically. Look for the experience that says “(Your Username)’s Place”. This is the one you’ll want to use for your game passes. Click on the image of this experience.
Step 3: Creating a Game Pass
After clicking on your experience, look for the menu on the left side of the screen and click on “Associated Items”. You might see options for badges and developer products as well, but for now, we’re focusing on game passes. Click on “Passes,” and then click on the button “Create a Pass.”
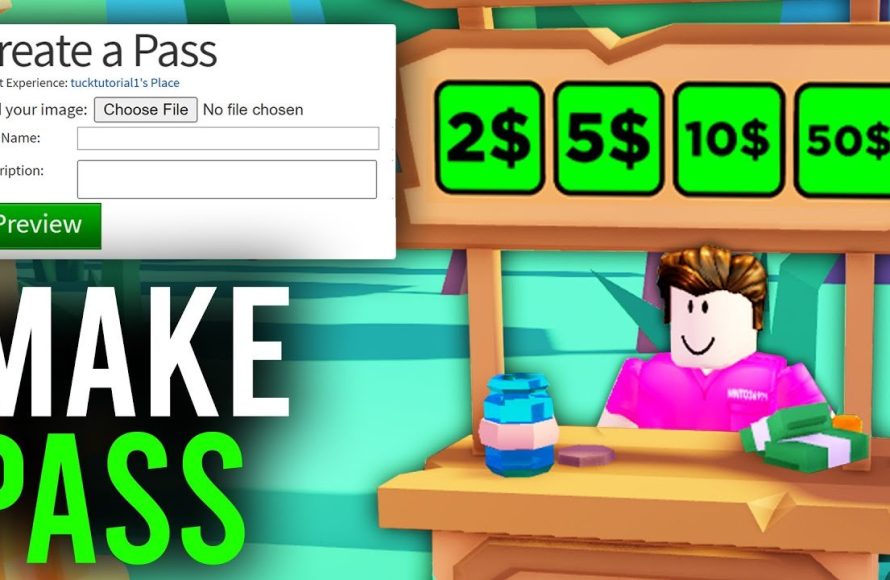
Uploading an Image
You’ll be asked to upload an image for your game pass. You can use a picture of anything you like, as long as it follows Roblox’s rules. It could be a picture of your avatar, a drawing, or any cool image you have. Remember to make it a picture that people will want to buy! The image should be in JPG, PNG, or BMP format. To upload the image, click the “Change” button and select it from your computer.
Naming Your Game Pass
Now, give your game pass a good name. Think of something that will make people curious and interested. For instance, “Awesome Supporter,” “Super Donator,” or “Cool Kid Pass.” Keep it nice and simple, easy to understand and easy to read. Make it interesting. Next, give your game pass a short description that explains what the pass does or why someone might want to buy it. You can say something like “Thank you for supporting me!” or “Be a cool kid and support me!”.
Creating the Pass
Once you’ve uploaded the picture, given it a name, and written a little description, click the big blue “Create Pass” button. That’s it! You have created your first game pass.
Step 4: Configuring Your Game Pass
Creating the pass is just the first step. We have to make sure that it is available for sale in Pls Donate. After creating the pass, it might not be for sale. You need to configure it. Click on your game pass image from the list of game passes and it will direct to a new page, and then click the “Sales” option in the menu on the left. Then toggle the “Item for Sale” option so that it will turn green. Now you will see the box where you can write the price in Robux.
Setting a Price
Now you can set the price for your game pass in Robux. If this is your first time, a good starting price is often somewhere between 5 and 25 Robux, but you can set any price you like. Remember, you only get a small percentage of the sale (Roblox takes a percentage), so think carefully about what’s a fair price.
Saving Your Settings
Click the “Save Changes” button to make sure the changes are saved. Now you’re good to go! Your pass is ready to be sold. Remember to keep an eye on your sales to see what price works best for you and your audience.
Putting Your Game Pass in Pls Donate
Now that you’ve made your awesome game pass, it’s time to show it off in Pls Donate! This part is really straightforward.
Step 1: Launching Pls Donate
First, of course, you need to go into the game Pls Donate on Roblox. Make sure you have the latest version to avoid any issues.
Step 2: Finding an Empty Booth
When you get into the game, look around for an empty booth. It will be grey. If a booth is taken, it will have another player standing there. Walk up to an empty booth and click on it to claim it. This is now your personal sales booth in Pls Donate.
Step 3: Your Game Pass Display
When you claim a booth, the game automatically loads your available game passes. It will be displayed on your booth for others to see. Now everyone can see all the game passes you created and that you have for sale! People will be able to buy those game passes to support you in the game.
Tips for Success with Game Passes
Making game passes is fun, but here are some tips to help you make the most of them in Pls Donate:
Make Good Quality Pictures
The picture of your game pass is the first thing people see. Make sure it’s nice and clear, colorful, and eye-catching. A good picture can make people want to buy your pass.
Price Strategically
Don’t price your game passes too high or too low. Try different prices and see what works best. Start with a small price at the start to get things rolling, or you can start with many lower priced game passes for more accessibility.
Promote Your Booth
Tell your friends about your booth in Pls Donate. The more people know about your booth, the better the chances someone will buy a game pass. You can ask your friends to donate for you, or you can ask your friends to promote you to more players. It may be a good idea to use social media as well, such as Discord or X.
Be Active and Engaging
Being active in Pls Donate can attract more attention to your booth. You could try to say hello to people as they pass by your booth, or you can have a sign on your booth welcoming them. Don’t be shy to advertise your passes to people nearby as long as you are respectful. If you can manage it, make new game passes frequently to give people more choice.
Offer Different Game Passes
Do not only create one game pass. Give people a choice. You could create a range of game passes with different prices. You can also offer varying tiers of game passes, so people with different budgets will have options for what they can purchase.
Check Your Stats Regularly
You can look at your statistics to see how your passes are doing. Take note of which ones are selling and the prices to help you plan your future strategies. If a pass isn’t selling well, consider lowering the price or creating a new one. Try different strategies and keep improving your game.
Additional Notes on Game Passes
Robux Payouts
Remember that when someone buys your game pass, you don’t get all the Robux. Roblox takes a percentage. Keep this in mind when you’re setting your prices.
Following Roblox Rules
Always make sure your game passes and images follow Roblox’s rules. If you break the rules, you could get your account banned. Keep things safe and fun!
Patience is Key
It might take some time for your game passes to sell. Don’t give up! Keep improving your game passes, your booth, and your marketing strategies. You can always try new things and look for new ways to get people to your booth.
Creating and using game passes in Pls Donate is a really fun way to get more Robux and show off your creativity. It might take some time to get the hang of it, but with a little practice, you’ll become a pro at selling game passes in Pls Donate!
Remember, it is important to be kind and honest in the game as well. Be nice to others, and enjoy the game.
So, have fun creating game passes and selling them to other players! This is a very nice way to earn Robux while doing what you love to do, which is playing Roblox. Be creative, be patient, and keep trying new things. You will be successful. You got this!
How To Make Gamepass In Pls Donate – Full Guide
Final Thoughts
To get game pass in PLS DONATE, you first need to create a game pass on Roblox. Go to the Roblox website, then click ‘Create’. Find the ‘Passes’ section for your game. Upload an image and set the pass price.
Next, in PLS DONATE, claim a stand and your game passes will appear. The game will automatically display the game pass you previously set. Players can then purchase these. That is how to get game pass in pls donate and start receiving donations for your creations.

