
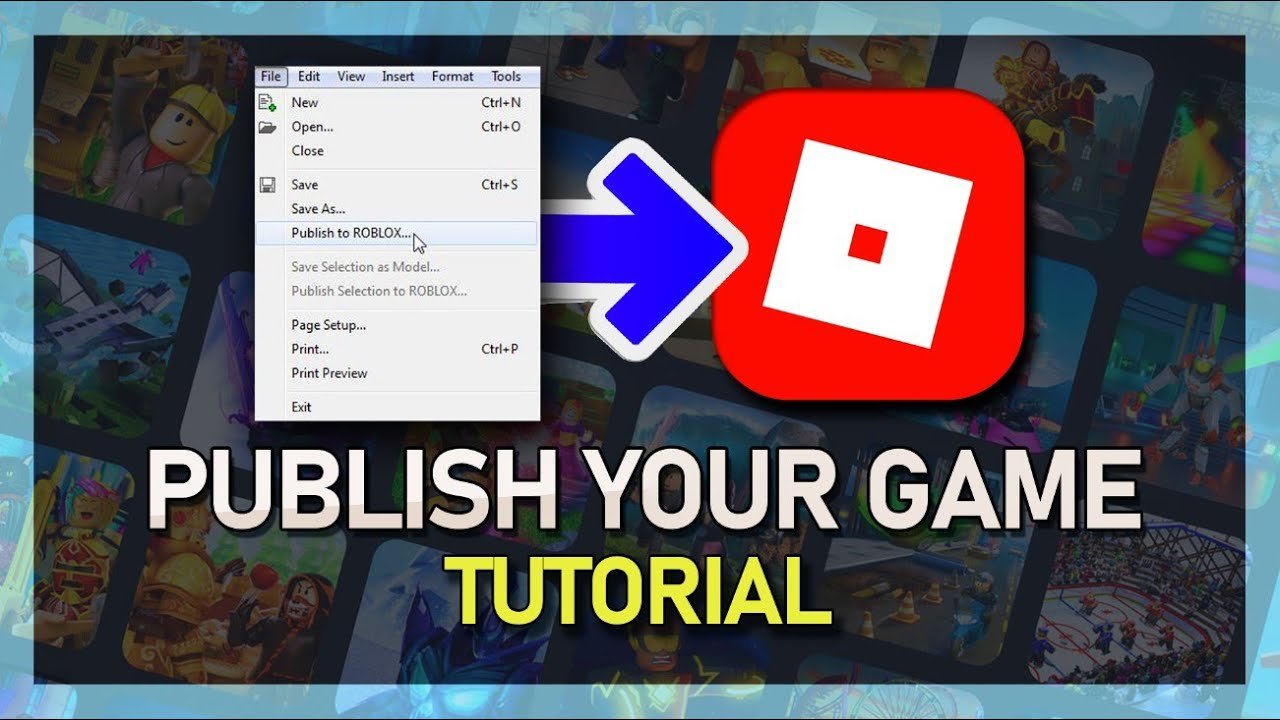
To publish a game on Roblox, you must first create it using Roblox Studio, then navigate to the ‘File’ menu and select ‘Publish to Roblox’ to make it available to other players.
Have you poured your heart into creating an amazing Roblox game, and now you’re wondering how to share it with the world? Many aspiring developers ask about the best way to get their game out there. This article will guide you through the simple process of how to publish game on roblox.
It can seem complicated at first but with a few steps, your creation will be live for everyone to play. We’ll cover the necessary actions within Roblox Studio for publishing. By the end of this, you will have your very own game live on the platform.

How to Publish Your Game on Roblox
So, you’ve built an awesome game in Roblox Studio! That’s fantastic! Now, you’re probably wondering how to get it out there for everyone to play. Don’t worry, it’s not as tricky as you might think. Publishing your game on Roblox is like sharing your amazing creation with the whole world. Let’s walk through the steps together, making sure each part is easy to understand. We’ll cover everything from preparing your game to getting it seen by millions of players.
Before You Publish: Getting Your Game Ready
Before you click that publish button, you need to make sure your game is in tip-top shape. It’s like tidying your room before you have guests over. You want everything to look great and work perfectly.
Testing, Testing, 1, 2, 3!
Testing is super important! Imagine if you shared a toy that broke right away – it wouldn’t be very fun. You need to play your game multiple times yourself. Ask your friends or family to play too, so you get different perspectives. Look for any glitches, errors, or parts that just don’t feel right. Here’s what you should be checking:
- Are all the parts of your game working as expected?
- Are there any places where a player might get stuck?
- Does the game run smoothly without lagging?
- Is the game fair and fun to play?
Remember, catching and fixing these problems now will make your game much better when you publish it.
Adding a Great Icon and Thumbnail
Your game icon and thumbnail are the first things players see! They’re like the cover of a book – they need to be eye-catching and tell people what your game is about. You need to create images that are bright and interesting. Think about what makes your game special and try to show that in your pictures.
Here’s a tip: Use bold colors and interesting visuals to attract players. Also, include your game’s name clearly so people can easily find it. You can use graphic design tools to make these. If you’re not comfortable making them yourself, there are other ways. Some players might even volunteer to help if they like your game idea.
Roblox has specific requirements for image sizes, so ensure your icon and thumbnail match their guidelines. A great icon and thumbnail can make a big difference in how many people decide to give your game a try.
Writing a Good Game Description
The game description is your chance to tell potential players all about your game. It’s like a movie trailer, giving a glimpse of what they can expect. Be clear and interesting! Use simple language that everyone can understand. Mention key features, goals, and anything that makes your game unique.
Make sure to include details like:
- What kind of game it is (adventure, puzzle, role-playing, etc.)
- What the player is supposed to do (the main objective)
- Any special items or characters in the game
- Why it’s fun and different from other games
Don’t forget to use some keywords, which are words people might use when searching for a game like yours! This will help them find your game easier in the Roblox search. For instance, if you have a building game, use words like ‘build,’ ‘create,’ ‘house,’ or ‘city.’
The Publishing Process: Step-by-Step
Now that your game is ready to go, it’s time to publish! Let’s walk through it together:
Step 1: Saving Your Game
Before doing anything else, make sure you save your game one last time in Roblox Studio. You do not want to lose any of the changes that you have made, and we don’t want anything to go wrong while trying to publish the game.
To save your game, press Ctrl+S, or go to File and click “Save to Roblox”. Remember to give your game a good name and a short description when you save it.
Step 2: Accessing the Publish Menu
Now that your game is saved, it’s time to get ready to publish.
In Roblox Studio, look at the top menu bar. You’ll find an option that says “File”. Click on it! A dropdown menu will appear. In that menu, there should be an option that says, “Publish to Roblox”. Click that option.
You will see a new window pop up that is very important, it is the publishing window where you can do several things. It’s very crucial that you take your time and do things right here. Don’t rush and make sure you read each part as you move forward with publishing your game!
Step 3: Game Settings
This step is super important because this is where you will be determining key parts of your game, and some of these will be set in stone for the future of your game, so take your time!
In the publish window, you’ll see some important settings. These settings help customize your game and make it easier for players to find it. Here’s what you’ll see:
- Name: Make sure the game name is correct here. This is the name that everyone will see for your game, so make it good!
If you need to change it, it is usually not a problem! - Description: Check your description again! This is exactly the same description that we talked about in the “Before You Publish” section. Make sure it is right. You can always change it later if you need to.
- Genre: Select the type of game it is. You can choose categories like “Adventure,” “Roleplay,” “Fighting,” or “Building.” This helps people find games they like. Make sure to chose the one that best fits the game that you have made.
- Devices: Select whether your game can be played on computer, mobile, tablet, and even console. Make sure that your game works fine on those devices before checking them.
You can select each of them as you test your game on the different devices. - Players: Set the maximum amount of players that are allowed in your game at one time. This is very important depending on how big of a game you’ve made.
Ensure that you fill out each of these options. Each option is very important and helps other players to be able to find your game, and to properly enjoy it.
Step 4: Creating Game Badges
Badges are special rewards that players can earn by completing specific tasks in your game. They add an extra layer of fun and encourage people to keep playing. You can create custom badges with unique icons and descriptions. Think of badges like achievements in other games.
To create badges, you’ll need to go to your game’s page on the Roblox website. Once there, you should see an option for “Associated Items” or “Creator Dashboard”. From there you can create and customize badges, but they will not show up until you program them into your game.
You’ll need to use scripts in Roblox Studio to award the badges to players. It may seem complicated, but there are lots of tutorials online that can guide you. Start with something simple like a badge for reaching a certain level or discovering a hidden area.
Step 5: Setting Game Access
After all the main information about your game has been set, you can now go into setting access for your game. You can determine who is able to play your game, such as only yourself, your friends, or everyone.
In the publish window, look for the section that says “Access”. Here, you’ll have a few choices:
- Private: Only you can play your game. This is good if you’re still working on it and don’t want anyone else to see it.
- Friends: Only your Roblox friends can play your game. This is great if you want feedback from people you know.
- Public: Anyone can find and play your game. This is what you want when your game is ready for everyone.
Select “Public” if you are ready for your game to be seen and played by anyone on Roblox! You can always change this later if you need to.
Step 6: Pressing the Publish Button
Everything looks good? You double checked every part and you’re ready to show your game to everyone? If so, then it’s time to press the “Publish” button! Once you do that, Roblox will start the publishing process, and your game will be available to play!
You might see a loading bar as your game gets uploaded. This usually does not take too long!
Once it’s done, you’ll get a message saying your game is now live.
After Publishing: What’s Next?
Congratulations, your game is now out in the world! But the work isn’t done yet. Here’s what to do after publishing:
Promoting Your Game
Getting people to play your game is very important. There are tons of games on Roblox, so you need to make sure people can find yours. Here are a few ways to get your game seen by others:
- Social Media: Share your game on Twitter, Instagram, TikTok, and other platforms. Post screenshots or short videos of your game in action.
- Roblox Groups: Join Roblox groups that focus on game creation or games similar to yours and tell them about your game.
- Ask Friends: Ask your friends to try your game and share it with their friends too. Word of mouth can be a powerful way to get new players.
- Game Advertisements: Roblox has its own advertisement system that you can use to promote your game to more people. You can run ads for a certain amount of Robux.
The key is to be patient. It takes time for your game to gain traction. The more you promote your game, the more players you’ll have!
Updating and Improving Your Game
Games are never really “finished.” You can always add new features and make improvements. Check your game regularly. See what people are liking or disliking. You can do this by looking at game analytics and reading comments left by players.
Use the feedback you get to make your game better. This might mean:
- Fixing bugs that players have reported
- Adding new levels or challenges
- Adding new characters or items
- Changing things that players find boring or hard
Making updates keeps your game fresh and gives players a reason to come back. Players love to see that the creators of the games are still dedicated to their games!
Interacting with Players
Engaging with players is very crucial. Answer their questions and listen to their ideas. Showing players that you care about them and their experiences will lead to more people playing your games and enjoying them.
You can interact with them in a few different ways:
- Comments: Read and respond to comments on your game page.
- In-game Chat: Sometimes join your game and chat with players.
- Discord Server: Create a Discord server where players can share ideas and provide feedback.
Build a community around your game. If you listen to their opinions and ideas, they’ll feel more invested in your game and will share it with their friends. It’s a win-win!
Important Tips for Success
Let’s look at a few extra tips that can be helpful when creating and publishing your game.
Make a Game That You Love
Making a game takes a lot of time and effort, so it’s very important that you make a game that you yourself will enjoy! Passion and enjoyment will show in your game, and players will notice this!
Don’t Give Up
Not every game becomes an instant hit. It’s ok to learn as you go and improve over time. Keep working, keep creating, and keep sharing your games!
Learn From Other Games
Play other Roblox games to see what they do well. How do they make players want to keep playing? What do their game icons, descriptions, and badges look like? This can be a good way to figure out how you can make your game better.
Be Respectful
When interacting with other players, make sure to be kind and polite. Do not engage in any type of disrespectful conversations or activities. If you want to build a good reputation, make sure you are respectful at all times.
Publishing your game on Roblox is a journey. It’s about more than just making a game; it’s about sharing it with the world and growing as a creator. By following these steps and tips, you’ll be well on your way to creating a game that players will enjoy. Remember, the most important thing is to have fun and keep creating! Good luck, and happy game making!
How To Publish A Roblox Game – Full Guide
Final Thoughts
To publish a Roblox game, first create your game in Roblox Studio. Once complete, click “File,” then “Publish to Roblox.” Choose to create a new game or update an existing one.
Set your game’s name, description, and thumbnail. Configure game settings for access, device types, and monetization. After these steps, your game will be ready to go live.
Remember, regular updates and community engagement are important. By following these steps on how to publish game on Roblox, you can share your creation with millions.

