
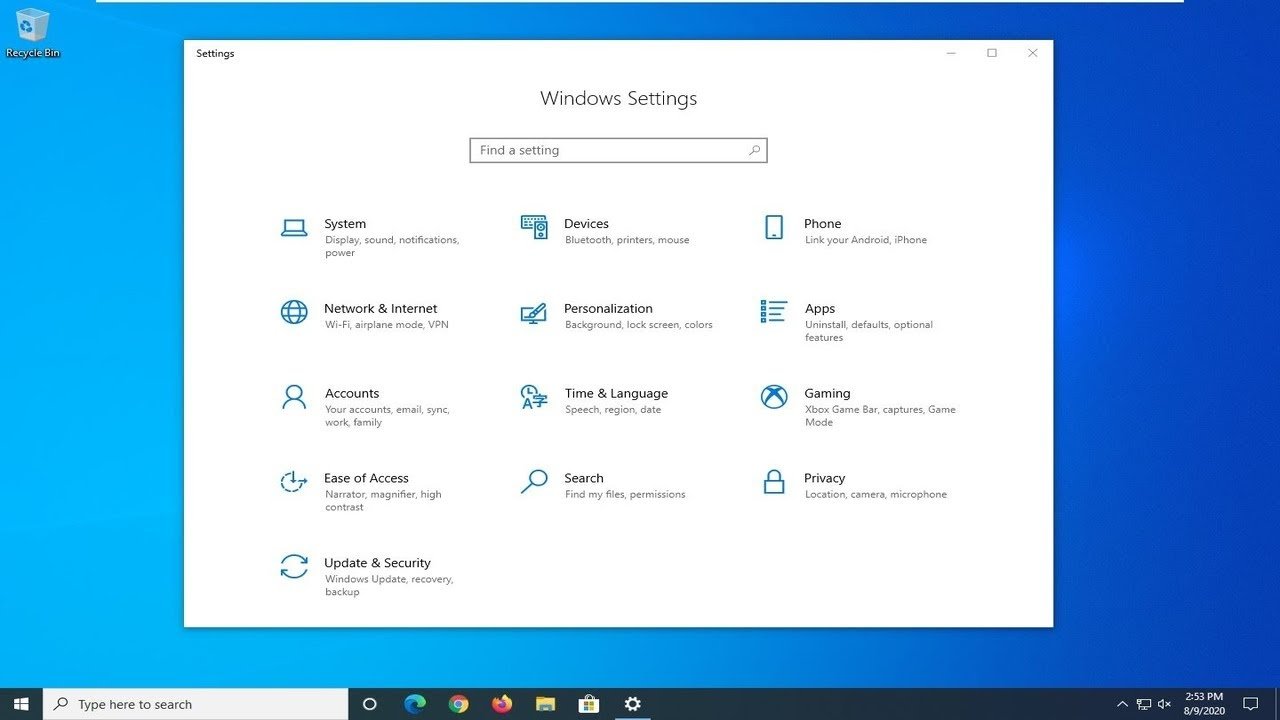
To set a game as high priority, use Task Manager (Ctrl+Shift+Esc), navigate to the “Details” tab, find the game’s .exe process, right-click it, select “Set priority,” and choose “High.”
Ever felt your favorite game lagging at the worst moment? It can be incredibly frustrating, right? You probably wonder if you can make your game run smoother. Well, one way to improve performance is by giving your game more processing power. In essence, this is all about how to set a game as high priority on your computer.
It’s actually a relatively straightforward process. Doing this can significantly reduce slowdowns and stuttering during gameplay. Let’s explore how to do it!

How to Set a Game as High Priority
Ever felt like your computer was moving in slow motion when you were trying to play your favorite game? It’s like your PC is busy with other stuff, and your game is just waiting in line. Setting your game as a high priority is a way to tell your computer, “Hey, this game is important! Give it the resources it needs!” Think of it like giving your game a VIP pass to the front of the line. This can make your game run smoother and faster, and reduce annoying lag. Let’s get into how you can do this.
Why Prioritizing Your Game is Important
Before we dive into the how-to, let’s understand why this is a good idea. Your computer has a bunch of things going on at once, even when you’re not using it. It’s running programs in the background, doing updates, and lots more. All of these use your computer’s resources, like its processor (CPU) and memory (RAM). When you play a game, it also needs these resources. If your computer is busy with other tasks, your game might not get enough, leading to:
- Slow frame rates (the game looks choppy)
- Freezing or stuttering
- Lag or delay in your actions
- Overall poor gaming experience
By making your game a high priority, you’re telling your computer to give the game more of the resources it needs, which often means better performance. It’s like telling your computer, “Focus on the game!”.
Methods for Setting Game Priority
There are several ways to set a game as a high priority. The methods vary slightly depending on whether you’re using Windows or MacOS. We’ll cover the most common and easiest methods here, focusing mainly on Windows, as it’s the most popular platform for gaming.
Using Task Manager in Windows
Task Manager is a handy tool built into Windows that lets you see what’s happening on your computer. It also lets you change the priority of programs, including games. Here’s how you use it:
- Open Task Manager: You can do this by pressing
Ctrl+Shift+Escat the same time. Or you can right-click on the taskbar (the bar at the bottom of your screen) and select “Task Manager”. - Find Your Game: Once Task Manager is open, go to the “Details” tab. You’ll see a list of all the processes running on your computer. Look for your game’s .exe file. The name will often be similar to the game’s name (for example, if you play “Awesome Game,” look for something like “awesomegame.exe”).
- Set Priority: Right-click on your game’s .exe file and go to “Set priority”. You’ll see a menu with options like “Low,” “Below normal,” “Normal,” “Above normal,” and “High.” Select “High.”
- Confirmation: You might see a warning message saying changing priority can make your system unstable. This is generally not a problem for games, so you can click “Change priority” to proceed.
Important Note: The priority you set in Task Manager is temporary. When you close and reopen your game, it will go back to its normal priority setting. You’ll need to repeat these steps every time you play the game if you want it to have high priority.
Using Third-Party Software
If you want to set your game to always run with high priority, and don’t want to repeat the steps in Task Manager every time, there’s an alternative – using third party software. There are different programs that allow you to set program priority, and also provides a wide range of other functionality. These software solutions make the process more automated and easier, and often offer extra options for optimizing your game performance. Examples of software in this category include:
- Process Lasso: This software is designed for process optimization, including automatic priority settings.
- Razer Cortex: Made specifically for gamers, it has a game booster feature that can also help set high priority for games.
- Game Fire: This one focuses on game performance optimization, including CPU and memory management.
How to Use Third-Party Software:
Each software has its own interface, but generally the process will be similar. You have to install the application and run it, from there you usually can find a section or a feature that allow you to set program priority. After you identify your game application, you are able to configure the software so that the game always starts with high priority.
Third-party tools will normally also allow you to automate other PC optimization options, like:
- Closing unnecessary background processes
- Cleaning up RAM
- Optimizing CPU usage
- Updating graphic card drivers
These features are useful for maintaining a smooth gaming experience. However, it’s always a good idea to make sure that the software you’re using is safe and from a trusted source.
Setting Game Priority with Command Prompt
The Command Prompt is a more advanced way to interact with your computer. It’s a text-based interface where you type in commands. You can also use it to set game priority. This might sound a bit complicated, but it’s actually not too hard if you follow the steps carefully. This method is also usually temporary.
- Open Command Prompt: Press the Windows key, type “cmd,” and click on “Command Prompt” to open it.
- Run as Administrator: Right click the command prompt icon in the start menu and select “Run as administrator”. This will allow you to modify your game’s process priority.
- Use the wmic Command: In the Command Prompt window, type the following command, but replace “yourgame.exe” with the actual name of your game’s executable file:
wmic process where name="yourgame.exe" CALL setpriority "high"and press Enter. You must use the game’s .exe file name, not the shortcut name. - Confirmation: If it works correctly you shouldn’t see any messages, but your game should now have high priority.
Note: If you see an error message, double-check that you typed the game’s .exe file name correctly. Also make sure that the game is running while executing this command. This setting is also temporary, so you need to perform this every time you start the game.
Understanding the Different Priority Levels
When you’re setting the priority for a game, you might see options like “Normal,” “Above Normal,” and “High.” These represent how much of your computer’s resources are allocated to that process. Here’s a quick rundown:
- Low: The process gets very little resources. It’s mostly used for background tasks that aren’t time-sensitive.
- Below Normal: The process gets fewer resources than normal. It’s used for some background tasks that don’t require significant processing power.
- Normal: This is the default level for most programs. It means that the process gets a fair share of the resources.
- Above Normal: The process gets more resources than normal, making it faster.
- High: The process gets a large share of the computer’s resources. This can greatly improve performance. Use it cautiously with programs other than games, it might cause system instability.
- Realtime: This is the highest priority and gives the process almost exclusive access to the computer’s CPU. You should generally avoid setting programs to Realtime, as this could cause freezes or instability in your system.
Generally, for most games setting the priority to “High” is more than enough to get the performance boost that we want.
Is Setting High Priority Always Good?
While setting a game to high priority can improve performance, it’s not always the perfect solution. It’s important to understand both the benefits and potential drawbacks.
Benefits:
- Smoother Gameplay: The main advantage is smoother gameplay. With more resources allocated to the game, you should experience less lag, stuttering, and freezing.
- Better Frame Rates: High priority can lead to higher and more consistent frame rates (frames per second), making the game look more fluid and responsive.
- More Responsive Actions: Your in-game actions feel more immediate, which is especially important for fast-paced games.
Potential Drawbacks:
- Reduced Performance for Other Programs: When your game gets a bigger piece of the pie, other programs might have to settle for less. This could lead to slower performance for your web browser, music player, or other applications running in the background.
- System Instability: In rare cases, setting a program’s priority too high, particularly to “Realtime,” can make your computer unstable, possibly leading to crashes or freezes. It’s best to avoid that and stick with “High” setting for games.
- Not a Magic Fix: If your computer is already struggling, setting the game priority won’t solve all your problems. For instance if your hardware is below the recommended specifications for a certain game, setting the priority will not magically make it run smooth. Hardware limitations can still cause issues, no matter the priority.
Setting a game as high priority is a tool, and like any tool, it’s most effective when used correctly and when it’s appropriate. If your computer is struggling with a game and the game is the only thing you’re using, then it’s a good practice to do it. However, you shouldn’t set a game’s priority to high if you’re also running other resource-intensive programs.
Tips for Optimizing Game Performance
Setting game priority is one of the many steps you can take to improve gaming performance. Here are some additional tips:
Update Your Graphics Drivers
Graphics drivers are software that help your graphics card communicate with your computer. Outdated drivers can cause problems with game performance. Make sure your drivers are updated to the latest version to get the most out of your hardware. Here’s how to do this:
- NVIDIA Users: Go to the NVIDIA website, download and install the latest drivers for your card. Alternatively, you can use the NVIDIA GeForce Experience application to update.
- AMD Users: Go to the AMD website, download and install the latest drivers for your card. Alternatively, you can use the AMD Radeon Software to update.
- Intel Integrated Graphics: Go to the Intel website to download and install the latest drivers for your onboard graphics.
Close Unnecessary Programs
Before you start playing a game, close any programs that you don’t need. This will free up resources that can be used by your game. Common programs you can close include:
- Web browsers (especially if you have many tabs open)
- Music players
- Messaging apps
- Other games or applications
Adjust In-Game Graphics Settings
Most games let you change the graphics settings. If your game is running poorly, try reducing some graphics settings like:
- Resolution: Lowering the resolution can greatly improve performance.
- Texture Quality: Reduce the level of detail in textures.
- Shadow Quality: Shadows can be heavy on resources, try reducing their quality or disabling them.
- Anti-Aliasing: Turning off or lowering anti-aliasing can help improve performance.
Regularly Clean Up Your Computer
Over time your computer can become cluttered with junk files and temporary data, which can negatively impact your performance. Use a tool to clean temporary files or uninstall programs that you’re not using. This can help free up space and improve overall computer performance.
Check For Overheating
Make sure your computer is not overheating, as this can cause performance problems. Clean out any dust from your computer’s vents and check the fan speed. Consider also investing in a cooling pad for laptops, or a better cooling solution for your desktop PC.
Consider a Hardware Upgrade
If your hardware is older, consider upgrading components like your graphics card, RAM, or CPU. This can make a big difference in game performance. Even a modest upgrade can make a significant difference, and could help games run smoothly.
Setting your game as a high priority is a good step that can help to make your games run smoother and faster. Remember that it’s not a magical solution, but it’s one tool in your optimization kit. By combining this with other steps, like updating drivers, closing unnecessary programs, or lowering in-game settings, you’ll maximize your gaming enjoyment. Keep experimenting with these different methods to see what works best for you and your games.
Set Any Games on High Priority In Windows 10
Final Thoughts
To set a game as high priority, access Task Manager. Locate the game’s process under the “Details” tab. Right-click it, then select “Set priority” and choose “High”.
Doing this directs more system resources to your game. This method ensures smoother gameplay. You must remember to change the priority again if you close and restart the game. This will effectively increase the game’s performance.

