To set up the game Mouse Trap, you need to assemble the game board, place all the plastic components in their designated spots, and then load the trap mechanism with the plastic mouse.
Ever found yourself staring at the jumble of colorful plastic pieces, wondering how to set up the game Mouse Trap? It seems simple, but getting everything in the right place for those chain reactions to work takes a bit of careful arrangement. This guide will quickly show you the steps required to assemble the game.
We’ll go over each part needed and how they fit together on the board. Soon, you’ll be ready to spring the trap on those pesky mice! Let’s dive in, shall we, and learn how to set up the game Mouse Trap.

How to Set Up the Game Mouse Trap
Alright, let’s dive into the fun part – setting up Mouse Trap! This classic game, with its wacky contraption, can seem a bit tricky at first. But don’t worry, we’re going to break it down step-by-step so you can get to the cheese-stealing action in no time. This guide will take you from opening the box to watching that trap spring – just follow along, and you’ll be a Mouse Trap setup pro before you know it.
Unboxing and Taking Inventory
Before we even think about building, we need to make sure we have all the pieces. Think of it like a treasure hunt – we need to find all the hidden goodies before we can play. So, let’s open that box carefully and lay everything out on a table. This will help you see what we’re working with and prevent any accidental “where did that piece go?” moments later. It also ensures you won’t start building only to find a critical piece missing.
What You Should Find Inside:
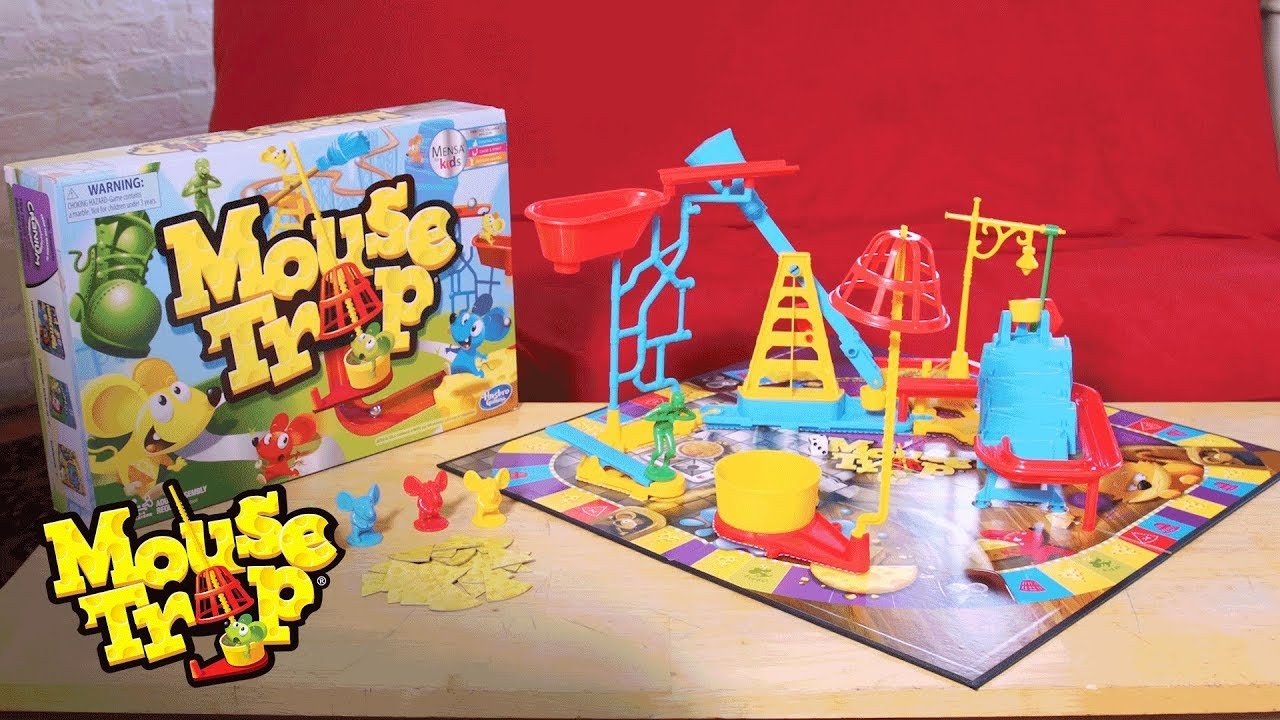
- The Game Board: This is your play area, where all the action happens. It will have spaces for moving your mice and areas for the trap components.
- Plastic Trap Components: These are the bits and pieces that make up the trap. Things like the boot, the bucket, the pole, the ladder, and the cage.
- The Little Yellow Cheese Piece: This tiny piece is a target and a goal!
- Little Mouse Playing Pieces: These come in different colors, one for each player.
- Rubber Band: Usually a single rubber band is all it needs to make the trap work, but check if there is more if you bought an old version.
- Dice: Standard dice for taking turns and moving around the board.
- The Instructions Manual: This contains the most important information, so keep it close at hand! It will help you through any snags we might encounter along the way.
Tip: If this is a brand new game, it is a good idea to check all of the components against the contents list on the instructions to confirm that everything is included. This helps avoid confusion or frustration later, and it’s easier to fix issues before you start building!
Preparing the Game Board
Okay, we’ve got all our parts, now it’s time to set up the game board! First, take the game board and place it in the middle of the table. Make sure that you have enough space around the game board to build the trap. The game board is designed to help guide you with the trap building process, so its important that you have it laid out correctly.
Initial Board Setup:
- Lay the board flat on the table.
- Make sure there are no pieces, food or any obstructions in the way, as that can make building the trap difficult.
- Check if there are any indentations or places to help build the trap, note these down for later in building process.
Building the Trap: The Step-by-Step Guide
Now for the most exciting part: building the crazy, chain-reaction machine that is the Mouse Trap! This can be a little tricky, but take it slow, and it’ll all come together. The key here is to follow the instructions closely, and don’t force any pieces if they don’t seem to fit easily. It’s also beneficial to know what each component of the trap is and how they all work together.
Understanding the Components
- The Gear Turner: This is the first piece and it needs to be attached in such a way to help the rest of the trap get built. This small cog-like item has a very important role.
- The Boot: This is the start of the cause and effect, and it tips down as part of the trap.
- The Ladder: This piece falls over once the boot is tipped.
- The Bucket: this part gets tipped down once the ladder falls over and has a ball inside it that rolls down.
- The Hand: This item comes down due to the ball rolling.
- The Cage: This is the final part and it has to capture the mouse.
Step-by-Step Assembly:
- Start with the Gear Turner: Locate the Gear Turner and attach it to the designated slot on the game board, usually the most visible area. It is important that this piece is fitted correctly as it is the base of the trap. Make sure that it spins freely!
- Attach the Boot: Attach the plastic boot to the gear turner. The boot will pivot when the gear turns, setting off the next event. Make sure that the boot moves with ease!
- Place the Ladder: Locate the plastic ladder and place it carefully so that it can fall over when the boot falls. Note down where the ladder is being placed, you need to remember this for later.
- Attach the Bucket: Now, you should attach the bucket to the designated slot, ensuring that it will tip when the ladder falls. The ball should be inside the bucket, make sure it is there!
- Position the Hand: The Hand piece needs to be positioned so that when the ball rolls, it will be triggered, ready to grab the mouse.
- Position the Cage: This is the last piece! The cage has to be placed so that when the hand is triggered, the cage will spring up and catch the mouse.
Important! The setup of these pieces can vary slightly depending on the version of Mouse Trap you have. Always refer to the specific instructions included with your game, as they will have the exact guidance tailored to your trap.
Using the Rubber Band:
- Locate the small rubber band that came with the game. This rubber band helps hold all of the components in place, ready for action.
- Find the designated area where the rubber band will be fitted. This is usually around the gear turner or near the final cage placement.
- Carefully place the rubber band into position. Note that the rubber band should not be too loose or too tight, as this can cause problems for the rest of the trap mechanism.
Testing the Trap
Before you start playing, it’s very important to test the trap, just to make sure that everything is working as it should! This will save you frustration mid-game if a piece falls off or the chain reaction doesn’t happen correctly. Here’s how to give it a go:
How to Test:
- Prepare the Trap: Reset the trap by making sure that the gear turner is at its starting point. All of the components should be set as if you just finished building it.
- Start the Chain Reaction: Gently push the starting point, which is the gear turner, and start the trap. This will trigger the chain of events.
- Observe Carefully: Watch to make sure each part moves as it is supposed to – the boot tips, the ladder falls, the bucket tips, the hand grabs, and the cage springs shut.
- Check for Issues: If a piece gets stuck or the trap doesn’t complete, carefully note the problem. You may need to reposition a piece or double check that the rubber band is working.
- Repeat Test: Repeat the test several times to ensure that the trap is consistent in working. If there are still problems after repeating, check the instructions manual again or start over from the beginning with trap building process.
Common Issues and How to Fix Them
Even with the best efforts, sometimes things go wrong. Here are some common problems people have when setting up Mouse Trap, and easy solutions to fix them:
Common Issues:
- Trap Doesn’t Trigger:
- Problem: The chain reaction doesn’t start when the gear turner is triggered.
- Solution: Make sure that all the pieces are in the right place, and that the rubber band is in good condition, if needed replace it. Double check that the gear turner spins freely.
- Pieces Fall Off:
- Problem: One or more pieces keep falling off when the trap is triggered.
- Solution: Ensure that the plastic components are secured properly and do not wobble. You may need to adjust how the pieces are connected, and you can use a little tape to help the pieces stay put, just ensure it does not interfere with the trap.
- Cage Doesn’t Close Properly:
- Problem: The final cage doesn’t spring down completely, failing to capture the mouse.
- Solution: Check that the hand moves easily and fully, allowing the cage to drop properly. If not, you can try to adjust where the hand and cage is placed.
- Ball Doesn’t Roll:
- Problem: The ball inside the bucket doesn’t roll out, stopping the chain reaction.
- Solution: Make sure the bucket is correctly fitted, and that the ball isn’t stuck. There may be a blockage in the path of the ball.
Tips for Smooth Game Play
Once the trap is working, it’s time to play! Here are some tips to make sure your game runs smoothly and is a lot more fun:
Tips for Great Game Play:
- Set Up on a Flat Surface: Always play on a flat, stable surface. A wobbly table can cause the trap to malfunction.
- Be Gentle with the Pieces: The trap can be delicate, so always use gentle hands when you are using it.
- Check the Trap Regularly: Between games, take a moment to check that all the pieces are still attached correctly and that the trap works properly.
- Take Turns Fairly: Ensure everyone takes their turn properly. Moving when it isn’t your turn can cause problems.
- Don’t Force Anything: If you have any problems with the trap, don’t try to force any of the pieces. Refer to the instructions or start again.
Storing the Game
When you’re done playing, it’s good to pack everything away correctly. This will keep your game in tip-top condition and ready for next time.
How to Store Mouse Trap:
- Carefully Disassemble the Trap: Gently take the trap apart piece by piece. Don’t force anything, just reverse the building process.
- Place Pieces Back in Box: Put all the pieces back in their original compartments in the box. This will help to keep everything organised and together for next time.
- Keep the Instructions Safe: Store the instructions manual in the box or somewhere safe, so you have it for the next game.
- Keep Away from Damp Areas: Store the game somewhere dry to avoid damage to the cardboard box and plastic pieces.
And that’s it! You’re now a Mouse Trap setup expert. You’ve gone from a box of parts to a fully functioning, cheese-stealing machine. So get out there, set that trap, and have a fantastic time! Remember the key is to follow the steps carefully, check everything is in place, and most importantly, have fun with friends and family!
How to Build the Trap in the Mouse Trap Game 🐭 – Hasbro Gaming
Final Thoughts
To set up the game mouse trap, carefully place the plastic cheese wedge into the trap base. Position the grey trigger platform. Next, set the yellow crank arm. Ensure it engages with the side of the cage.
Now, put the red stop sign in place. The spring should now have tension. Make sure all the game pieces are close by. This completes how to set up the game mouse trap; you are ready to play.

