Roblox augmented reality development involves using Roblox Studio and its Lua scripting capabilities, along with specific AR frameworks to create experiences that blend digital content with the real world.
Imagine taking your favorite Roblox experiences and overlaying them onto your living room. That’s the exciting promise of augmented reality development. The Roblox platform now provides tools to get started in this exciting space. We’ll guide you through the process with our concise Roblox augmented reality development guide.
This guide will clarify the basics of AR integration within Roblox. It will help you move from concept to a working prototype. Get ready to explore how you can use existing tools for AR creation on Roblox.

Roblox Augmented Reality Development Guide
Alright, let’s dive deep into the exciting world of Roblox augmented reality (AR)! You know Roblox, right? It’s the amazing platform where you can create and play all sorts of games. Well, AR takes that fun and mixes it with the real world around you. It’s like bringing your Roblox creations right into your living room!
What Exactly is Augmented Reality?
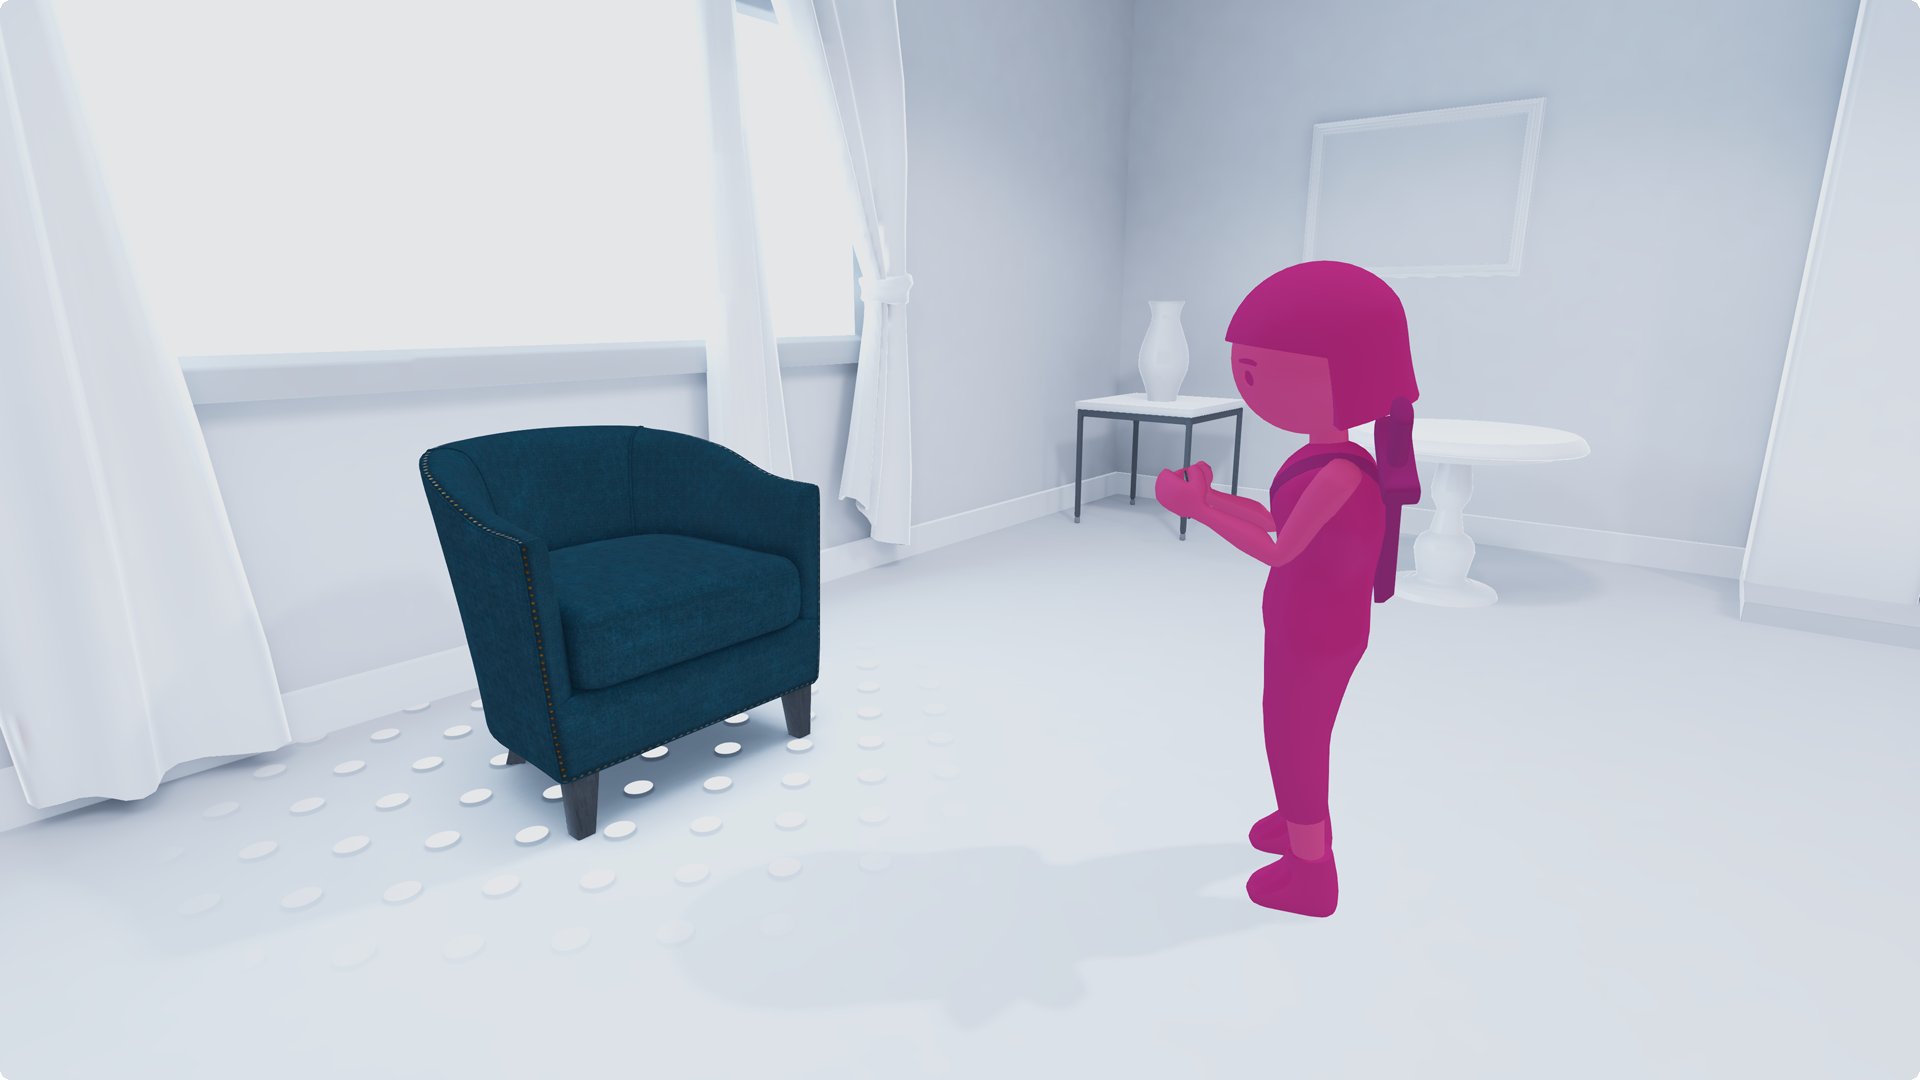
Before we get into the nitty-gritty of making AR experiences on Roblox, let’s make sure we’re all on the same page about what augmented reality actually is. Imagine you’re looking at your desk through your phone’s camera. Now, imagine a cool Roblox character suddenly appearing right there on your desk, walking around! That, in a nutshell, is augmented reality. It layers computer-generated images or information onto the real world. It’s different from virtual reality (VR), where you’re completely immersed in a digital world. AR keeps the real world in the picture, adding to it.
Key Differences Between AR and VR
Here’s a quick comparison:
- Augmented Reality (AR): Overlays digital content onto the real world. Think Pokémon GO, where you see Pokémon in your park. It requires devices like smartphones or tablets.
- Virtual Reality (VR): Creates a totally digital, immersive environment. You usually need a VR headset to use it. Think of a video game where you are transported to a different planet.
Roblox and AR: A Perfect Match
Now, why is Roblox such a great place for AR development? Well, Roblox is already a platform where creativity thrives. It gives you the tools to build amazing games and experiences. Adding AR into the mix opens up a whole new dimension of possibilities. You can make games that interact with the player’s surroundings, create new and unique social interactions, and build some really innovative things. Roblox makes it easy to share these AR experiences with your friends.
The Building Blocks of Roblox AR
Let’s explore the specific parts you need to understand to create a Roblox AR experience:
Understanding Roblox Studio
First and foremost, you need to know about Roblox Studio. This is the free tool that Roblox gives you to create all sorts of experiences. This is where you’ll make your AR magic happen. If you’re new, it might feel a bit overwhelming. Don’t worry, there are tons of resources to help you get started. Learn the basics of moving objects, using the explorer window, and using the properties window. These are the fundamental aspects of building anything in Roblox, including AR experiences.
The Magic of Mobile Devices and Cameras
AR on Roblox primarily depends on mobile devices (like smartphones and tablets) and their cameras. The camera is how the game ‘sees’ the real world, so that it can place digital objects in it. Roblox has a specific set of tools that allow it to use the camera. You need to understand how your code can ‘listen’ to what the camera is seeing. These tools are important for placing AR elements in the correct spot.
Utilizing Roblox’s AR Features
Roblox provides developers with some specific features to help with AR development. One of the most important of these is the ability to recognize planar surfaces. These are flat areas like tables, floors, or walls. The software recognizes these surfaces so you can put AR objects on them. These surfaces are called AR anchors. Your game needs to make sure it uses AR anchors to make sure the objects look solid and correctly placed in the scene.
Coding with Lua
Lua is the programming language used in Roblox. You will use it to create your AR game’s mechanics. You don’t need to be a coding expert, but learning a few basics will help you build some awesome AR experiences. You will use Lua to make your AR objects appear in the correct place, respond to user interaction, and keep track of game states.
Getting Started: A Step-by-Step Guide
Now that we have covered the basics, let’s walk through making a basic AR experience. It might seem like a lot, but by taking it step-by-step, it’s much easier.
Step 1: Setting Up Your Project
First, open Roblox Studio. Start a new game. You can start with a blank baseplate. This will give you a clean slate to start with. Next, you will need to make sure you are using a mobile device camera. You can test this using the Roblox Player on a mobile device. Make sure the device you are using has the required permissions to use the camera.
Step 2: Adding AR Functionality
This is where you will start using the Roblox API features for AR. You’ll need to insert a new script. You will use this script to access the user’s camera, and allow the game to see the environment. The script will also search for a surface for an AR anchor to attach itself. This script will be the foundation for all the AR elements you add to your experience.
Here is a snippet of code example for your understanding.
    -- Get the AR Service
    local AugmentedRealityService = game:GetService("AugmentedRealityService")

    -- Function to handle plane detection
    local function onPlaneDetected(plane)
      print("Plane Detected: ", plane)
        -- Create an anchor at the detected plane
        local arAnchor = AugmentedRealityService:CreateAnchorAtPlane(plane)
        -- Add your virtual object here (a Part or Model)
        local myPart = Instance.new("Part")
        myPart.Size = Vector3.new(2,2,2)
        myPart.Parent = arAnchor
        myPart.Color = Color3.fromRGB(255,0,0)
    end

    -- Start detecting planes in the real world
    AugmentedRealityService:StartPlaneDetection()
    AugmentedRealityService.PlaneDetected:Connect(onPlaneDetected)
Explanation of the above code:
- The first line is for getting the AR service from roblox API.
- Then, it creates a function named
onPlaneDetected. This will run when Roblox detects a flat surface, such as a floor or table. - Inside the function, it prints to the output window whenever a plane is detected. This is a great way to see what’s going on while debugging.
- The function creates an AR anchor object at the location of the detected plane.
- A part is created, colored red, resized and parented to anchor object. This red object will now appear in the real world.
- The code starts detecting planes and then connects the function.
Step 3: Placing Your First AR Object
Now that you have the foundational code setup, you will want to start displaying AR elements in your game world. You can start with a basic Roblox Part, like a cube. Use a script to make the Part an AR object. You will need to get the surface in which the object should be placed. When the AR camera identifies a horizontal surface, it will place an AR anchor at this location. The cube should be made a child of this anchor so that it is displayed in the correct place in the real world. Make sure you adjust the size of the part to look right in the real world.
Step 4: Adding Interaction
What’s an AR game without interaction? You can make your AR objects respond to touch input by a player. Using a script you can listen to when a player touches the object. Then you can trigger other actions based on the user’s input. For example, you can make the object move or change its color. You can even make new objects appear when a player interacts with it. The options are really limitless!
Step 5: Testing and Iterating
This is a very crucial step. It’s very rare for anything to work perfectly the first time. You need to constantly test the game on a device. See how the AR experience works in a real-world environment. See if the objects are placed properly. See if the interaction is smooth. You may have to go back to your code, change properties, and do more tweaking. This process is called iteration. You keep testing and making changes to make your game better and better.
Advanced Techniques for Roblox AR
Once you feel comfortable with the basics, you can try some more advanced stuff:
Object Tracking
Instead of simply anchoring to a surface, you can try tracking specific objects in the real world. For example, you could try making your game track a specific picture or QR code. When the game sees the image, it will display AR elements that are relative to that image. This can open up some very cool game experiences, such as AR board games, or interactive books.
3D Model Integration
Instead of just using basic shapes, you can bring in complex 3D models from Roblox Studio. This allows you to create very detailed and interesting AR experiences. You can use this to place virtual characters, objects, or buildings in the real world. Making sure that your models are properly scaled and optimized for AR is important.
Using Multiple Anchors
You do not need to use a single anchor for all your AR objects. You can place multiple anchors in your AR scene. This allows you to display objects relative to multiple surfaces or objects. You can use this to build multiple different interactive areas in your game. Using multiple anchors gives you a lot more flexibility in your game’s environment.
Real-Time Lighting and Shadows
This is a very important aspect of creating a realistic AR experience. You want the digital objects to fit into the scene and feel like they belong. Roblox lets you capture the lighting from the real environment and apply it to your AR objects. It’s still very early, but you can also make your objects cast shadows into the real world. This can really increase the realism of your game and make it more immersive.
Tips for Creating a Great Roblox AR Experience
Here are a few things to keep in mind as you are developing:
- Keep it Simple: Start small and focus on getting the core AR mechanics working well. Then, you can always add on more.
- User-Friendly: Make sure that the experience is easy to understand and use for players of all skill levels.
- Performance Matters: Optimize your game to run smoothly. Especially on mobile devices. Lag and low frame rates can really kill the magic.
- Test Often: Test your game on multiple devices and in different environments. This can help you catch problems early.
- Get Feedback: Show your game to your friends. Get some feedback, so you know what areas you need to improve.
The Future of Roblox AR
Roblox AR is still pretty new. It’s constantly evolving. As the platform develops and improves, we can expect to see even more amazing features and possibilities. Who knows what kinds of incredible AR experiences will be available in the near future. The potential is certainly there. We can already see players pushing the boundaries of what is possible with Roblox’s AR capabilities.
Challenges You May Face
Making AR experiences is not always easy. Here are some things that can be tricky:
- Camera Tracking: Getting the camera to correctly track the real world is important. You need to make sure that AR objects are properly aligned. You need to make sure they appear stable. Poor camera tracking is a very big issue that you should try to avoid.
- Performance Issues: Mobile devices can have a hard time keeping up with intense graphics and complicated AR features. It’s very important to optimize your game to get the best performance.
- Limited API Features: AR capabilities in Roblox are still somewhat limited compared to other platforms. This means there may be times when you have to get very creative to make your game do what you want.
- User Device Compatibility: Not all devices are compatible with AR technology, or have the right sensors. You need to make sure your game is accessible to as many users as possible.
Creating a Roblox AR experience is really a cool way to express your creativity and bring your game ideas to life. Keep experimenting, keep playing, and keep building. You might be the next person to create a groundbreaking AR experience! It does require a bit of learning and patience. But, it’s certainly a rewarding endeavor.
ROBLOX VR IS HERE
Final Thoughts
Building engaging AR experiences on Roblox requires understanding its specific tools and limitations. You should practice with Studio’s features to effectively overlay digital content. Effective development involves careful planning, iterative testing, and user feedback.
The roblox augmented reality development guide provides a pathway for creating innovative and interactive games. Developers can now merge the virtual and physical worlds using Roblox’s platform. A careful study of this guide is a must for anyone wanting to explore this capability.

