
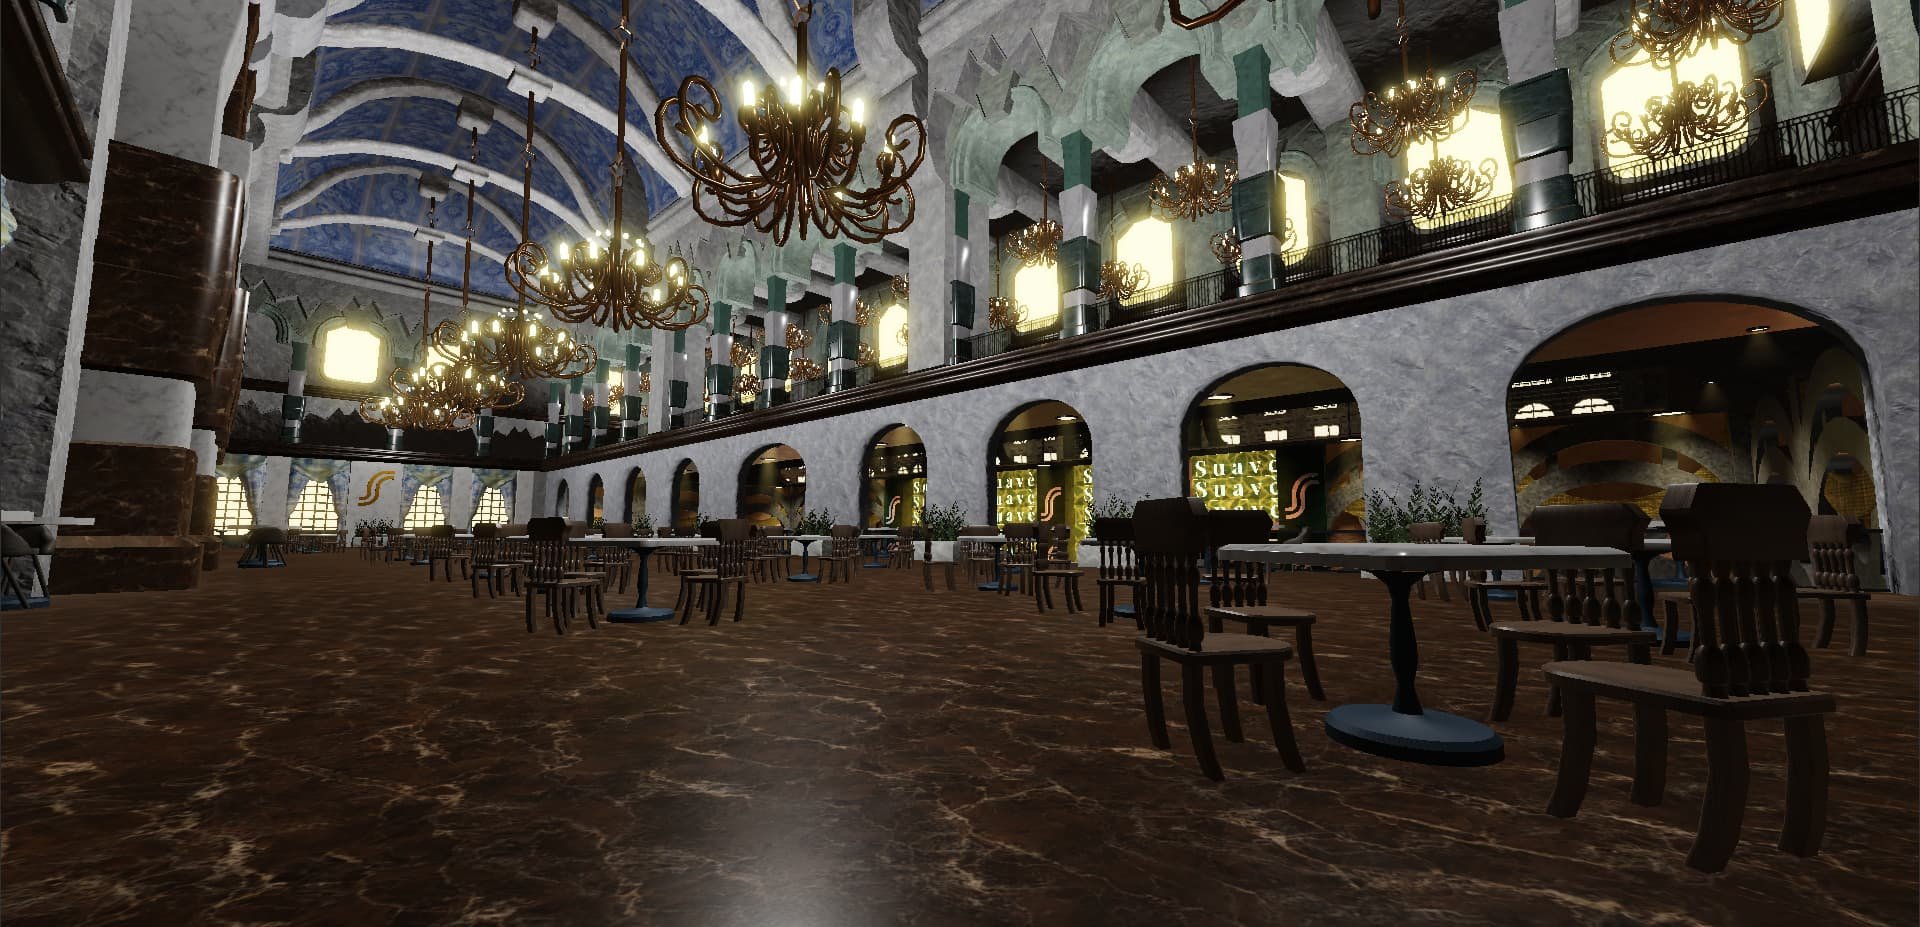
Advanced Roblox building techniques often involve intricate use of Studio tools, precise part manipulation, and scripting for dynamic elements.
Ever felt limited by basic Roblox building? You’re not alone! Many creators crave ways to push their builds beyond the ordinary. This is why exploring roblox building techniques advanced is essential for taking your creations to the next level.
This article will touch on some of those advanced methods. We are talking about using plugins strategically. Furthermore, we’ll discuss how you can use smooth terrain sculpting to create realistic environments. We also will talk about how you can use more complex models.

Roblox Building Techniques Advanced
So, you’ve built some cool stuff in Roblox, right? Maybe a simple house or a mini game area. But are you ready to make things look super amazing? Get ready to take your building skills to the next level! This is where we move past basic shapes and start using some clever techniques to build really impressive creations. We will explore how to make things smoother, more detailed, and overall, look more professional. This guide is packed with secrets that can make you a much better Roblox builder.
Understanding Parts and Properties
Before diving into fancy techniques, let’s make sure we understand the building blocks: parts. In Roblox Studio, a “part” is the basic thing you use to build. It’s like a Lego brick. Parts come in different shapes like blocks, spheres, wedges, and cylinders. Each part also has many properties that you can change. Think of properties like the settings for each part.
Key Part Properties
- Size: How big the part is. You can adjust this to make it long, short, wide, or thin.
- Color: The part’s color. Roblox offers tons of colors to choose from, and you can even create your own!
- Material: This decides how the part looks and feels. Is it smooth plastic, shiny metal, or rough wood?
- Position: Where the part is in your game. Think of it like coordinates on a map.
- Orientation: How the part is rotated. You can turn it on its side or flip it around.
- Transparency: How see-through the part is. You can make it invisible or partially see-through.
- Anchored: If a part is anchored, it stays in one place. If not, it can fall over or move around.
Playing around with these properties is the first step to making amazing builds. Don’t just stick to the default settings. Experiment with different combinations to see what you can create.
Advanced Techniques
Now let’s move on to some fun and advanced techniques. These will help your builds look way more professional.
Working with Unions and Negates
Imagine you want to build a chair with a hole in the middle, or a window in a wall. You might think, “I need to use lots of tiny parts!”. Nope! This is where unions and negates become super useful. A union combines two or more parts to make a single new part. A negate part is like a “hole punch” – it removes that shape from another part.
Here is how to use them:
- Put the parts you want to combine or use for the hole punch into your workspace.
- Use the part that will make the hole, and adjust its position and size accordingly so that it overlaps with the other part.
- Select the part(s) that you want to combine, then click Model -> Union. Now all those parts will be one.
- Select the part you want to use for the hole punch, then click Model -> Negate. Now the part you use for the negate will become transparent.
- Select the negated part and the part that you want to cut a hole into then click Model -> Union. This will make the hole.
Unions and Negates are crucial for creating custom shapes. Think about things like car bodies, furniture, intricate details on buildings, and more. Practice using unions and negates to make your builds look exactly how you imagined!
Using the Move Tool Effectively
The Move tool seems simple, but it has secrets. By default, it moves parts in big steps, making it hard to position them precisely. You need to change the “Move increment” setting. Look in the top of your Roblox Studio window. You will see a section called “Snap to Grid”. Make sure the “Move” part is ticked, and in the drop-down menu next to it, there is an increment box. Change this to 0.1 or even 0.01. This will allow you to move parts in tiny steps. This is great when you’re aligning parts very precisely. Remember to turn it up when you need to move things large distances.
You also need to use the different arrows of the move tool correctly, to move on each specific axis, without moving unintendedly, and also to learn about local and global space, which can save a lot of time.
The Importance of Scaling
Scaling parts is another tool that might seem simple, but becomes very powerful when combined with the previous techniques. You can change the scale increment to 0.1 or 0.01 like on the move tool, so you can scale precisely. If you scale multiple parts, the scaling will be distributed between them equally, helping you make uniform modifications to all the parts at once.
Working with the Rotate Tool
Like the move tool, the rotate tool also has increments. Changing it to very small values allows you to make small adjustments, which comes in handy for creating smooth curves or sloped surfaces. You can also rotate using specific angles in the box on top, which can be very useful for certain types of builds.
Color Palettes and Material Choices
Don’t underestimate the power of colors and materials! A great build can look bad with the wrong colors. Start by choosing a color palette. A color palette is just a group of colors that look good together. There are many free resources online that show good color combinations you can use in your builds. When using materials, think about what they are simulating. Concrete is used for solid bases and roads, metal for fences, or any metallic builds, and wood for houses or other natural builds.
Stick to a few key materials and don’t use too many different materials in a single build. Using too many different materials looks cluttered and unprofessional. Try to use the materials and colors that are suitable for that build. The use of a good color palette and suitable materials, can give your build a more professional and clean look.
Using Textures and Decals
Textures and decals can add lots of detail. Textures change the surface appearance of a part and can make it look like bricks, metal, fabric, or anything you want. Decals are like stickers you can put on a part. Use them to create logos, signs, or other details. You can find textures and decals on the Roblox marketplace. There are thousands, and many of them are free. Experiment with these to add extra details to your builds. Avoid using decals or textures too much, or it may make your build look cluttered.
Building with Reference
When building more complicated structures, it helps to have a reference image. Whether it is a photo from the real world, or an idea from another game, a reference can help you achieve your vision. This is similar to how an artist would study an object before drawing it, to make it look the most real. It also helps to have a rough sketch of your build. This way you will have a clear picture in your mind before you start building, allowing you to focus on the execution of your project.
Working with Meshes
Meshes are even more advanced than unions. A mesh is a 3D model that was created outside of Roblox Studio. You can import these into your game. They can have very complex shapes that you cannot make with regular parts. However, learning to make and use them correctly can be tricky and is very advanced. You can download meshes made by other people from the Roblox marketplace, or you can use a 3D modeling software like Blender to make your own. When you start learning Blender and other 3D modeling software, you will truly reach another level of building, and have the freedom to create whatever you imagine. However, it does require a lot of time and practice to get good at.
Optimization Techniques
As you build more complex things, you will need to start thinking about optimization. Overly complex parts and too many unions can slow down your game, especially on mobile devices. Be careful when using unions and negates, as they make the parts more difficult for the engine to render, and too many unions can impact the performance of your game, especially on mobile devices. Here is how to optimize:
- Use fewer parts: Try to use as few parts as possible. Instead of many small blocks, try using a larger one that is scaled to the correct size.
- Simplify complex shapes: Break up your large shapes into smaller, simpler shapes, to reduce the load on the game’s engine.
- Use LOD (Level of Detail): For things far away, use less detailed models. As a player comes closer, it shows a model with more details. This only needs to be used if your game is large enough.
- Use Part Instancing: Instead of creating a ton of the same part, like the bricks for a wall, create one, and then duplicate it. This way the game won’t have to load all of these bricks individually, since they’re all the same object.
Lighting and Shadows
Lighting can change the look of your builds completely. There are several types of lights, and they all work differently. Experiment with different types of lights to make your build look exactly as you imagine. You also want to try to adjust the light range, and color for the perfect vibe.
Here are the different types of lights:
- Point Light: Like a light bulb, emits light in all directions.
- Spot Light: Like a flashlight, focuses light in one direction.
- Surface Light: Emits light from the surface of an object, good for making glowing signs.
Another thing to consider is the lighting settings. Adjusting things like the shadow properties or general lighting can give your build a very different feel. Experiment with these as well.
The Importance of Planning
Before you start building something big, create a plan! Sketch out your design, and consider what techniques you need to use to achieve it. This will save you time and prevent mistakes. Having a clear picture in your head will guide you, and make the building process much easier and organized.
Study Other Builds
The best way to get better at building is to look at other people’s builds. Go into popular Roblox games, and study their builds. Note how they used different parts, colors, and materials. See if you can replicate their designs, and try to understand what they did to achieve their specific look.
The journey to becoming an advanced Roblox builder is a marathon, not a sprint. It involves a lot of practice, experimentation, and learning from others. Don’t get discouraged if your first few attempts don’t look perfect. Keep building, keep experimenting, and most importantly, have fun with it! With time and dedication, you’ll be creating amazing things that will blow everyone’s minds.
Roblox Studio – Building Tutorial | Advanced
Final Thoughts
Advanced techniques involve complex shapes, intricate details, and efficient use of parts. These skills go beyond basic building. Practice, observation, and experimentation are crucial.
You must dedicate time to learn these advanced techniques. They include using custom textures, scripting for movement, and precise placement.
Therefore, improving in ‘roblox building techniques advanced’ is possible through consistent effort. Learning new methods and continually pushing your own building skills.

