
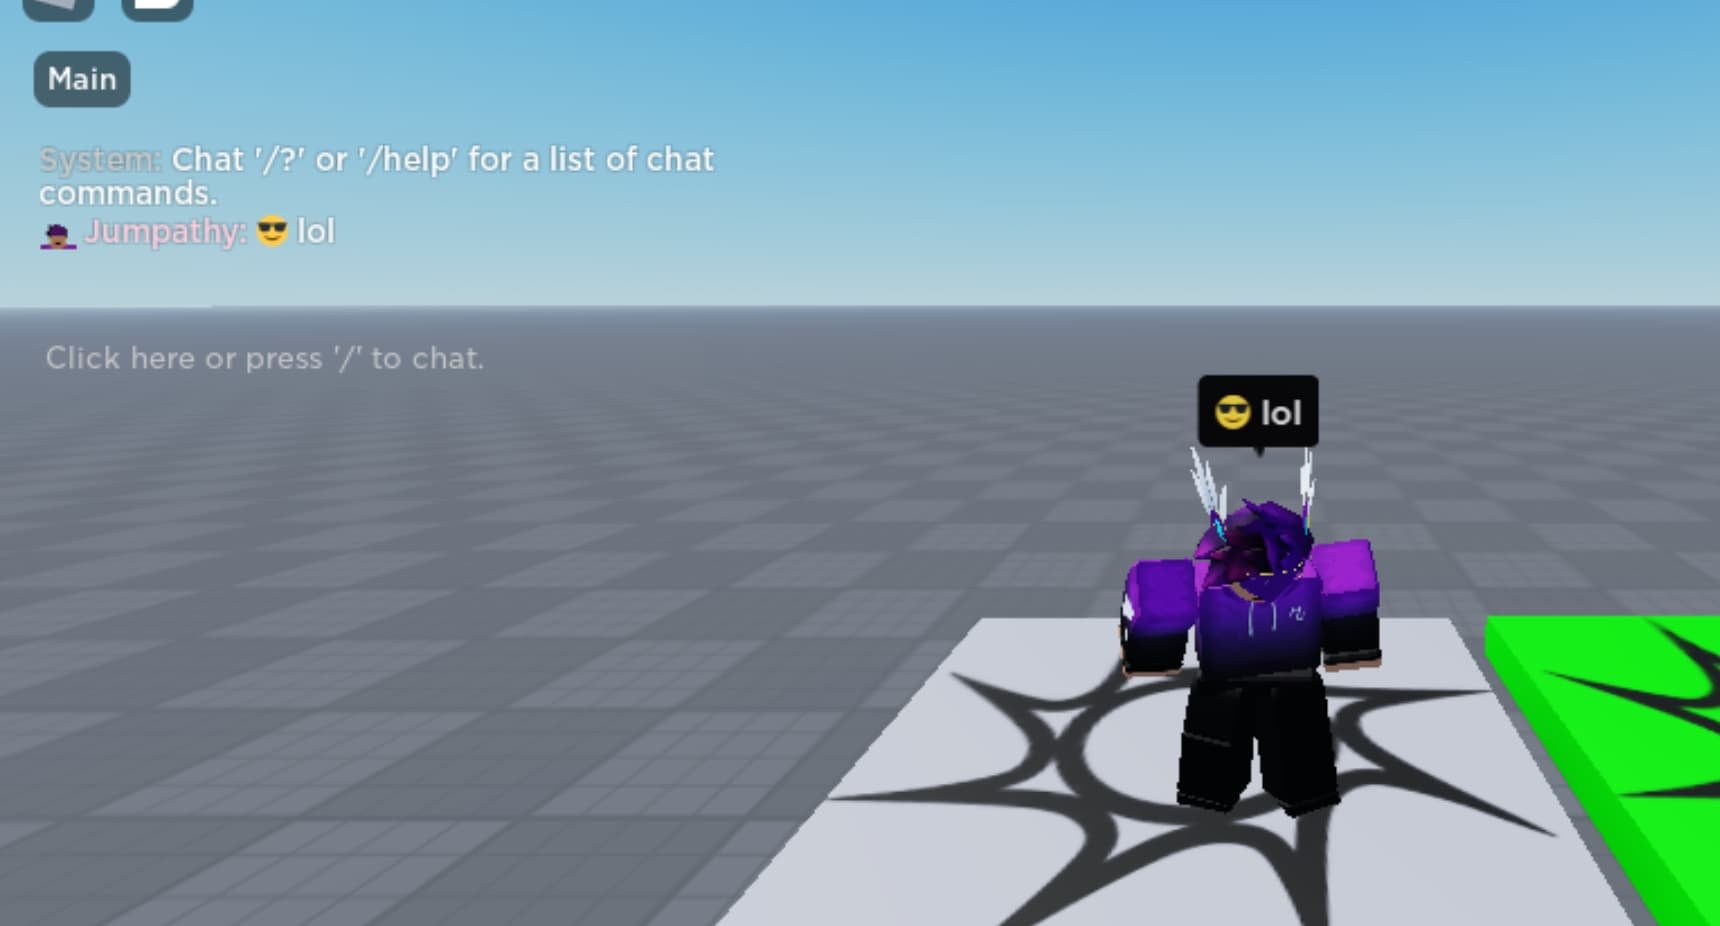
Roblox chat system customization primarily involves altering elements like the chat window’s appearance, font style, and colors through scripts.
Ever felt the default Roblox chat box was just too…plain? Many players crave a unique feel, and thankfully, roblox chat system customization is quite possible. You can tweak how the chat looks and even add special features using Lua scripting.
This involves adjusting the user interface elements with code. This allows changes to font, size and overall styling. These changes make it more personal and engaging.

Roblox Chat System Customization
Have you ever wished you could make the chat in your Roblox game look totally different? Maybe you want it to be bright pink, or maybe you’d like to add cool little pictures next to player names. Well, guess what? You can! Roblox allows creators like you to change how the chat looks and works. This is called chat system customization, and it’s a lot of fun to play around with. Let’s dive deep into how you can become a chat customization whiz!
Understanding the Basics of Roblox Chat
Before we start changing things, it’s good to know how the Roblox chat works normally. Think of it like a big message board in your game. Players type their messages, and those messages show up for everyone else to see. The standard chat has a specific look: white text on a dark background. It also includes player names and some basic system messages. This is the default, which is okay, but it doesn’t have much personality! The default chat uses a special system built by Roblox. Luckily, they made it possible for us to make our own versions. Let’s break down the key pieces we can change.
Key Components of the Chat System
- Chat Window: This is the main area where all messages appear. You can move it, change its size, and alter its colors.
- Message Bubbles: These are the little speech bubbles that pop up above players’ heads when they send a message. They also can be altered in appearance and behavior.
- Player Names: How player names appear in the chat – you can change the color, add decorations, or even use custom fonts.
- System Messages: These are notifications about players joining or leaving the game. You can customize their appearance and text too.
- Chat Commands: These are commands players can type, like /me or /whisper. You can modify or add new ones!
Why Customize the Chat?
So, why would you even bother changing the chat? Well, for starters, it makes your game stand out! A unique chat system can fit the style of your game much better than the standard chat. For example, if you’re creating a sci-fi adventure, you can give your chat a futuristic feel. If your game is a fantasy adventure, you can change the chat to resemble parchment or a magical scroll. It can also make your game easier to use, making it more accessible to the players.
Benefits of Chat Customization
- Makes Your Game Unique: Stand out from the crowd with a custom chat design.
- Fits Your Game’s Theme: Create a chat system that perfectly matches your game’s world.
- Adds Personality: Make the chat a part of the game experience.
- Improves User Experience: Make the chat easier to read and use for everyone.
- Adds Functionality: Incorporate new commands and features to the chat.
How to Start Customizing the Chat System
Now for the fun part – actually changing the chat! Roblox uses Lua scripting to allow developers to customize the chat. Don’t worry if you’re new to scripting; we’ll walk through the basics. The easiest way to get started is by copying and pasting some example code snippets and tweaking them to see how they work. These code snippets change different parts of the chat system. You can use them as starting points for your own creations. Here’s how to approach it:
Steps for Customizing Your Chat
- Open Roblox Studio: Launch Roblox Studio and open the game you want to work on.
- Insert a Script: Add a new script into the ‘ServerScriptService’ in your game’s explorer. Name the script something descriptive, like ‘ChatCustomization.’
- Start Scripting: Start adding your Lua code into the script. We’ll look at some basic code examples in the following sections.
- Test Your Changes: Playtest your game to see how your code is working.
- Experiment and Refine: Tweak your script until your chat is exactly how you want it.
Basic Customization Examples
Let’s look at some simple examples to get you started. Remember, the best way to learn is by trying things out and playing around with the code!
Changing the Chat Window Colors
You can change the color of the background and the text of the chat window. This is one of the easiest things to change and it can make a big difference. Here’s a simple example:
    local ChatService = game:GetService("Chat")

    ChatService.ChatWindow:SetProperty("BackgroundColor3", Color3.fromRGB(100, 100, 150))  -- A shade of purple
    ChatService.ChatWindow:SetProperty("TextColor3", Color3.fromRGB(255, 255, 255)) -- White text
This script changes the chat window’s background color to a shade of purple and sets the text color to white. To understand this better, let’s take apart what’s happening. First, we grab the ‘Chat’ service that handles everything about the chat using game:GetService("Chat"). Next, we’re targeting the ‘ChatWindow’ within that service. Lastly, we set two properties: BackgroundColor3, which determines the background color, and TextColor3, which sets the color of the text. You can change the numbers inside ‘Color3.fromRGB()’ to create any color you can imagine!
Changing Player Name Colors
You can give players custom names in the chat. This helps to make the chat feel more personal and fun. You could make a specific group’s name appear in a different color. Let’s see a sample.
 local ChatService = game:GetService("Chat")

 function onPlayerAdded(player)
    ChatService:RegisterChatPlayer(player)
    ChatService:SetPlayerNameColor(player, Color3.fromRGB(255, 0, 0)) -- Red color
 end


 game.Players.PlayerAdded:Connect(onPlayerAdded)
Here, we’re first getting the Chat service, just like before. Then we’re creating a function that is activated when a new player joins the game. We register the new player with the chat system. After that, we set that specific player’s name color to red using ChatService:SetPlayerNameColor(player, Color3.fromRGB(255, 0, 0)). Every new player joining the game will have their name displayed in red. You can swap this with any color you desire!
Modifying Message Bubbles
The chat bubbles that appear above players’ heads are another aspect you can customize. You can change their colors, size, or even their shape, if you’re advanced enough. Here’s how to change the bubble color:
    local ChatService = game:GetService("Chat")

    ChatService.SpeakerAdded:Connect(function(speaker)
	    speaker.Chatted:Connect(function(message)
             speaker:SetBubbleChatColor(Color3.fromRGB(0,255,0))  -- set to green
         end)
    end)
In this script we use the event SpeakerAdded to check when a new player is added to the chat. Then, we look for whenever that speaker chats with the Chatted event. We then finally change the bubble color of the player to green. The line speaker:SetBubbleChatColor(Color3.fromRGB(0,255,0)) is what changes the color of the bubble to green. Again, you can change the numbers in that function to any color you wish!
Advanced Chat System Customization
Once you’ve got the basics down, you can dive into more advanced customization. This involves more complex scripting and using different features of the Chat service. Here are a few things you might want to try.
Creating Custom Chat Commands
You can create custom commands that players can use in your game. For example, you could make a command that changes a player’s color or gives them a special title. This is a bit more advanced, so let’s break down how it works.
       local ChatService = game:GetService("Chat")

        local function handleCustomCommands(speaker, message, channel)

            if string.sub(message, 1, 7) == "/color " then
                local colorName = string.sub(message, 8) -- extract text after the command /color
                 local color  --declare variable here

                 if colorName == "red" then
                    color = Color3.fromRGB(255, 0, 0)
                elseif colorName == "blue" then
                    color = Color3.fromRGB(0, 0, 255)
                 elseif colorName == "green" then
                    color = Color3.fromRGB(0, 255, 0)
                 else
                     return -- if not a correct color
                 end

             local player = speaker.Player
             if player then
               player.Character.PrimaryPart.Color = color --change character color
             end
            end

            if string.sub(message, 1, 5) == "/test" then
                ChatService:Chat(speaker, "This is a test!", "All") -- send a message
            end
        end


       ChatService.SpeakerAdded:Connect(function(speaker)
            speaker.Chatted:Connect(function(message, channel)
                handleCustomCommands(speaker, message, channel)
            end)
        end)
Let’s examine what’s happening in this code block. Again we access the Chat Service at the beginning. We make a function handleCustomCommands that does all the logic for our custom commands. Inside, we’re first checking if a message starts with “/color “. If it does, we take the text after the command, which should be a color, such as ‘red’, ‘blue’, or ‘green’. If we identify one of the specific colors in our if condition, we then get that players character and change its color. The second part of this function checks if the message starts with ‘/test’. If it does, it uses ChatService:Chat(speaker, “This is a test!”, “All”) to send that message to the chat. In the event handler for SpeakerAdded, we then trigger this custom commands event by sending the message to the handleCustomCommands function to do all the logic of the commands.
Using Rich Text
Rich text lets you use special codes in your chat messages to create bold, italic, or even colored text. This can make your chat much more engaging and exciting! Here is an example of using rich text in chat.
     local ChatService = game:GetService("Chat")

        ChatService.SpeakerAdded:Connect(function(speaker)
	        speaker.Chatted:Connect(function(message)
              ChatService:Chat(speaker, "<font color='red'>" .. message .. "</font>", "All")
	       end)
        end)
Here, we’re using the ChatService event for SpeakerAdded to check when a new player joins the chat. Then we are checking if that speaker chats. For this example, every message sent by that speaker is changed using the ChatService:Chat function. We wrap the message in HTML tags, <font color='red'> and </font>. This will make the message appear red when it is sent. You can change “red” to any color you desire or add different HTML styling like bold text.
Creating Custom Chat Channels
If you have different teams or groups of players, custom channels can allow specific conversations without everyone seeing everything. Creating a custom chat channel can be a little tricky, but it can be a powerful way to organize communication in your game. You might create a “Team Chat” channel, for instance.
local ChatService = game:GetService("Chat")

local function createTeamChatChannel(teamName)
    local teamChannel = ChatService:AddChannel(teamName, "All")

    teamChannel.Joinability = "Public"

    teamChannel.AutoJoin = false; -- players do not automatically join

    return teamChannel
end

game.Teams.ChildAdded:Connect(function(team)
    local teamChatChannel = createTeamChatChannel(team.Name)
    team.Changed:Connect(function(property)
      if property == 'Name' then
        teamChatChannel.Name = team.Name;
      end
    end)
   game.Players.PlayerAdded:Connect(function(player)
       player.TeamChanged:Connect(function()
          if player.Team == team then
            ChatService:JoinChannel(teamChatChannel, player) -- Join when they're on the team
          else
             ChatService:LeaveChannel(teamChatChannel, player) -- Leave channel if they aren't
          end
       end)
   end)
end)

game.Teams.ChildRemoved:Connect(function(team)
    local channel = ChatService:GetChannel(team.Name)
    if channel then
      ChatService:RemoveChannel(channel) --remove channel if the team is removed
    end
end)
This code is more complex, so let’s understand it step by step. First, we start by getting the chat service. We make a function createTeamChatChannel, which will be responsible for creating a team channel. The function gets a channel using ChatService:AddChannel. The next couple of lines setup whether this channel is public, and if players are added to the channel automatically (which we set to false). In the next section of the script, we have an event that activates when a new team is created. It creates a chat channel based on the name of the team and also updates the channel’s name if the team’s name changes. Then, when new players join, we check if they are on the team of that specific channel. If they are, they’re added to the team channel, otherwise, they’re removed from that channel. Finally, we also have another event that activates if a team is deleted. If that happens, then we also remove the channel from the chat.
Tips for Effective Chat Customization
Here are some tips for making sure that your chat customizations are effective:
- Keep it Readable: Don’t use colors that are hard to see. Choose colors that make the text easy to read, especially for players with visual impairments. Ensure the contrast is high.
- Be Consistent: Make sure your chat style fits the overall style of your game.
- Don’t Overdo It: Sometimes, less is more. It’s better to make the chat clear and simple than to make it too distracting.
- Test Frequently: Make sure that your changes are working properly in different scenarios.
- Get Feedback: Ask other players how they like the changes you’ve made. See if you can make improvements.
The concluding paragraph is below.
This comprehensive journey into Roblox chat system customization has shown you how to make your game stand out. From simple color changes to complex custom commands and channels, you now possess the know-how to design a unique chat experience for your players. Remember, the key is to experiment, have fun, and always think about how you can make your game the best it can be. With practice, your chat customizations can add a new layer of polish to your games, making your virtual worlds more interesting.
Roblox – Interactive Chat
Final Thoughts
Ultimately, exploring Roblox chat system customization offers players greater control. You can modify text appearance, and incorporate custom commands. This empowers you to personalize the communication within your games.
This kind of customization greatly enhances player interaction. It lets you mold the chat to suit the specific tone and needs of your creations.
Customizing the Roblox chat system is a very useful tool for any developer. Players appreciate these extra personalizations.

