
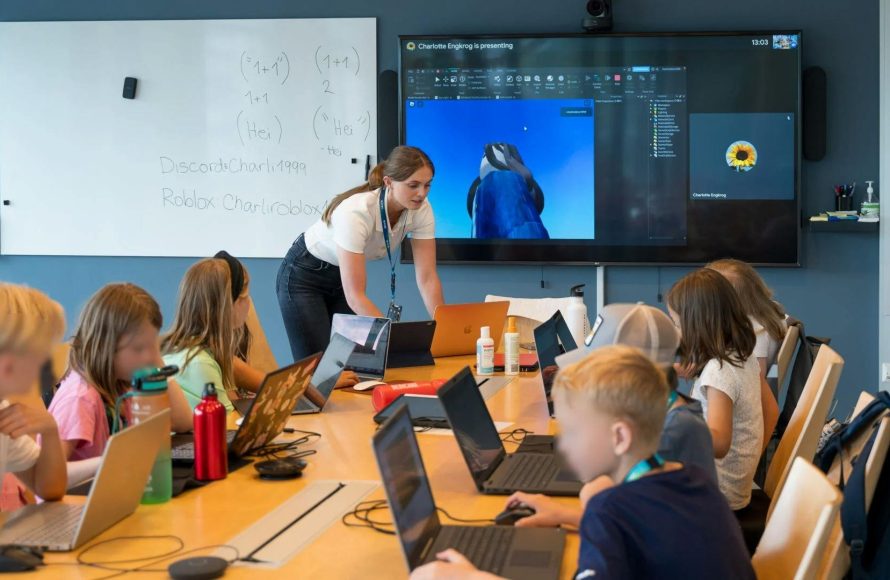
Implementing a Roblox design sprint in UX involves a focused, time-boxed process where a team quickly prototypes and tests solutions for user experience challenges within the Roblox platform.
Have you ever wondered how game developers and UX designers collaborate to improve user experiences on Roblox? The process often involves a specific approach: a roblox design sprint in ux. These sprints compress months of work into a matter of days. It lets teams quickly prototype and test ideas.
This intense process helps in creating intuitive and engaging experiences for Roblox users. We’ll explore exactly how these sprints are used and what you can learn.

Roblox Design Sprint in UX: Building Engaging Experiences
Let’s dive into how we can use a design sprint, specifically tailored for Roblox, to make really cool games and experiences. A design sprint is like a super-focused workshop where a team comes together to solve a problem, build something new, and test it out – all in a short amount of time. When we apply this to Roblox, it helps us create better games that players will love. Think of it as a recipe for creating awesome gameplay!
Understanding the Basics of a Design Sprint
Before we zoom into the Roblox world, let’s understand the core parts of a design sprint. Usually, a design sprint lasts for about five days (though we can adjust it for Roblox projects). Each day has a specific goal, moving us closer to a finished prototype that we can test.
Day 1: Understand
The first day is all about understanding the problem. What are we trying to fix or what new experience are we trying to create? Here’s what happens:
- Define the challenge: What’s the big question we need to answer? For example: How can we make a new obstacle course in our Roblox game more exciting for players?
- User research: What do our players like or dislike? We can do this by checking reviews, looking at player behavior in games, or even asking players directly.
- Expert interviews: Talking to people who know a lot about game design or Roblox development can provide valuable perspectives.
- “How Might We” statements: We turn problems into opportunities by asking “How Might We…” For example: “How might we make our obstacle course more challenging but also rewarding?”.
Day 2: Diverge
This day is about thinking big and generating lots of ideas. We’re not judging ideas yet, just putting them all on the table. Here’s what we do:
- Sketching ideas: Each person sketches their ideas, showing how they might solve the problem.
- Crazy 8’s: A fun way to quickly generate lots of different ideas on paper, focusing on quantity over quality.
- Solution sketches: We start to refine our favorite ideas from the day into more detailed sketches.
Day 3: Decide
It’s time to choose the best ideas. Here’s how we pick what to prototype:
- Art museum: We post our sketches on the wall, and each team member gets to vote on their favorites.
- Storyboarding: We take our selected sketches and create a visual story of how the new experience will work.
- Selecting prototype: With the storyboards in mind, we choose the one idea that we’ll build into a prototype.
Day 4: Prototype
Day four is all about building a rough version of our chosen idea. This isn’t about creating a perfect game; it’s about creating something we can test. Here’s what it looks like in Roblox:
- Using Roblox Studio: We will use Roblox Studio tools to create the basic features of our idea. This might be a new level, a new character mechanic, or a new user interface element.
- Focus on functionality: We’ll focus on making the basic features work, not on making it look perfect. Speed and functionality are what matter most.
- Keeping it simple: Don’t worry about fancy graphics or sound effects just yet. We’ll add these if the prototype works out.
Day 5: Test
On the last day, we get to see if our ideas work! We put our prototype in front of actual players and see how they react. It’s an amazing opportunity to learn from real experiences. Testing includes:
- User testing with players: We bring in some players who are similar to our target audience and let them try out our prototype.
- Gathering feedback: We carefully watch how they interact with our prototype and note their comments and feedback.
- Identifying areas for improvement: We use the feedback to see what works and what needs improvement in the next iteration.
Why Use a Design Sprint for Roblox?
Why should you use a design sprint when you are building a Roblox game or experience? Here are some compelling reasons:
Speed and Efficiency
A design sprint is all about getting things done quickly. Instead of spending months designing and building, you create a working prototype in just five days (or less). This speed is very important in game development where we want to get our ideas to players quickly and get feedback for improvements.
User-Centered Design
The design sprint focuses on understanding the players. By focusing on their needs, wants, and frustrations, we create experiences that people really love. We’re not just guessing what they want; we’re learning from them. By testing out prototypes with players we get real time data and can make important changes based on real user experiences.
Team Collaboration
A design sprint brings the whole team together – designers, developers, and others. This helps everyone understand the goals and contribute their unique skills. Teamwork can be super important and design sprints help make the most of each individual’s abilities.
Reduced Risk
Instead of spending a lot of time and money on a game idea that may not work, a design sprint lets us test our idea with a quick and affordable prototype. We can identify potential problems early on and make corrections before releasing a fully developed game. This helps avoid wasting effort on unsuccessful ideas.
Innovation and Creative Thinking
The process of a design sprint encourages innovative and creative thinking. It provides a structured approach to problem solving, making the process engaging for teams involved. The ‘diverge’ phase, where we generate lots of ideas, helps us come up with fresh approaches and ideas.
Applying the Design Sprint to Specific Roblox Scenarios
Let’s see how we can use the design sprint for different types of Roblox projects.
Creating a New Game Mechanic
Imagine you want to add a new way for players to interact with your Roblox game world, like a special ability or a crafting system. Here’s how you can use a design sprint:
- Day 1: Define the problem. How can we add a mechanic that makes the game more engaging and fun for players? What type of interaction are we trying to create?
- Day 2: Sketch and generate ideas for how the mechanic will work. Try out several variations of the ability.
- Day 3: Choose the best design. What seems most promising? How will this mechanic actually help in gameplay?
- Day 4: Build a basic prototype in Roblox Studio. Make sure the basic functions of the ability are working so that the interaction is as we envisioned.
- Day 5: Test the mechanic with players to get feedback and see how it feels.
Improving a User Interface (UI)
If you want to improve how players navigate menus or understand their game progress, a design sprint can help. For example, let’s focus on making a new inventory system easier to use. Here’s how we will approach it:
- Day 1: Define the issue with the current UI. What do players find confusing or annoying?
- Day 2: Brainstorm different layouts and interface designs for a better experience. Focus on simplicity and usability.
- Day 3: Choose the layout that seems the most straightforward. Storyboard how players will navigate using this new interface.
- Day 4: Create a simple prototype of the new UI in Roblox, maybe as overlays. Don’t need working buttons, just static images for now.
- Day 5: Get feedback from players on how they find the new interface – is it easy to use? Is it user-friendly?
Designing a New Level or Area
Want to create a new map for your Roblox game? Design sprints can help. Here’s how:
- Day 1: What type of experience should this area offer? Should it be challenging, exploration-based, etc?
- Day 2: Start sketching out different designs of the level, including terrain and points of interest.
- Day 3: Agree on the best layout. Focus on an area that will be easily implementable as a prototype.
- Day 4: Use Roblox Studio to build the basic shape of the level. Don’t worry about decorations yet. Just focus on layout.
- Day 5: Have players test out the level. Are there any areas that are confusing? Do players enjoy the flow of the design?
Tips for a Successful Roblox Design Sprint
To make your design sprint go smoothly, keep these tips in mind:
Clear Communication
Make sure everyone understands what’s happening, what the goals are, and what their roles are. Open communication can help avoid confusion and keep the design sprint effective.
Focused Approach
Stay focused on the problem you’re trying to solve. Don’t get sidetracked by other ideas that are not related to your goal. Keep your focus on the user and the problem at hand.
Time Management
Stick to the schedule. Time management is an important aspect of design sprints to keep things moving forward. Make sure that each stage of the sprint is completed in a timely manner.
Embrace Imperfection
The prototype isn’t meant to be perfect. Focus on functionality, and don’t sweat the small details. The goal is to get a working prototype for testing. The important thing is learning from the testing process.
Incorporate Feedback
Take the feedback from the user testing seriously. Be ready to change your prototype based on what you learn. User feedback is one of the most important parts of the process. Use this to improve the overall experience.
Tools and Resources for Your Roblox Design Sprint
Here are some things you might find useful during your Roblox design sprint:
Roblox Studio
This is the main tool you’ll use to create and test your prototype. Familiarize yourself with the tools available. It’s important to know the features of Roblox Studio to use it effectively. Practice with the tools in advance of your design sprint.
Collaboration Tools
Use tools like Discord, Slack, or Trello to help your team communicate and organize your work. These are necessary to keep everyone up to speed and organized. It is important to have good communication during each day of the design sprint.
Whiteboard or Digital Board
For brainstorming, you can use a physical whiteboard or digital tools like Miro or Mural to put down ideas and sketches. These can help in organizing your ideas and visualize each step of the sprint. This also makes idea generation easier to manage.
Testing Groups
Have some players lined up to test your prototype on day five. Recruit players that are representative of the target audience for the game. Having participants ready and able for testing is crucial.
In conclusion, using a design sprint for your Roblox projects can help you build awesome and engaging games. It’s a great way to quickly prototype ideas, focus on your players, and make your game development more effective. By following the steps outlined and remembering key tips, you can create amazing Roblox experiences that your players will love!
5 Phases of Design sprints #design #shorts #learnUX #ux
Final Thoughts
In short, employing a focused design sprint approach within Roblox UX development brings significant benefits. It rapidly validates ideas and addresses user needs effectively. This process allows teams to iterate quickly, improving player experience.
Roblox design sprint in UX allows teams to generate and test prototypes quickly. Through this, designers gain valuable insights before committing to full development cycles. This reduces wasted effort and ensures a better final product for players.

