
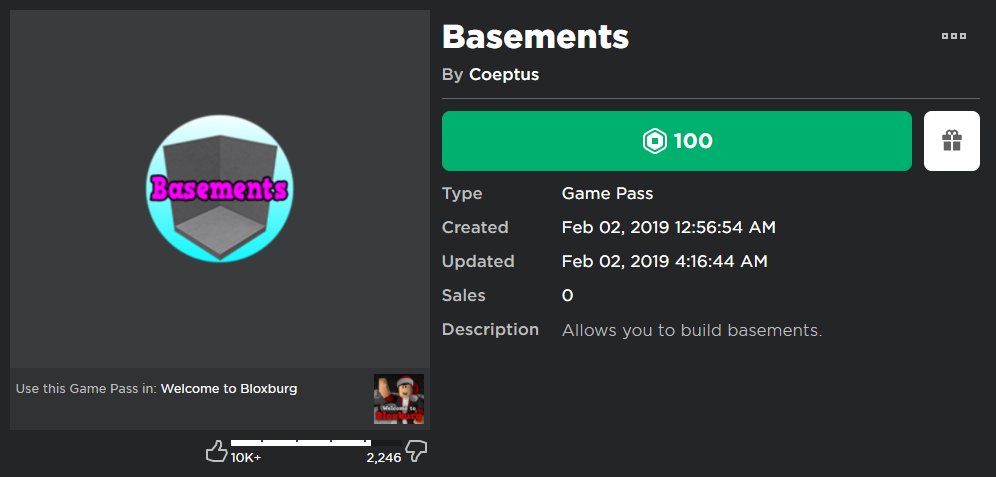
Roblox game pass implementation involves creating a game pass in the Roblox creator dashboard, then using scripts to check if a player owns it, granting them access to the associated in-game features or items.
Creating engaging experiences on Roblox often includes monetization. Thinking about adding special perks for your players? Then, roblox game pass implementation is key. It allows you to offer exclusive content or features to players who purchase your game passes. This benefits both you and the player.
These passes can range from access to new levels, items, or even special abilities. Adding such features keeps players invested in your game and gives you an additional revenue.

Roblox Game Pass Implementation: A Comprehensive Guide
Alright, let’s dive deep into the world of Roblox game passes! If you’re a Roblox creator looking to add some extra flair and earning potential to your game, you’ve come to the right place. Game passes are like special tickets players can buy that give them cool perks inside your game. Think of them as a way to offer players something extra special and, in turn, help you keep creating awesome experiences. It’s not just about making money, it’s about making your game more fun and engaging for everyone. We’ll break down everything you need to know about game passes, from how to create them to how to make them really appealing to your players.
Understanding Roblox Game Passes
Before we get into the nitty-gritty, let’s make sure we’re all on the same page about what game passes actually are. Essentially, a game pass is a one-time purchase that grants players access to special features, content, or abilities in a specific Roblox game. Unlike developer products, which players can purchase multiple times, game passes are bought only once per user. This means that once someone has a game pass, they own it forever, within the confines of your specific game. It’s a simple yet effective way to offer different levels of player experience.
Types of Game Passes
There’s a whole bunch of different things you can offer with a game pass. Here are some common ideas:
- Cosmetics: Think special outfits, hats, accessories, or weapon skins. These don’t usually impact gameplay, but they allow players to show off their style.
- Access to Exclusive Areas: You can make certain parts of your map only accessible with a game pass. This creates a sense of exclusivity and encourages players to explore.
- Gameplay Advantages: This can include things like increased speed, extra health, special abilities, or more powerful weapons. Be careful with these, as you want to maintain a balance and not make the game unfair to those who don’t purchase a pass.
- Permanent Boosts: Offer game passes that give permanent increases to experience points, in-game currency, or other helpful resources. These help players progress faster.
- VIP Status: Grant players a unique tag or title in your game, letting everyone know they are a special player. This can also come with other perks.
- Special Items or Vehicles: Game passes could provide access to unique vehicles, tools, or items that are not available anywhere else.
- Early Access: If you are releasing new content, a game pass could give early access to players who support your game.
Creating Your First Game Pass
Ready to make your own game pass? Here’s how you do it. It might seem a little complicated at first, but it’s really not too bad when you follow these steps:
Step 1: Accessing the Creator Dashboard
First, you need to get to the Roblox Creator Dashboard. This is where you manage everything about your games. You can find this by going to the Roblox website, logging in, and then clicking “Create” at the top. If you are on the Roblox Studio, go to the ‘Game Settings’ and find your game. After that, just click on the three dots near your game and click ‘Configure Experience’. This will take you to the same dashboard as when going through the website.
Step 2: Navigating to Monetization
Once you’re in the Creator Dashboard, find your game. Click on your game. In the left menu, you’ll see a section called “Monetization.” Click on this. Then you’ll see the “Game Passes” option. Click on that.
Step 3: Creating a New Game Pass
Now you’re ready to create your pass! Click the blue “Create Game Pass” button. You’ll be prompted to do a few things:
- Upload an Image: You’ll need an image for your game pass. This image will appear in the store. Make sure it looks good and is relevant to the game pass, like a picture of the item or the effect it provides. The image needs to be a square image. Consider using an image size of 512 x 512 pixels, but any square image will work.
- Name Your Game Pass: Give it a clear and descriptive name. If your game pass gives someone a special sword, name it something like “Super Sword Game Pass”. Avoid generic titles, as this will make the passes more identifiable to your users.
- Add a Description: Write a description of what this game pass actually does. Be clear, concise, and try to get players hyped about what they will be receiving. If the pass gives a speed boost, say, “Get ready to go zoom, zoom, with this speed boost game pass!”.
Step 4: Setting the Price
After you’ve filled out the basic information, you’ll need to set the price of your game pass. You do this by navigating to the “Sales” tab, and enabling “Item For Sale”. Make sure you select a price that makes sense for the value you’re offering. Think about how much in-game currency the items are usually worth. Roblox takes a cut of each sale (30%), so keep that in mind when pricing it to maintain your profit margins.
Step 5: Saving and Testing
Once you’ve priced your game pass, make sure to save everything! Now, you’ll want to test it in your game. The pass will not work until you put in the scripting in your game. So, next we will talk about that!
Scripting Your Game Pass Implementation
Creating a game pass is just one part of the process. You also need to use Lua scripting to make the game pass function in your game. This is where things can get a little tricky, but don’t worry, we’ll break it down step-by-step.
Using the MarketplaceService
The key to scripting game passes is the MarketplaceService. This service is a tool that manages all things related to buying products in Roblox, including game passes. Here are some basic functions:
MarketplaceService:UserOwnsGamePassAsync(userId, gamePassId): This function checks if a specific player (specified by theiruserId) owns a particular game pass (specified by itsgamePassId). It returns a boolean (true or false).MarketplaceService:PromptGamePassPurchase(player, gamePassId): This function opens up the purchase window for the specified game pass, for the specific player.
Sample Script for a Basic Game Pass
Here’s a sample script that you can use to check if a player owns a game pass. If they do, then it will give them a speed boost.
-- Get the MarketplaceService
local MarketplaceService = game:GetService("MarketplaceService")

-- Replace with your actual Game Pass ID
local gamePassId = 123456789 -- Replace with your game pass ID
local speedMultiplier = 1.5

-- Function to check if a player has the Game Pass
local function checkGamePass(player)
    local success, ownsPass = pcall(function()
        return MarketplaceService:UserOwnsGamePassAsync(player.UserId, gamePassId)
    end)

    if success and ownsPass then
        print(player.Name .. " owns the Game Pass!")
        player.Character.Humanoid.WalkSpeed = player.Character.Humanoid.WalkSpeed  speedMultiplier;
        -- add other functionality here
    elseif success then
        print(player.Name .. " does NOT own the Game Pass.")
         -- add other functionality here
    else
        warn("Error checking Game Pass Ownership for: " .. player.Name)
    end
end

-- Check for gamepass when player joins
game.Players.PlayerAdded:Connect(function(player)
    player.CharacterAdded:Connect(function()
    	checkGamePass(player)
   end)
end)

-- Optionally, trigger this check when the player respawns, too
--[[
game.Players.PlayerAdded:Connect(function(player)
    player.CharacterAdded:Connect(function(character)
    	task.wait(1)
    	checkGamePass(player)
   end)
end)
]]
How this script works:
- It first gets the
MarketplaceService. - Then it sets a variable to hold your game pass ID (make sure to replace
123456789with your actual game pass ID!) - It defines a function called
checkGamePass(), which checks if the player owns the game pass, and applies a speed boost if they do. - The code is using the pcall() function, this is to ensure that the code will not error, and instead will just print out an error warning instead, so the game can run without any errors
- Finally, it runs the function when the player joins. We also have code commented out, so it can run every time the character is added (like when they respawn). This code can be uncommented to enable that.
Prompting a Game Pass Purchase
Sometimes, you’ll want to prompt a player to buy a game pass. Let’s say you have a special area that a player can access with a game pass. If a player tries to enter the area, and they don’t own the pass, then we should prompt them to buy the pass. Here’s how you could set that up:
-- Get the MarketplaceService
local MarketplaceService = game:GetService("MarketplaceService")

-- Replace with your actual Game Pass ID
local gamePassId = 123456789 -- Replace with your game pass ID

-- Assume you have a region you want to use a gamepass for
local region = workspace:WaitForChild("Region")

region.Touched:Connect(function(hit)
    local player = game.Players:GetPlayerFromCharacter(hit.Parent)

    if player then
        -- Check if the player owns the game pass
        local ownsPass = MarketplaceService:UserOwnsGamePassAsync(player.UserId, gamePassId)

        if not ownsPass then
            -- Prompt the player to purchase the game pass
            MarketplaceService:PromptGamePassPurchase(player, gamePassId)
        else
            print("Player owns pass!")
            -- allow them to enter here
        end
    end
end)
How this script works:
- First, it gets the
MarketplaceService. - Then it sets the variable to the game pass ID.
- It grabs a ‘Region’ from the workspace.
- It checks if a player touches the region, and then it checks if they own the pass. If they do not, then it will prompt the purchase window
- If they own it, then it prints “Player owns pass!”, and this is where you would put the code allowing access to that region.
Making Game Passes Appealing
Making a game pass is one thing, but making players want to buy it is another. Here are some tips to make your game passes irresistible:
Clear Value Proposition
Make sure players understand exactly what they’re getting. Don’t be vague. Be very clear and show them why your game pass is worth the price you have set. If a pass gives a speed boost, then let them know that it provides a notable increase in speed, that will make their gameplay significantly better.
Unique and Interesting Perks
Give game passes perks that are actually cool. If it’s just a small increase in damage, it might not be very enticing. Think of ideas that will change the way they play the game in a positive way. Avoid things that will make the gameplay unfair, but make them think, “Wow, this makes the game more fun!”.
Use Good Imagery
The image of your game pass is the first thing players see. Use eye-catching images that are high quality and relate to what the pass offers. This will make the game pass more visually appealing and easier to recognize.
Promote Your Game Passes
Don’t just throw a game pass into your store and expect players to buy them. Show off what they can do with it! You could provide a player with the game pass to record them using it, or do it yourself. Place the video of it in the game pass image, and this will show the player exactly how awesome it is!
Consider Bundles and Discounts
Offer bundles of game passes for a discounted price to encourage more sales. You could also run sales on certain passes during special times, like holidays, or events.
Get Feedback
Ask your community for feedback on your game passes. What do they think is a fair price? What other ideas do they have? It’s the players that are buying them, so it is valuable to see what they would like. You can ask in your discord, or in the game directly through a message. Use the “player.Chatted” function to make a message that the player has sent in the game, easily accessible.
Best Practices
Let’s cover some important things to keep in mind when implementing game passes:
Fairness
Always make sure that purchasing a game pass doesn’t make the game unfair for other players who can’t afford the pass. You can provide game passes that gives some competitive advantage, but make sure that the non-paying player still has a chance to win.
Don’t Overdo It
Don’t make too many game passes, it may make it harder for players to know what the best passes are to buy. Instead, focus on a few good passes that add meaningful value to the game.
Test Thoroughly
Always test your game passes thoroughly before making them public. It would be very bad if the game passes did not work as intended, and the players had no use for the product they paid for.
Keep Things Updated
Make sure that all the content associated with the game passes remains relevant, and is still working. Don’t create game passes and then forget about them. Keep on making updates and adding more content for players to enjoy.
Clear Instructions
Make sure there are clear instructions on how to purchase a game pass within your game. Players should be able to find where the game passes are quickly, and easily understand what the game passes do.
Implementing game passes is a fantastic way to enhance the Roblox gaming experience while also supporting your work as a creator. By making the passes appealing, implementing them correctly, and keeping your players in mind, you can create a rewarding cycle that benefits everyone. Remember, it’s about adding value to the game, not just making a quick buck. When you do this properly, it’s a win-win situation for everyone involved!
How To Make A Working Game Pass in Roblox (Updated)
Final Thoughts
Effective Roblox game pass implementation directly enhances player engagement and monetization. Developers must carefully consider the value each pass provides to avoid dissatisfaction. They need to test the passes with smaller player groups before larger releases. This careful approach ensures a positive experience.
Successful Roblox game pass implementation also requires clear communication of benefits. Proper coding and integration of the purchasing system is also critical. Developers should monitor pass usage and player feedback to make data driven adjustments. This is key for ongoing game balance.

