Roblox prototyping in virtual worlds enables developers to quickly test and iterate game mechanics and environments before full production.
Imagine building entire worlds, testing game ideas instantly with real users, all before investing significant resources. This is the power of roblox prototyping in virtual worlds. It’s a dynamic process, allowing creators to quickly make changes and see how they impact the game.
This iterative approach reduces risk and lets designers refine their vision based on actual player feedback. Instead of long development cycles, you get fast-paced experimentation. This makes it an ideal tool for rapid game development.

Roblox Prototyping in Virtual Worlds: Building Your Dream Games
Imagine you have a super cool idea for a game, maybe a racing adventure or a magical world explorer. But how do you turn that awesome idea into something people can actually play? That’s where prototyping comes in, and using Roblox to prototype is like having a super-powered playground for game development. This is because Roblox lets you quickly build and test your game ideas in a virtual world. Let’s dive into how you can use Roblox for prototyping and why it’s so great!
What is Prototyping, Anyway?
Prototyping is like creating a first draft of your game. It’s not the complete, polished game, but it’s a working version that allows you to try out your ideas and see what works and what doesn’t. It’s like sketching a building before actually building it. Think of it as a quick and easy way to test game mechanics, player movement, and game flow. It is a crucial step in the game development process, it lets you catch problems early on, saving you time and energy later. The aim of a prototype is not to make a perfect game, but to see if your core idea is fun and works as intended.
Why Roblox for Prototyping?
Roblox is a fantastic platform for prototyping games because it provides a ton of useful tools that are user-friendly for beginners but also offer the depth needed for more advanced developers. Here are some reasons why Roblox is perfect for creating your game prototypes:
- Easy to Start: Roblox Studio, the game creation tool, is free to use and relatively easy to learn. You don’t need to be a computer coding expert to get started. The interface is designed to be visual, so you can drag and drop elements into your game world and see the results instantly.
- Pre-Built Assets: Roblox has a vast library of pre-made assets, like characters, buildings, and special effects. This means you don’t have to spend time creating everything from scratch. You can use these assets to quickly build your prototype. This is really great for speeding up the development process.
- Built-in Physics: Roblox handles the complex physics calculations for you. This means you don’t need to worry about how gravity works or how objects collide, which is really important in creating playable games. This is all included in Roblox.
- Real-Time Testing: You can test your game prototypes in real-time with others, it makes collaborating with friends, family and other developers super easy. Getting feedback is critical, and the real time feedback of Roblox is something awesome.
- Huge Community: Roblox has a massive community of players and developers. This means that you can easily find support, advice, and inspiration. Also, sharing your prototype with others is super easy for getting feedback.
- Cross-Platform Compatibility: Games created on Roblox can be played on various devices such as computers, phones, tablets, and game consoles. This provides a wider audience for your prototypes.
The Roblox Prototyping Process: Step-by-Step Guide
Now that we understand the importance of prototyping and why Roblox is the ideal platform, let’s look at the step-by-step process for creating a prototype:
Step 1: Defining Your Core Game Idea
Before you jump into Roblox Studio, take some time to define your game idea. Ask yourself questions like:
- What kind of game do you want to make? (racing, puzzle, adventure, simulator, etc.)
- What will the player be able to do in the game?
- What is the main goal of the game?
- What makes your game unique?
It’s very important to have a clear picture of your game’s core mechanics and goals, having a solid foundation for your prototype is must.
Step 2: Setting Up Your Roblox Studio Workspace
Once your core concept is clear, fire up Roblox Studio. Here’s how you can get started:
- Create a New Place: Choose a template or start with a blank canvas. A flat baseplate is usually a good place to start for simple games.
- Explore the Interface: Familiarize yourself with the different panels such as the Explorer (shows the structure of your game), the Properties (lets you adjust the details of selected items), and the Toolbox (where you find assets).
- Add Basic Terrain: If your game needs land or water, use the Terrain Editor to quickly create these features. You can add hills, valleys, lakes and rivers to your virtual world.
Step 3: Adding Core Game Mechanics
This is where the core of your prototype starts to take shape. You’ll be adding the basic rules and interactions of your game.
- Player Movement: Start with basic player movement like walking, running, and jumping. Roblox provides default scripts that you can tweak as needed.
- Interactive Objects: Place objects that the player can interact with, such as doors that open or levers that activate something. Use scripting to make these objects come to life.
- Basic Gameplay Loops: If your game has a scoring system, time limits or any other gameplay loop, add these into your prototype. Keeping it simple and focusing on the important things is key here.
Step 4: Scripting and Logic
Scripting, using the Lua programming language in Roblox, is how you add functionality to your game. Here are some common uses:
- Object Interactions: Script how objects respond to player actions. For example, make a button that opens a gate or a coin that increases score when collected.
- Game Logic: Create the rules that control your game such as spawning, game over, score keeping etc.
- Custom Animations: You can add custom animations to your player character or interactive objects using scripts.
- Using Roblox’s Built-In Functions: Make sure to use the functions that Roblox provides in its documentation for an efficient and effective prototyping experience.
Step 5: Playtesting and Iteration
Now comes the really fun part. It’s time to play your prototype! You should:
- Test with Friends: Get a group of friends to play and give feedback. Their fresh eyes can help you find bugs and areas that need improvement.
- Record Feedback: Keep a record of the feedback and suggestions. This helps to shape how your prototype evolves.
- Refine the Gameplay: Using the feedback make needed changes to the gameplay, and fix bugs in your game.
- Repeat the Process: Prototyping is an iterative process, which means you constantly change and refine your game by repeating playtesting and iteration steps.
Tools and Techniques for Enhanced Prototyping
Roblox provides several tools that can significantly improve the speed and efficiency of your prototyping. Here are some helpful techniques:
Using Roblox’s Built-in Assets
Roblox offers a huge library of assets, like characters, models, and sounds. You don’t have to spend time creating these items from the ground up. Simply drag and drop them into your workspace and you have access to a whole host of useful pre made things.
The Power of the Toolbox
The Toolbox is your treasure chest for all things Roblox. You will find:
- Models: Pre-made models that are ready to be used in your game.
- Images: Images to use on signs and textures
- Audio: Sound effects and music to enrich the gaming experience.
- Plugins: These are really useful extensions that add more tools to Roblox Studio.
Leveraging Plugins for Efficient Development
Plugins can add amazing new abilities to your Roblox studio. You can find these in the Plugin tab of Roblox Studio.
- Building Tools: Plugins that help you with quickly building structures and shaping terrain.
- Animation Editors: Tools for creating and tweaking character animations.
- Debugging Tools: Plugins that help you find and fix errors in your code, saving your time and energy.
Basic Scripting Techniques for Prototypes
While coding may look intimidating, some basic scripting knowledge is really helpful for bringing your prototype to life.
- Variables: Use variables to store information like player scores and object states.
- Functions: Organize code into functions for reusable blocks of instructions.
- Events: Use events to respond to player actions, object collisions, and other happenings in the game.
Optimizing Your Prototyping Workflow
To make the most of your time and efforts, consider these strategies:
- Plan Before You Build: Have a clear idea of what you want to achieve with each prototype. This will help you focus your development time.
- Start Small: Don’t over complicate your prototypes. Start with a simple version of your core mechanic and then add features.
- Focus on the Core Mechanic: Spend more time fine tuning the main parts of your game, making sure that they work as intended and are fun to play.
- Don’t Be Afraid to Experiment: Try different things and see what works best. Prototyping is all about trial and error.
- Seek Regular Feedback: Show your prototype to other people and ask for their input. Their insights can be invaluable.
Examples of Successful Roblox Prototypes
Many popular Roblox games started as simple prototypes. Here are a few examples:
- Adopt Me!: This popular pet simulation game began as a much smaller prototype that focused on basic adoption mechanics.
- Brookhaven RP: This popular role-playing game had its beginnings in a simpler world, focusing on the main social interactions of an online space.
- Piggy: This creepy horror game started as a basic hide-and-seek prototype.
These games show the value of starting with simple prototypes and then gradually adding more features and complexity, a process that has helped these games get to where they are today.
Tips for Making Your Prototype Stand Out
Even if it’s just a prototype, you can still make it fun and engaging.
- Focus on Fun: Prioritize making the core game loop enjoyable. If your prototype isn’t fun, players won’t play it.
- Add Visual Polish: Use good-looking assets and simple effects to make the prototype visually appealing, so it can get people interested.
- Use Clear Instructions: Make sure players know how to play your prototype by giving them clear instructions.
- Collect Player Feedback: It’s very important to ask players for feedback on your prototype. This will help you find bugs and areas that need improvement.
- Iterate Based on Feedback: Keep testing and improving your prototype. Use feedback to fix bugs and make the gameplay better.
Prototyping in Roblox allows you to quickly bring your ideas to life, test them, and refine them based on feedback. This is essential for creating successful games. With Roblox’s user-friendly tools and active community, you can transform your game concept into a playable prototype, making game development accessible to everyone. By following the steps and techniques in this guide, you’ll be well on your way to creating your dream game!
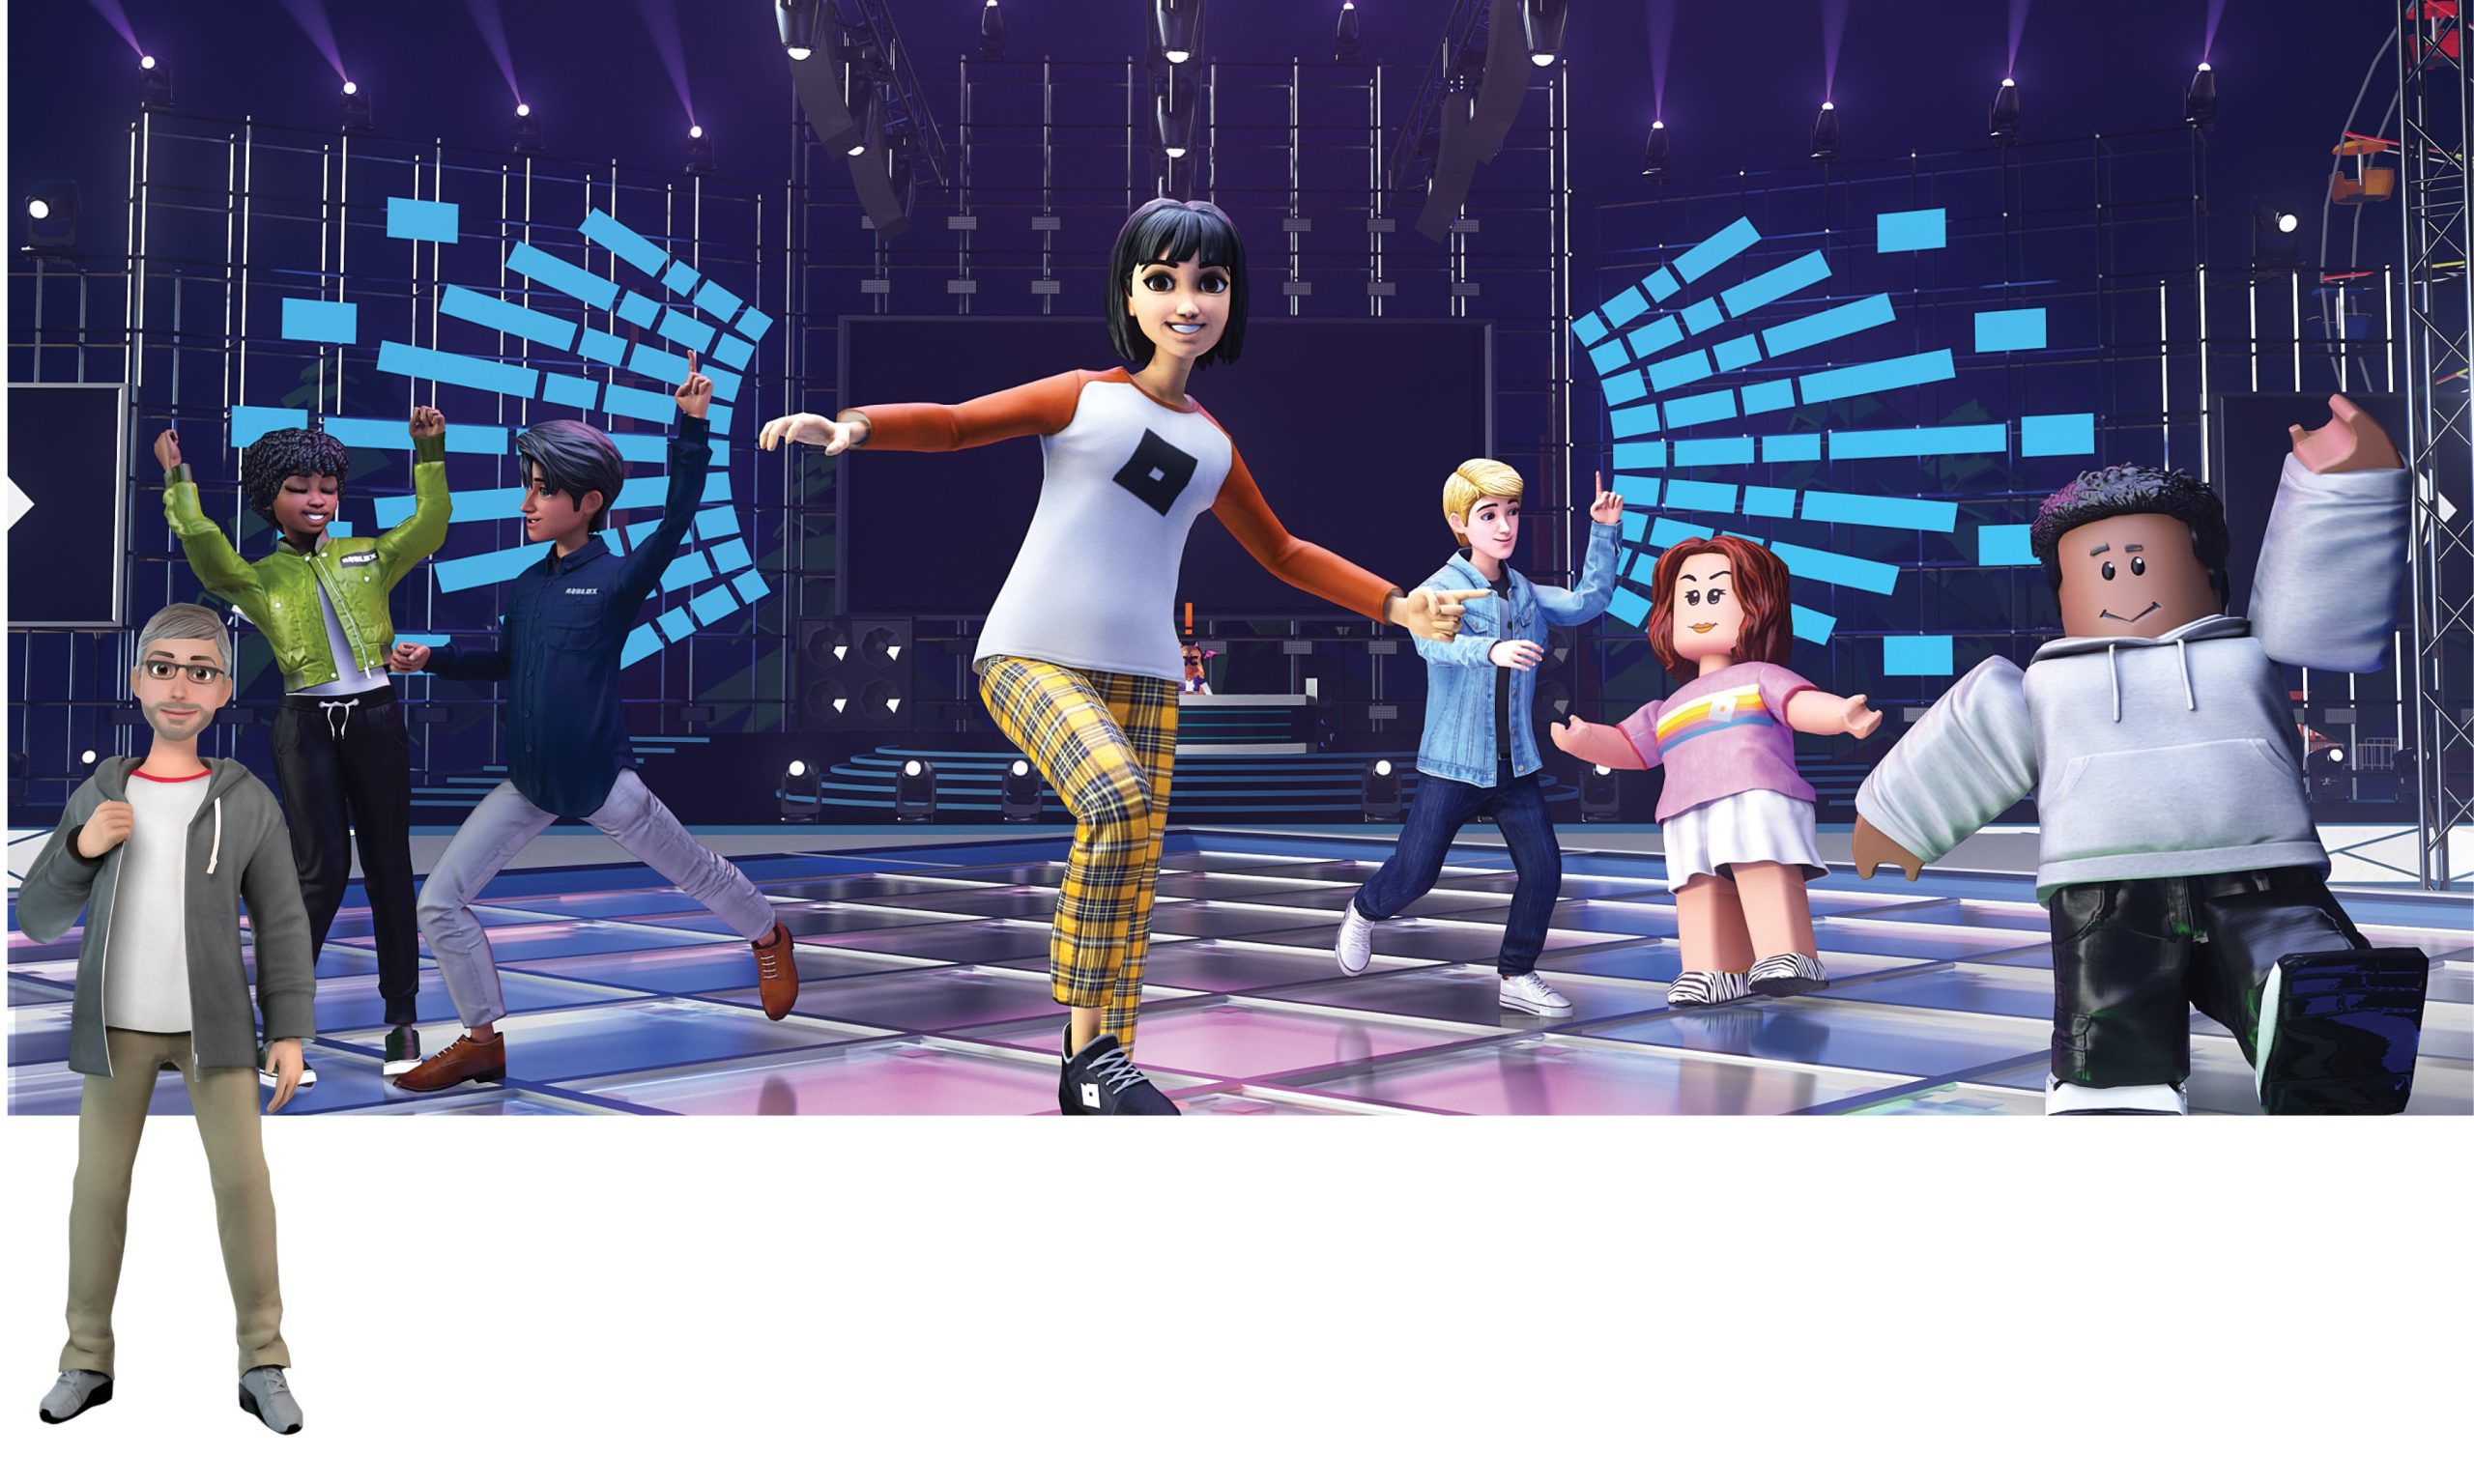
Roblox is the true metaverse prototype
Final Thoughts
Roblox prototyping in virtual worlds provides an accessible method to test and refine game ideas rapidly. Designers can quickly iterate and get player feedback within the platform’s community. This fast-paced cycle greatly reduces development time and cost.
Roblox lets developers build and test concepts before committing to more extensive production efforts. This approach allows for quicker validation of gameplay mechanics and user experience. Using roblox prototyping in virtual worlds is very advantageous.

