To use scan tools efficiently in Starfield, regularly scan your surroundings while exploring planets and star systems. Prioritize scanning new lifeforms and resources to gain valuable data and crafting materials.
Navigating the vast universe of Starfield can feel overwhelming, but it doesn’t have to be! Understanding how to use scan tools efficiently is vital for any explorer. It’s the key to gathering crucial information, finding rare resources, and completing surveys. By making this process a habit, your exploration will become much more productive.

Starfield How to Use Scan Tools Efficiently
Okay, space explorers! You’ve got your shiny new spaceship and you’re ready to zoom across the galaxy in Starfield. But wait, there’s more to exploring than just flying around. You need to know what’s out there, and that’s where your scan tools come in super handy. Think of them as your special space detective gadgets. They help you find all sorts of cool stuff, from rare plants to hidden resources, and even give you the lowdown on the creatures you might bump into. Let’s dive into how you can become a scan master!
Understanding Your Scanner
First things first, let’s talk about the scanner itself. It’s not just a single tool; it’s more like a multi-tool for exploration. You’ll find it on your user interface (UI) – usually in the bottom right of your screen. When you activate your scanner, you will see the world in a different view. This special view highlights things of interest like minerals, plants, animals and even locations. The scanner isn’t just for looking at things, it also interacts with them! When you look at something through the scanner, a little circle or dot will appear. When the circle turns completely, you’ve successfully scanned the object. That data goes into your databank. Each scan helps you learn about the world around you and opens new opportunities for gameplay.
Activating the Scanner
You don’t need to go digging around in menus to turn the scanner on. It’s often bound to a button you can quickly access. On controllers this will be the LB button, and on keyboard it is the ‘F’ key. It’s like switching on a special pair of glasses that shows you the hidden world around you. Remember this button, because you will use it a lot! With a quick press, your screen will change, and the scanner view will come alive. You will return to normal view when you press the scan button again.
Scanner Visuals and UI
Once the scanner is active, you’ll notice a few things pop up on your screen. Different colors indicate different categories. For example, you might see red for enemies, green for plants, and blue for minerals. The scanner also displays the percentage of a planet or area that you’ve completed. A bar with ‘Progress’ on it will show how much data you have gathered on planet, and when the bar is at 100%, you have scanned everything in the area. This can be quite helpful if you are trying to get all the planet research completed.
Scanning Flora (Plants)
Plants in Starfield aren’t just pretty to look at; they often contain valuable resources for crafting and research. Scanning plants will provide you with information about their properties. This data can be very useful if you are a builder or scientist. To scan a plant effectively, make sure you have it highlighted with the scanner circle and it has the white lines indicating a successful scan. If you scan a plant you have already discovered, you will not see the scan marker on the plant again, as you have already completed it. You can see the total amount of each plant in the data menu.
Tips for Scanning Plants
- Move slowly and carefully. Some plants blend well with their environment and might not stand out immediately.
- Look for plants in different environments. Different areas of a planet will have different types of flora.
- Use the scanner’s zoom function (if available) to get a closer look at smaller plants.
Scanning Fauna (Animals)
Just like plants, creatures in Starfield also hold valuable information. Scanning them gives you data on their behavior, biology, and any resources you might get from them. Scanning dangerous creatures will reveal their weakness which can assist in your exploration. You can also find out if a creature is passive or will attack, which is a bonus when you are unsure of your surroundings.
Tips for Scanning Creatures
- Be stealthy! Some creatures will run if they see you coming.
- Try to scan creatures from a safe distance, especially the dangerous ones.
- Different creatures will have different scan difficulty levels. The faster a creature moves or if it is aggressive will affect the scan success rate.
- Be prepared to run or fight!
Scanning Resources
Resources are essential for crafting weapons, armor, and ship parts. They are also useful for building your outposts and crafting materials. Your scanner is invaluable when trying to find the resource deposits, veins and gas vents. Scan data will reveal the locations of each, allowing you to plan your resource gathering effectively. You will want to scan any minerals you are going to mine with the mining laser. This is the only way to fill your data menu with the elements on the planet.
Tips for Scanning Resources
- Look for veins and deposits that have a unique visual appearance.
- Check your scanner often. Some resources will be hidden in plain sight.
- Be on the lookout for gas vents. These can provide rare resources.
- Look for a cluster of resources, as this could be a hot spot for additional materials.
Scanning Points of Interest
Starfield is filled with interesting locations and man-made structures. These can be abandoned bases, research facilities, and other intriguing places. When your scanner comes into contact with these, you will see a location marker come up. When you discover these locations, your map will be updated and you can return to them at any point.
Tips for Scanning Points of Interest
- Pay attention to the scanner’s alerts. They might lead you to hidden locations or side quests.
- Explore every location you discover. There might be items or additional data to collect.
- Keep an eye out for unique buildings. They often contain valuable resources.
Advanced Scanning Techniques
Now that you’ve got the basics down, let’s talk about some advanced techniques that will help you become a true scanner master.
Using the Zoom Function
Many scanners come with a zoom function. This is especially helpful when scanning things that are far away. You can use the zoom to get a clear scan on creatures that run away before you can get close, and it will help you get all the plant data from tricky locations. The zoom can be activated when you click the right stick on a controller or the ‘R’ key on a keyboard.
Scanning from Your Ship
Don’t forget you can also use your scanner while you’re in your ship. This is a great way to scan large areas quickly. When in your ship, you can scan planets from the space map. This will provide you a basic overview of the planet. When you land on the planet you will then have to manually scan the resources, plants, animals etc., on foot.
Prioritizing Scans
When you first start exploring, scan everything. Get all the data you can, but as you progress and level up, you will begin to discover which items are worth more. When looking for certain elements, learn to ignore the low-value items that you have already completed and try to hunt down resources that will benefit you.
Scanner Skills
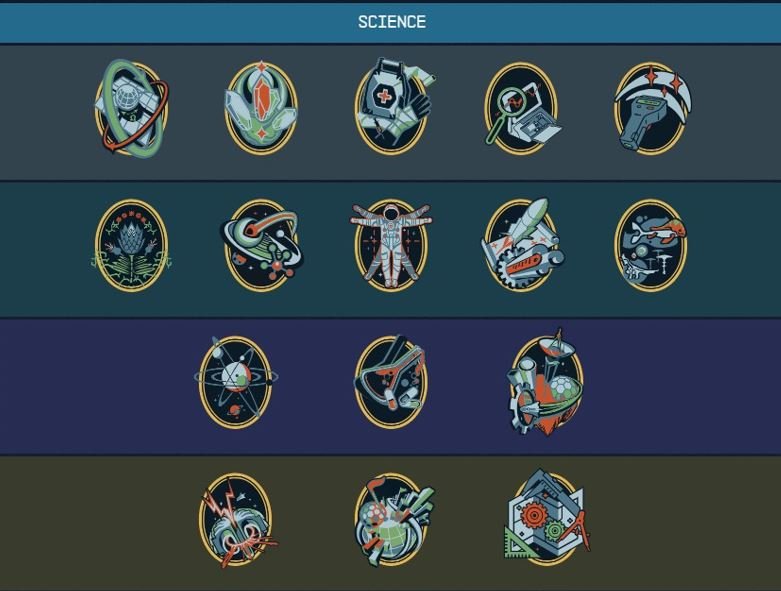
Some of your skill points in Starfield can be used to upgrade your scanning abilities. These skills can make your scanner more powerful, make it easier to scan creatures, and even give you bonus resources. Check the skill tree frequently and plan out which skills will assist you on your adventures. You can use the skills in the following tree: Science, Surveying, and Astrophysics.
Troubleshooting Common Scanning Issues
Sometimes things don’t go as planned. Here are some tips on how to fix common scanner problems.
Scanner Not Highlighting Objects
If you’re having trouble getting your scanner to highlight things, check your surroundings. Sometimes plants can be difficult to scan because they are partly hidden. Make sure you are close enough to the object to be able to scan it. If this doesn’t fix it, you might want to restart the game, as it could be a glitch.
Scanner Circle Not Filling
If the scanner circle isn’t filling, you may need to wait a second longer, or you may have already scanned it previously. Try moving closer, and if you are scanning an animal, be careful, as the scan will be cancelled if it is attacked. If the circle is not turning at all, you might want to restart the game, as it could be a glitch.
Problems Scanning Moving Targets
Scanning moving targets like animals can be difficult. Try to get them cornered, or scan them before they see you. Use the zoom function to help keep them in range and try to time your scans when they slow down or stop moving.
Why is Scanning Important?
Scanning is more than just a way to fill out your databank. It’s a crucial part of the Starfield experience, that impacts your game in multiple ways. Let’s explore why you should scan everything you can.
Crafting and Resource Gathering
Scanning provides the data you need to find resources for crafting and building outposts. Without scanning, you’ll miss a lot of precious materials that will help you progress in the game. You will not be able to build anything without first scanning the necessary element.
Research and Development
Scanning also plays a vital role in research and development. The data you collect can be used to make new tech, upgrade your equipment, and gain a deeper understanding of the universe. There is a dedicated research table for scanning data.
Planet Surveying
If you’re planning to survey a planet, scanning is the only way to make that happen. The data collected with your scanner is essential for completing planet surveys, and gives you bonus XP and credits.
Expanding your Knowledge
Ultimately, scanning is a way to discover the Starfield universe. Each scan fills your databank with info on the game lore, and expands your understanding of the world. Every plant, creature, and mineral tells a story. The more you scan, the more you understand the story of the game. The lore and background of Starfield is very deep and the scanning data is a great way to experience it all.
Scanning and Leveling Up
Scanning contributes to your overall progression in the game. The more you scan, the more XP you earn. This XP can be used to level up your character, unlock new skills, and become a more powerful explorer. Scan data is used in research tables which will allow you to build better items and progress the skill trees.
Making Scanning a Habit
Scanning is a skill that needs to be practiced regularly. You should make it a habit every time you land on a new planet. Try to scan each new element, plant, animal, and POI. By doing this, you will become very good at scanning, and you will gain all the benefits that scanning gives you.
So, there you have it! Scanning is a core mechanic in Starfield, and it will help you on your journey throughout the stars. Remember to turn on your scanner often, explore thoroughly, and use all the tricks you have learned. By doing this, you’ll become a true scanning pro, and you will get the most from your explorations.
22 Things Starfield Experts Do That You Probably Don't
Final Thoughts
Effective scanning requires patience; prioritize flora and fauna for resource gathering. Use the scanner regularly when landing on a new planet to identify key locations. Remember to scan complete sets for extra experience and valuable data.
Proper use of scan tools directly improves your progression. ‘Starfield how to use scan tools efficiently’ means making regular scans a key habit. This maximizes your resource and experience gain in the game.

