
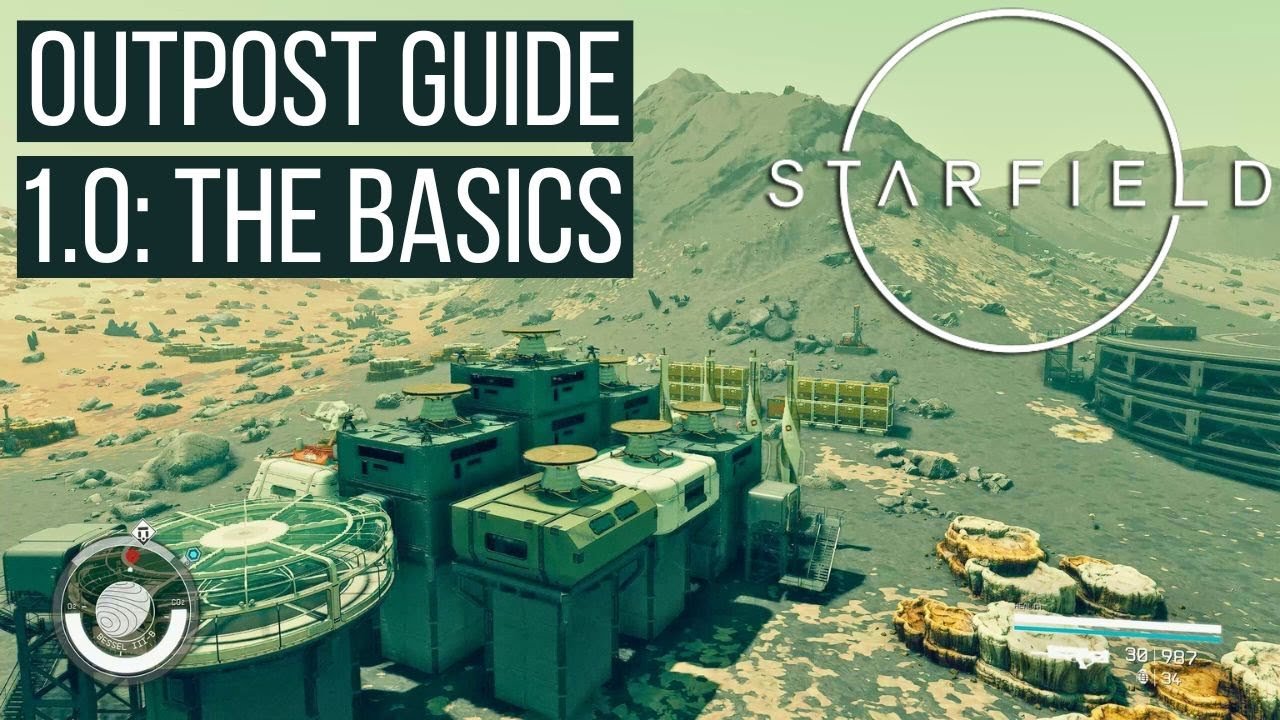
‘Starfield settlement building involves gathering resources, placing structures from the build menu, and connecting them with power and crew.’
Want to create a thriving outpost in the vastness of space? This Starfield settlement building guide will give you the basic knowledge you need. We will go through the core mechanics and elements, so you can start creating your own personal space station or ground base.
Building your first habitat may seem daunting, but once you grasp the simple steps, the possibilities are endless. We will help you understand all the systems. The aim is to make sure your outpost becomes a functional and aesthetically pleasing area.

Starfield Settlement Building Guide: Crafting Your Cosmic Home
So, you’ve jumped into the vast universe of Starfield and you’re ready to build your own little corner of the cosmos? Fantastic! Settlement building in Starfield lets you create a personalized base, a place to call home amidst the stars. But, where do you start? Don’t worry; this guide will walk you through everything you need to know, from the basic building blocks to the fancier features. We’ll make sure your outpost isn’t just functional, but also a place you’re proud to show off.
Getting Started: The Basics of Outpost Creation
Before you start throwing down walls and furniture, you need to understand the fundamental steps of creating a Starfield settlement. First things first, you’ll need to find a suitable location. Not every planet is ideal for an outpost.
Choosing the Perfect Location
When scouting for a spot, keep an eye out for these important things:
- Resources: Look for areas rich in resources like iron, aluminum, copper, and others. These are vital for crafting and building. You can use your scanner to see which resources are available.
- Terrain: Flat areas are easier to build on than hilly or rocky ones. It will save you a lot of headache later.
- Environment: Consider the climate and potential hazards. Some planets have extreme temperatures or toxic environments that can affect your outpost.
- Aesthetics: While not crucial, building on a scenic landscape makes the whole thing more enjoyable.
Once you’ve chosen your spot, it’s time to begin constructing.
Placing Your Outpost Beacon
To kick off your settlement, you’ll need to place an Outpost Beacon. This is the heart of your base. Once placed, it claims a territory around it, making that area yours. Open your scanner, select the Outpost option, and put that beacon down. This is where the fun begins!
Building Your Base: Structures and Components
Now that you have your outpost started, it’s time to think about building structures. Starfield gives you a variety of parts to use, each serving a specific purpose.
Habitats: The Core of Your Outpost
Habitats are pre-fabricated rooms that serve as living quarters, crafting spaces, and more. They come in various shapes and sizes, and you can connect them with doorways and corridors. Think of them as the building blocks of your outpost’s interior.
Utility Structures: Making Things Work
These structures make sure that your outpost functions correctly and support all your activities. Some of the important Utility structures include:
- Power Generators: Essential for running all your outpost systems. You’ll need power for lighting, crafting, mining, and more. Use solar panels for clean energy or fusion reactors for more juice.
- Storage Containers: Keep your resources organized and safe. You’ll need to keep everything from raw materials to processed components in storage.
- Extractors: Get resources from the planet. Place them over resource veins for them to automatically gather resources. Make sure you are near a resource location.
- Workbenches: Where you create and upgrade equipment and craft materials for your base. Every crafting table in the game can be built at your outpost.
- Landing Pads: Essential for fast travel and attracting vendor ships, and allow you to land your ship at your outpost.
Defensive Structures: Protecting Your Investment
Space isn’t always friendly. You’ll need to protect your outpost from hostile creatures and space pirates. Install defensive structures to keep your hard work safe.
- Turrets: Provide automatic defense against hostile encounters. Different types of turrets offer varying levels of protection.
- Landing Pad defense: A landing pad defense protects your landing pad and ships from external threats.
Customizing Your Settlement: Making It Your Own
Once the essential structures are in place, it’s time to personalize your outpost. This is where you make it a real home, not just a functional base.
Interior Decor: Adding Style
Add furniture, decorations, and lighting to create a comfortable and personalized living space. You can craft everything from beds and chairs to posters and plants.
- Furniture: Add beds, chairs, tables and anything to make your base feel more habitable.
- Decorations: Place decorations like posters, lamps, and rugs to make the space your own.
Connecting and Expanding
Starfield’s building system allows you to connect structures in several ways.
- Corridors and Doors: Connect different habitats and structures with hallways and entrances.
- Multiple Outposts: You can set up multiple outposts on different planets and connect them with Cargo Links. Transferring resources across your outposts is essential for creating a thriving inter-planetary network
Resource Management: The Key to Success
Managing resources effectively is essential for keeping your settlement running smoothly.
Understanding Resource Extraction
Place extractors on resource veins to collect materials. These extractors will fill up over time, and you will have to transfer the resources to your storage containers. Different resource extractors require varying amounts of power, and extract resources at different rates.
Storage and Logistics
Keep your resources organized using storage containers. There are containers for every type of resource, from minerals to manufactured items. You also need to use Cargo Links to move resources between outposts.
Advanced Settlement Features
After mastering the basics, you can explore some more complex aspects of settlement building.
Crew and Assignments
Assign crew members to your outposts to improve efficiency. Certain crew members have specific skills that can benefit your base, like mining or defense.
Research and Development
Use your workbenches to conduct research and unlock new building options. More advanced technology leads to more efficient and robust outposts.
Specialized Structures
Explore some more complex structures like greenhouses, or manufacturing plants once you are more experienced. These advanced structures allow you to produce unique items for crafting or trade.
Troubleshooting Common Settlement Issues
Sometimes things don’t go perfectly. Here are some common problems and how to fix them:
- Power Shortages: If your structures aren’t working, you might not have enough power. Check your generators and make sure they are all running efficiently. Build more solar panels or fusion reactors if needed.
- Resource Depletion: If an extractor runs out, you might need to find a new resource vein. Scan the area and move your extractors accordingly.
- Defensive Breaches: If your base is getting attacked, make sure you have enough turrets and that they’re working properly. Upgrade your defenses if needed.
- Outpost Limits: There are limits to how much you can build in one outpost. If you reach the limit, build another outpost.
Building a thriving settlement in Starfield takes time and effort, but the results are well worth it. From a small outpost to an expansive hub, the potential for customization is huge, so get building! Keep experimenting, and don’t be afraid to try new things. Enjoy building and creating the best possible outpost in the galaxy!
Starfield – The Beginner's Guide to Building Outposts
Final Thoughts
Creating your dream outpost in Starfield takes time, patience, and careful planning. Focus on resource management and location selection for best results. Experimenting with different structures will improve your settlement over time.
This Starfield settlement building guide offers a starting point. Remember to connect facilities for optimal productivity and build defenses. Adapt your designs to fit diverse environments for success.
Through practice and exploration, you’ll develop amazing outposts. The game offers great depth in settlement creation, so keep going. This guide assists with your beginning steps.

