Tekken 9 how to use stage hazards involves forcing opponents into breakable walls, floors, or environmental objects with throws, combos, and movement, triggering additional damage and sometimes positional advantages.
Have you ever found yourself getting knocked around in Tekken, wondering how others seem to use the environment to their advantage? Learning Tekken 9 how to use stage hazards is vital for becoming a more strategic player. These interactive elements can significantly affect the flow of battle.
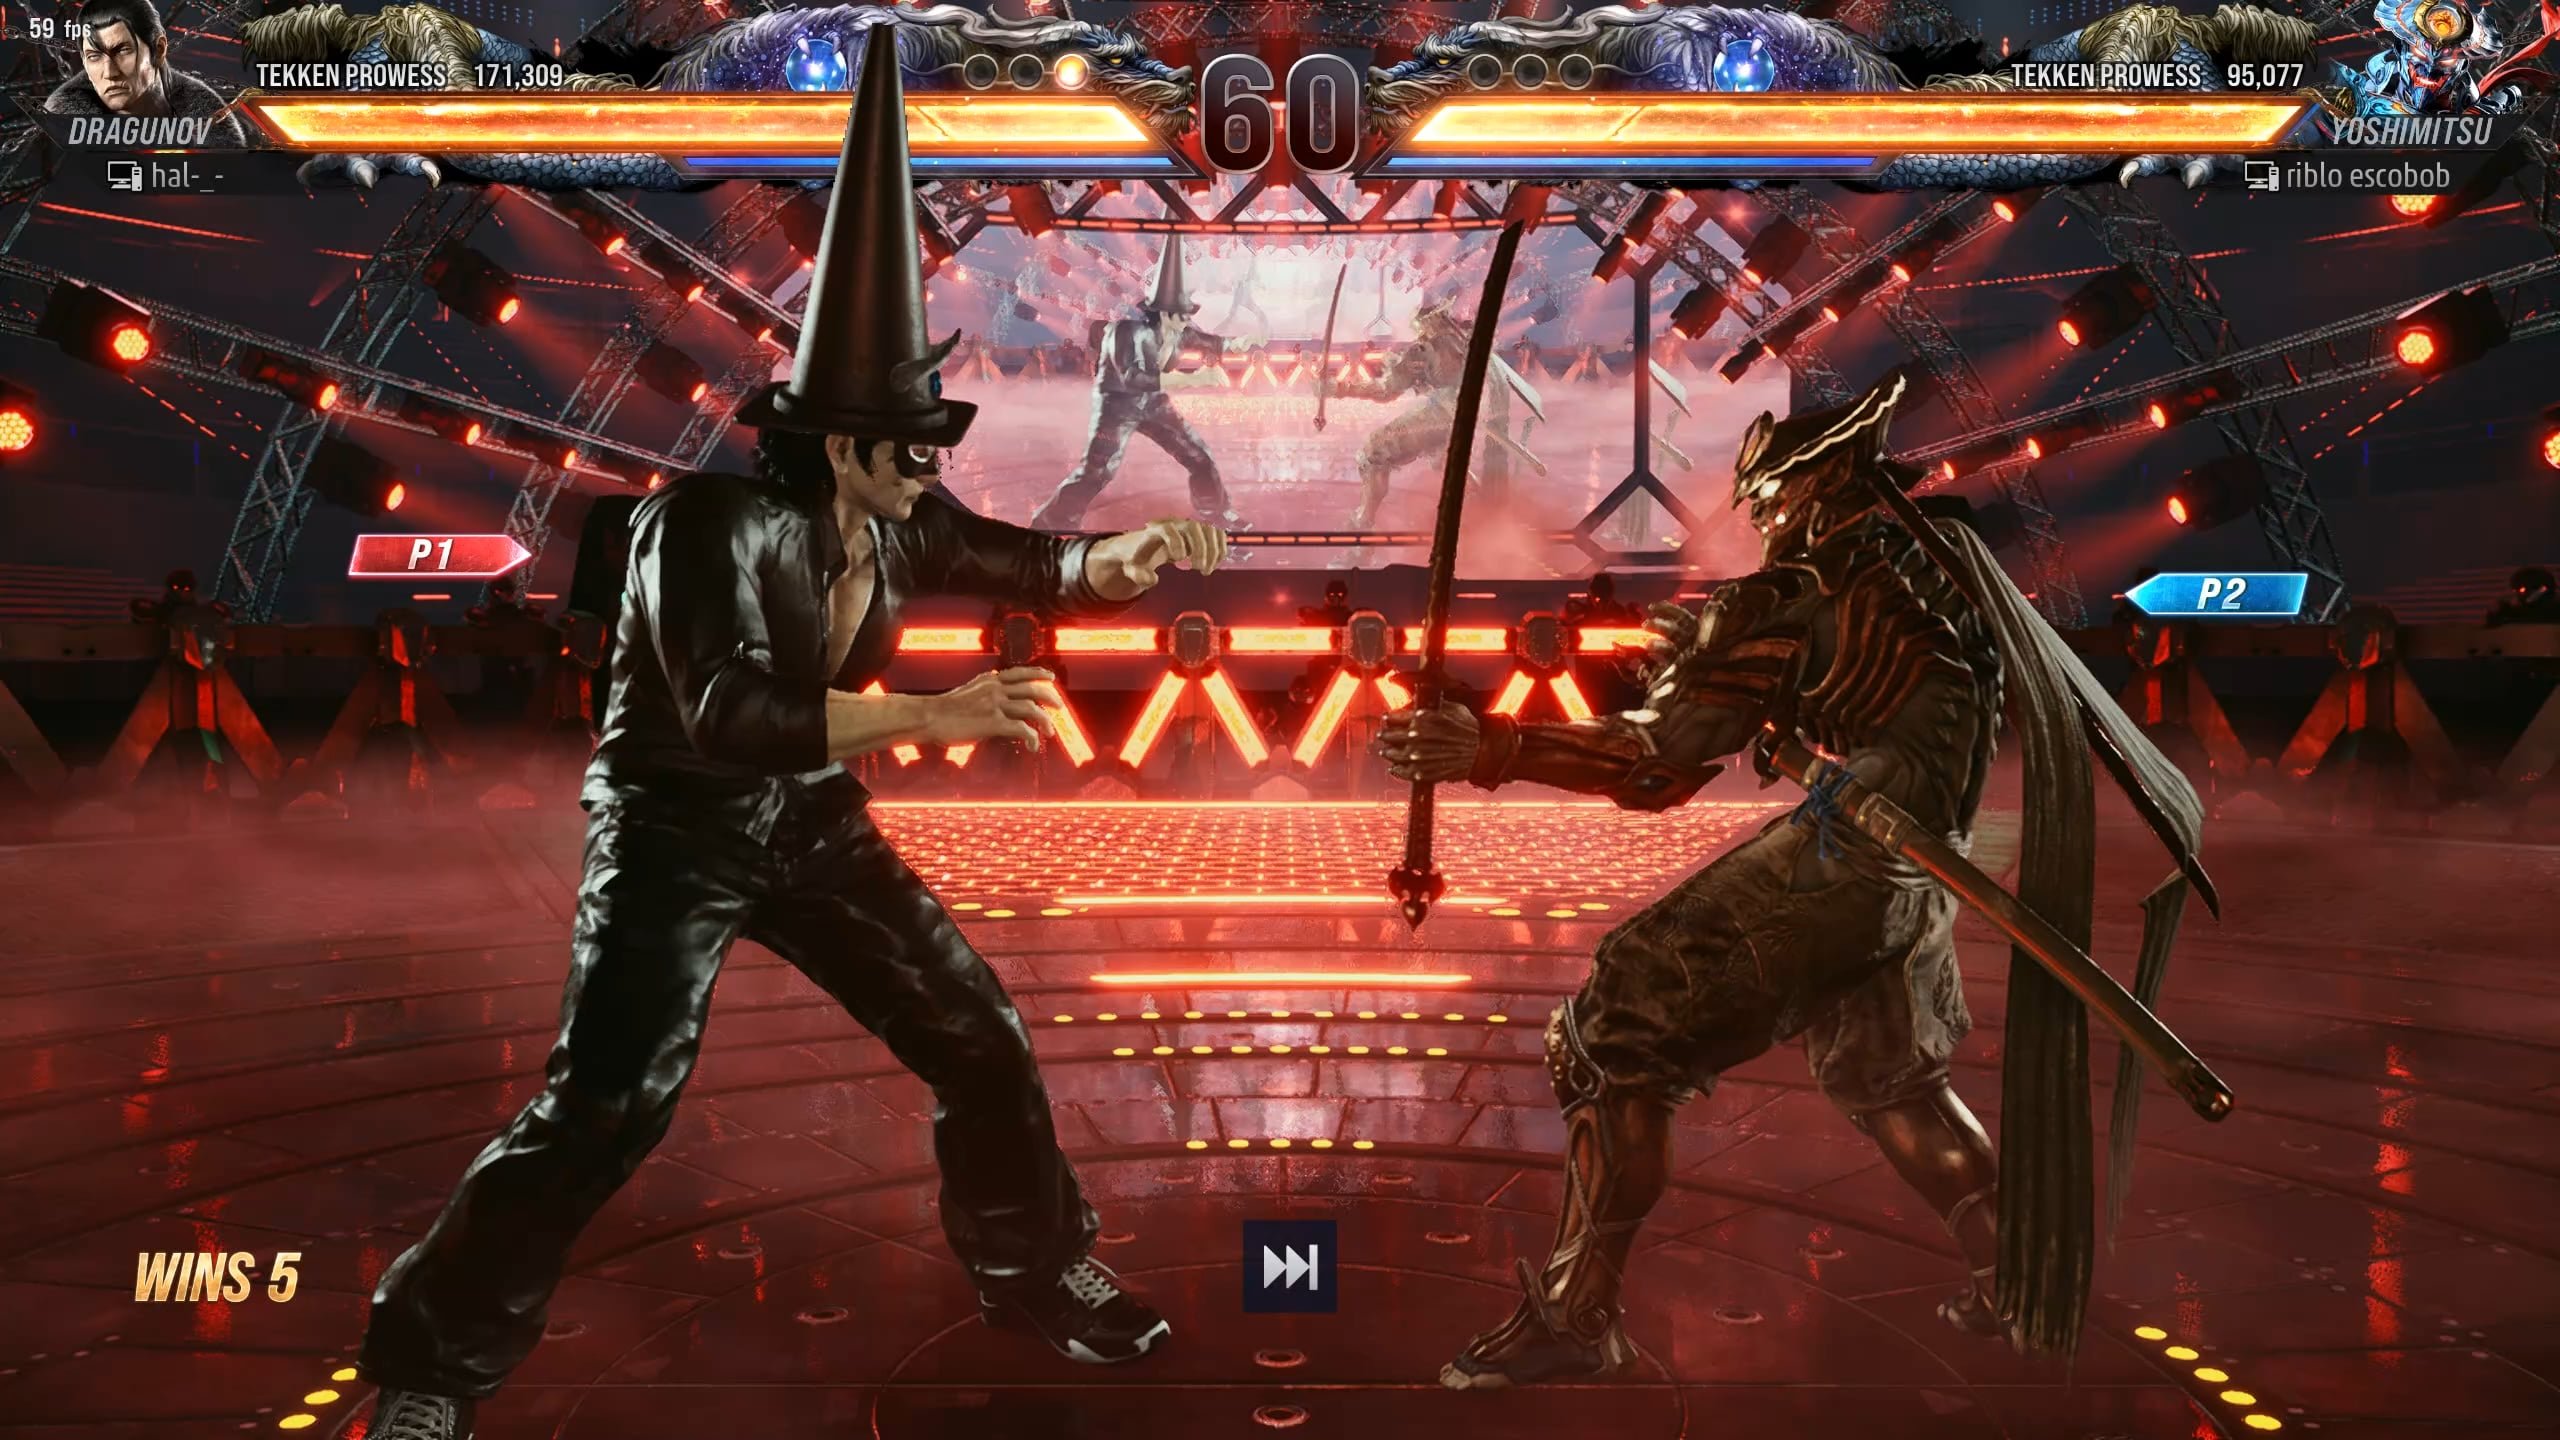
Using stage elements effectively takes practice. You’ll need to learn which moves are best at positioning your rivals so they hit the walls or drop through the floor. It will enhance your game greatly.

Tekken 9 How to Use Stage Hazards
So, you’re ready to rumble in Tekken 9 and want to take your game to the next level? You’ve probably already got the basics down – jabs, kicks, throws, and maybe even a few cool combos. But, have you thought about using the environment to your advantage? That’s right, I’m talking about stage hazards! These sneaky obstacles and interactive elements can totally change the tide of a fight if you know how to use them. They aren’t just pretty backgrounds; they are weapons in disguise. Let’s dive in and learn how to become a master of environmental warfare in Tekken 9.
Understanding Different Types of Stage Hazards
Tekken 9 throws a variety of stage hazards your way, each with its own unique way of messing with your opponent (or you, if you’re not careful!). Knowing what you’re up against is half the battle. We can roughly divide them into a few main types:
Breakable Walls and Floors
These are probably the most common and straightforward types of hazards. Breakable walls, well, they break when you or your opponent gets slammed into them with enough force. This often leads to a dramatic change in the stage layout, sometimes creating entirely new fighting areas, and sometimes just opening up a small new area to fight in. The best thing is that it can lead to a wall stun, giving you a chance to continue your combo!
- Wall Breaks: Think of them as a way to extend your combos and change the dynamics of the match. A well-timed wall break can turn a defensive position into a serious beatdown opportunity. If your opponent is at a wall, try to think how to bring them into the wall and get some extra hits.
- Floor Breaks: Similar to walls, but they drop you down to a lower level. These can be great for escaping a cornered situation or for adding a little bit of drama and excitement into your moves. They are also great to use if you want to change your situation. They are great if you want to give yourself more area to move around in.
Falling Objects
Sometimes, the environment itself wants to get in on the action. Falling objects, like pipes, or debris, can add a random element to the fight. These can be tricky, but you can also use them strategically.
- Unpredictable Impact: You can’t always rely on falling objects, but they can be a great way to cause chaos, leading to openings in your opponent’s defense. They can also be used to get opponents to react and possibly waste moves when trying to avoid it.
- Positioning is Key: Try to move your opponent into the path of falling objects. If you can predict when the objects fall, you can use this to your advantage, setting up a surprise attack or causing a stumble.
Environmental Traps
These are the more active stage hazards. Think of things like rotating platforms, moving vehicles, or even things like electrified fences. They are different from the falling objects, as they are more interactive and you can often use them more predictably.
- Timing and Movement: Pay close attention to the movement patterns of these traps. You can use them to corner your opponents, or as an escape route.
- Offensive and Defensive Uses: Environmental traps can be used to keep your opponent on their toes, creating more opportunities for your own attacks, and they can also force your opponents to move around or become predictable.
How to Utilize Stage Hazards Effectively
Okay, now that we know what kinds of hazards to expect, let’s talk about how to use them like a pro. It’s not just about randomly knocking people into things; it’s about thinking ahead and using the stage to your advantage.
Strategic Positioning
This is the most important thing you can do to utilize stage hazards. Knowing where the hazards are and moving your opponent towards them is key to taking full advantage.
- Lure Your Opponent: You can move around the stage and try to bring your opponent closer to a hazard. If you start moving that way, they might even be baited into following you there.
- Create Traps: Sometimes, just making your opponent think there’s a hazard there can be enough to make them change tactics. Fake going near an edge and they might back away, or get into a position where they are more vulnerable.
Combo Extensions
Stage hazards, especially wall breaks, are fantastic ways to keep a combo going. If you knock an opponent into a breakable wall, it doesn’t just cause damage, but will often keep them in a state where you can continue to attack. This is essential for any Tekken fighter.
- Wall Carry Combos: These are a bit advanced, but once you master them, they can lead to some really impressive and powerful combos. They involve timing your hits and positioning so you can knock your opponent across the stage into a wall break.
- Floor Break Follow-ups: After causing a floor break, be ready to move down to the lower level as quickly as you can. You can often catch your opponent off guard and start a new combo.
Defensive Maneuvers
Stage hazards aren’t just for attacking; you can use them to save yourself in sticky situations. If you find yourself trapped in a corner or near a wall, try using the environment to escape.
- Wall Escapes: If you know your opponent is going to slam you into a wall, a well-timed wall break can turn their offense into nothing. Try to time it correctly so that you get out of the way as they are coming at you.
- Using Stage Movement: Use the stage elements to create space, like a moving platform or an area with falling objects, which will give you time to think about your next move. If you can control the environment, you are one step closer to winning.
Adapting to Different Stages
Not all stages are created equal. Each stage has its own set of hazards and quirks. Some have lots of walls, some have pits, and others have more interactive elements. You need to learn each stage individually and adapt your play style accordingly. There are no cookie-cutter strategies for every stage.
- Stage Analysis: Before a fight, take a moment to look around and note where the dangers and opportunities lie. Are there lots of breakable walls or areas with falling objects? These differences matter, so take a note of them.
- Custom Strategies: Adapt your style depending on the type of stage. On stages with more walls, work on your wall combos. On stages with more moving parts, master the movement around those parts.
Practicing with Stage Hazards
Learning to use stage hazards is all about practice. You won’t become an environmental master overnight, but with some dedicated practice, you’ll quickly improve.
Training Mode Drills
The training mode is your best friend when it comes to learning how to use stage hazards. It’s a safe space to experiment and get a feel for things.
- Wall Break Practice: Practice pushing your opponent into a wall and initiating a break. Focus on timing your attacks to set up a good wall carry.
- Floor Break Timing: Practice getting to the lower level quickly and starting your combo on the other side of a floor break. This might need a different set of moves, so get that set down.
- Falling Object Awareness: Get a feel for the timing of falling objects on different stages. Try to lure the opponent into the danger zone while maintaining a safe distance from yourself.
Learning Stage Specific Tricks
Each stage has its own specific little tricks and tips that you should try to learn. Some are a lot less obvious than others, so you should learn them from players, or try to find them for yourself.
- Watch Pro Players: See how the professionals use the stage hazards to their advantage. Pay attention to their positioning, timing, and how they set up their combos. They will have the best strategies.
- Community Resources: Look for online guides and tips for each stage. These can often give you small tips that you may not have thought of, helping you get better overall.
Being Aware of Opponent’s Strategies
Remember that your opponent is also trying to use the environment, so you have to be aware of how they could use that to your detriment.
- Anticipate their moves: When you see your opponent leading you into an area with hazards, you have to be aware of what they might be planning, so try to counter that by going around it or using a different area.
- Be Adaptable: If your opponent is very good at using wall breaks, for example, avoid getting close to walls to avoid their set up.
Common Mistakes to Avoid
Finally, it is important to know what not to do when using stage hazards. There are some common mistakes that players make when they are trying to master using stage hazards.
Over-reliance on Hazards
Don’t get too focused on the environment and forget the fundamental fighting. Stage hazards are just a tool, not a replacement for good fundamentals.
- Focus on Fighting: Make sure you have your basics, combos, and strategies set, before you even begin to think about adding more advanced features like stage hazards.
- Balanced Approach: Stage hazards should enhance your gameplay, not be the entire focus of it. Good players will know how to use this, but they will also not be predictable.
Ignoring Your Own Position
Sometimes, players get so caught up in trying to use the stage hazards that they forget about their own position. Don’t get too close to the edge, for example, because your opponent could easily knock you off it.
- Be Safe: You should try to be in a position where you can still attack or move around freely. Don’t sacrifice a better position for a chance at a small hit.
- Avoid Unnecessary Risks: Don’t force yourself into a difficult situation. If your opponent has lured you somewhere, you can back out and rethink your strategy.
Predictability
If you always try to do the same things, people will learn what you are planning to do. Variety is important.
- Mix it Up: Don’t always go for the same hazards. Keep your opponent guessing and force them to adjust.
- Change Strategy: If they are good at stopping you, change strategies and see if they can adjust to that.
By understanding these mistakes, you’ll become a much better player, and begin to make great use of the stages in Tekken 9.
Using stage hazards in Tekken 9 is all about strategy, awareness, and practice. It’s a skill that separates the good players from the great ones. Pay attention to your surroundings, be strategic, and you’ll soon be mastering the environment to dominate your opponents.
Zafina Combo Guide | In-Depth with Notation & Explanation | Heat, Rage, Wall, Stage Hazards, etc.
Final Thoughts
Effectively using stage hazards in Tekken 9 requires understanding each stage’s unique interactive elements. Careful positioning is crucial to push opponents into walls or off ledges. Practice various character moves near hazards to create openings for these dangerous advantages.
Timing is key. Bait your rivals into compromising positions before triggering environmental damage. Successfully implementing these maneuvers leads to easy damage and potentially ending rounds quickly. Tekken 9 how to use stage hazards is a vital skill.

