Basic butchering of livestock and game involves safely breaking down a harvested animal into manageable cuts of meat for consumption, prioritizing hygiene and maximizing yield.
Ever wonder where your meat actually comes from? Knowing how to process your own food offers immense satisfaction and control over what you eat. Basic butchering of livestock and game provides you with just that control.
This guide will walk you through the essential steps involved in turning a whole animal into usable portions. We’ll focus on techniques suitable for beginners, emphasizing safety and efficiency. Prepare to learn a new skill.

Basic Butchering of Livestock and Game
Butchering your own livestock and game allows greater control over the quality and cuts of meat you consume. It’s a skill that connects you more deeply with the food you eat. Safety and sanitation are paramount throughout the entire process.
Essential Butchering Tools
Having the right tools significantly impacts the ease and safety of butchering. Investing in quality tools is worthwhile. Sharp knives are crucial for clean and efficient cuts.
- Butcher Knife: A large, sturdy knife for breaking down carcasses.
- Boning Knife: A smaller, thinner knife for removing bones.
- Skinning Knife: Designed specifically for removing hides from game animals.
- Cleaver: For chopping through bones and tough connective tissue.
- Steel or Honing Rod: To maintain the sharpness of your knives.
- Cutting Boards: Large, food-safe cutting boards, preferably plastic for easy cleaning.
- Meat Saw: For cutting larger bones and joints.
- Game Bags: To protect game meat from insects and debris in the field.
- Storage Containers/Freezer Paper: For packaging and freezing the processed meat.
Safety First: Preventing Accidents and Contamination
Butchering involves sharp tools, so safety should always be your top priority. A clean workspace is also essential to prevent contamination. Understanding proper sanitation techniques is crucial for food safety.
- Sharp Knives Are Safer: Counterintuitively, a sharp knife requires less force, reducing the chance of slipping.
- Cut Away From Yourself: Always direct the knife away from your body.
- Wear Protective Gear: Consider wearing cut-resistant gloves, especially when learning.
- Sanitize Everything: Thoroughly clean and sanitize all tools and surfaces before and after butchering.
- Control the Environment: Keep pets and children away from the butchering area.
- Temperature Control: Keep meat at a safe temperature during processing to prevent bacterial growth.
Understanding Livestock Anatomy
Knowing the anatomy of the animal helps you make informed cuts. Identifying muscle groups and bone structures is key to efficient butchering. This knowledge also improves meat quality by cutting along muscle fibers.
Understanding the primal cuts is the first step. Then you can break these down further into sub-primal cuts and individual portions. Knowing where each cut comes from informs how it will cook best.
Field Dressing Game Animals
Field dressing is the initial processing of a game animal immediately after harvest. This process removes the internal organs. It is essential for preventing spoilage.
Timing is Crucial: Field dressing should happen as soon as possible after the kill.
Location Matters: Choose a clean location away from roads or water sources.
Opening the Cavity: Make a careful incision along the belly, avoiding puncturing the internal organs.
Removing the Organs: Carefully remove the organs, taking care not to spill any contents.
Cooling the Carcass: Prop the chest cavity open to allow for cooling.
Transportation: Transport the carcass in a game bag to protect it from insects and contamination.
Aging Meat: Enhancing Flavor and Tenderness
Aging meat is a process that allows natural enzymes to break down muscle fibers. This results in more tender and flavorful meat. Both dry-aging and wet-aging are common techniques.
Dry-aging requires a controlled environment with specific temperature and humidity levels. Wet-aging involves storing meat in vacuum-sealed bags. The method and duration of aging depend on the type of meat and desired results.
Basic Butchering Steps: Chicken
Butchering a chicken at home is a great way to start learning butchering techniques. It’s relatively simple and requires minimal tools. This provides fresh, affordable chicken, and the process can be easily scaled.
Preparing the Chicken
Rinse the chicken thoroughly inside and out. Pat it dry with paper towels. This ensures a clean working surface.
Removing the Legs
Locate the joint between the thigh and the body. Use your knife to cut through the skin and connective tissue. Bend the leg back to dislocate the joint. Finish cutting through the joint to remove the leg. Repeat on the other side.
Separating the Thigh and Drumstick
Locate the joint between the thigh and drumstick. Cut through the skin and connective tissue to separate the two pieces.
Removing the Wings
Similar to the legs, locate the joint connecting the wing to the body. Cut through the skin and connective tissue. Dislocate the joint and finish cutting to remove the wing. Repeat on the other side.
Removing the Breast
Place the chicken breast-side up. Cut along the breastbone to separate the two breasts. Use your fingers or knife to detach the breast meat from the rib cage. Repeat on the other side.
Optional: Back and Carcass
The back and carcass can be used to make chicken stock. Simmering the bones extracts flavor and nutrients. This minimizes waste and maximizes the use of the whole chicken.
Basic Butchering Steps: Rabbit
Butchering a rabbit is another manageable entry point for beginners. Rabbit meat is lean and nutritious. Like chicken, the process is relatively straightforward.
Preparing the Rabbit
Rinse the rabbit carcass and pat it dry. Ensure the cavity is clean. This step is important for maintaining hygiene.
Removing the Legs
Locate the hip joint where the hind leg connects to the body. Using your knife, cut through the skin and muscle. Pop the joint out of its socket. Finish cutting to detach the leg. Repeat on the other side for the other hind leg.
Removing the Front Legs
Locate where the front legs connect to the body. Cut around the joint and detach the leg. Repeat for the other side.
Opening the Body Cavity
Make a careful incision along the belly, from the rib cage to the pelvis. Be careful not to puncture any remaining internal organs.
Separating the Saddle
The saddle refers to the main body portion of the rabbit. Separate the saddle from the remaining carcass by cutting along the spine.
Cutting the Saddle into Pieces
The saddle can be left whole or cut into smaller portions. Use your knife or cleaver to create desired cuts.
Basic Butchering Steps: Deer (Venison)
Butchering deer requires more effort than chicken or rabbit. A larger animal means more meat and more processing. Understanding the primal cuts is essential.
Skinning the Deer
Hang the deer carcass by its hind legs. Make an incision along the inside of each leg. Peel the hide downwards, using your knife to separate it from the meat. Be careful to avoid cutting the hide.
Removing the Head
Cut through the neck muscles and separate the head from the carcass. This can be done with a knife or saw.
Evisceration
If not already done in the field, carefully open the abdominal cavity. Remove all internal organs. Dispose of the organs properly.
Splitting the Carcass
Use a meat saw to split the carcass down the backbone. This creates two halves.
Primal Cuts
The main primal cuts of deer include the hindquarters, loin, ribcage, and shoulders.
Hindquarters: These contain the round steak, sirloin, and rump roast.
Loin: This area yields tenderloin and loin steaks.
Ribcage: Rib roasts and ribs come from this section.
Shoulders: The shoulders are often used for roasts or ground meat.
Breaking Down the Primal Cuts
Further break down each primal cut into smaller, usable portions. Trim away any silver skin or excess fat. Properly packaging each cut is important for freezing.
Grinding Meat: Making Sausage and Ground Meat
Grinding meat allows you to create ground meat, sausage, and other processed products. A meat grinder is essential for this process. Different grinder plates allow for different textures.
Preparing the Meat
Cut the meat into small cubes that will easily fit into the grinder. Keep the meat cold to prevent smearing.
Assembling the Grinder
Assemble the meat grinder according to the manufacturer’s instructions. Ensure all parts are clean and securely attached.
Grinding the Meat
Feed the meat into the grinder. Use the stomper to push the meat through the grinder. Avoid forcing the meat.
Making Sausage
For sausage, mix the ground meat with spices and seasonings. Stuff the mixture into sausage casings using a sausage stuffer.
Safe Meat Storage: Freezing and Curing
Proper storage is vital to preserve the quality and safety of your butchered meat. Freezing and curing are two common methods. Understanding how to correctly freeze and cure meat is critical for long-term storage.
Freezing Meat
Wrap the meat tightly in freezer paper or vacuum-seal it. This prevents freezer burn. Label each package with the date and cut of meat.
Curing Meat
Curing involves using salt, nitrates, and other preservatives to inhibit bacterial growth. This can be done through dry-curing or wet-curing methods.
Common Butchering Mistakes to Avoid
Even experienced butchers can make mistakes. Being aware of common pitfalls can help you improve your butchering technique. Avoiding these mistakes leads to better quality meat.
- Dull Knives: Dull knives are dangerous and inefficient.
- Poor Sanitation: Neglecting sanitation can lead to food poisoning.
- Improper Aging: Aging meat at the wrong temperature or humidity can spoil it.
- Incorrect Cuts: Cutting against the grain can make the meat tough.
- Insufficient Packaging: Improperly packaged meat can develop freezer burn.
- Ignoring Bone Fragments: Always check for bone fragments and remove them.
Resources for Learning More About Butchering
Many resources are available to help you learn more about butchering. Books, online courses, and workshops can provide valuable instruction. Learning from experienced butchers is also beneficial.
Consider attending a butchering workshop. These hands-on classes teach essential skills. Online resources can supplement your learning.
Ethical Considerations in Butchering
Butchering animals involves ethical considerations. Treat the animals with respect and minimize suffering. Harvesting or raising animals for food should be done responsibly.
Ensure animals are processed humanely. Strive to minimize stress and pain during the butchering process. Respect for the animal is paramount.
Waste Reduction and Utilization
Butchering creates opportunities to reduce waste. Bones can be used for stock. Organ meats can be consumed. Fat can be rendered for tallow.
Using the whole animal minimizes waste and maximizes resources. Explore different ways to utilize every part of the animal. This approach promotes sustainability.
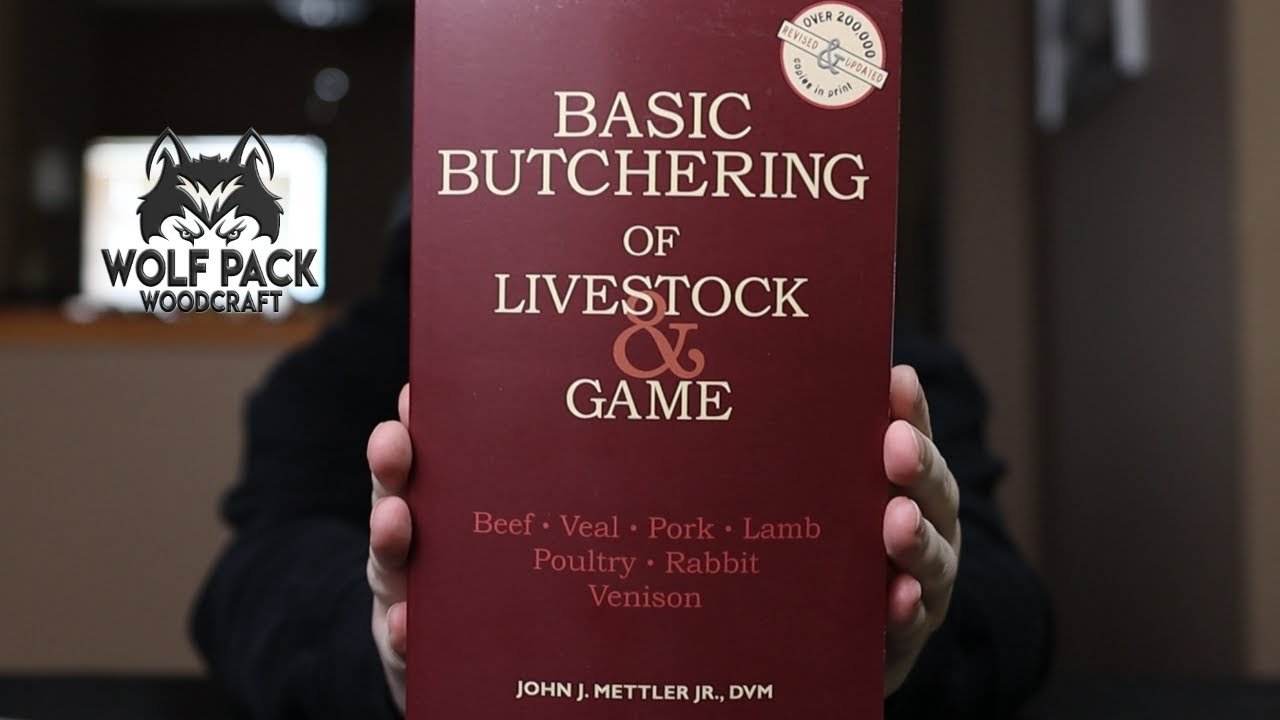
Book Review: The Basic Butchering of Livestock and Game
Final Thoughts
Ultimately, basic butchering of livestock and game provides immense self-sufficiency and control over your food source. You gain valuable knowledge about the animal and ensure quality meat.
Proper techniques are important, you must learn these skills with careful practice and guidance. It allows you to process animals humanely and efficiently.
Basic butchering of livestock and game is a useful life skill to acquire. It offers a direct connection to the food chain and promotes responsible resource management.

