
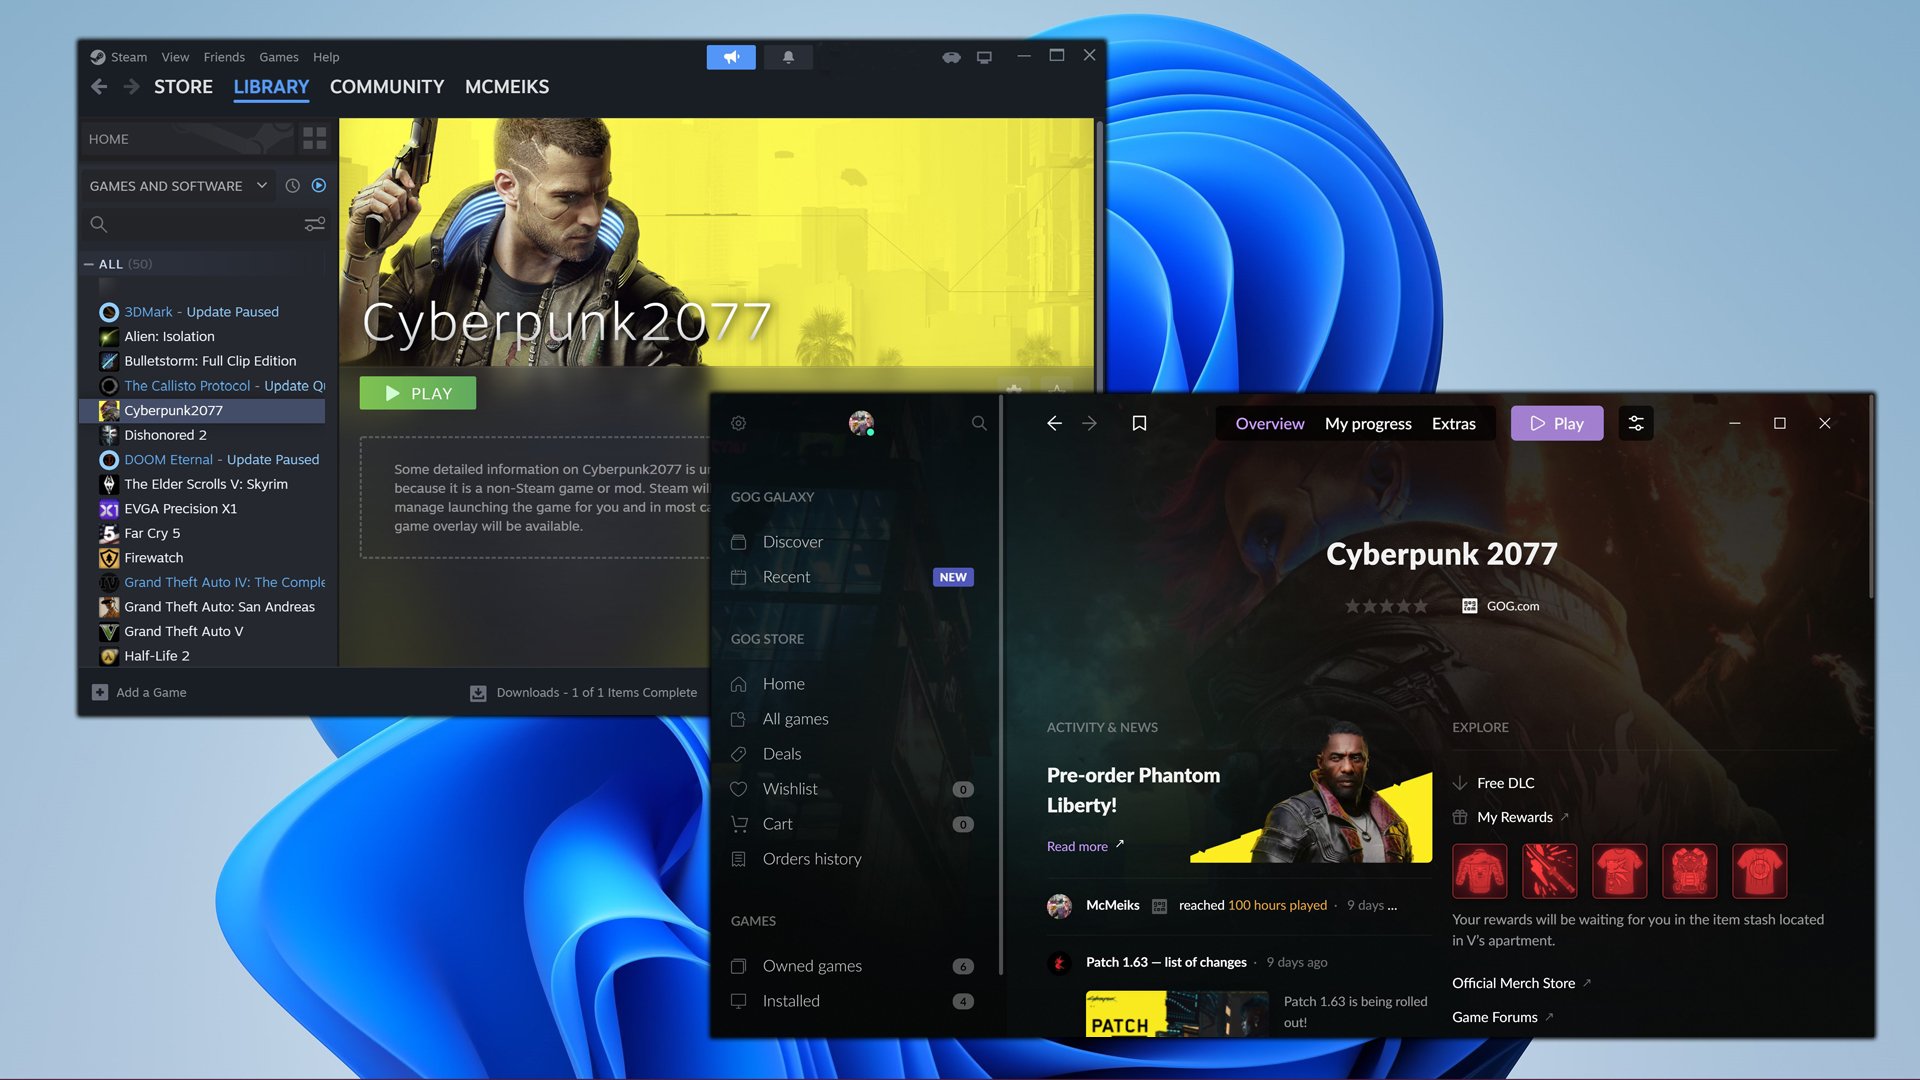
To add a non-Steam game to Steam, use the “Add a Game” button in the bottom left of the Steam window and then select “Add a Non-Steam Game”.
Ever wished you could keep all your games neatly tucked into one place? Steam provides that convenience, but what about those games you got outside the platform? Many people wonder, how do you add a non-steam game to steam? It’s actually a simple process.
The steps aren’t complicated, and once you get the hang of it, you can bring your whole game collection under the Steam umbrella. This way, you can access all your favourite titles directly from the familiar interface.

How Do You Add a Non-Steam Game to Steam?
So, you’ve got a cool game that isn’t on Steam, but you really want to play it through your Steam library? Maybe it’s an old favorite from a disc, a game you bought from another website, or even a fun little indie project. Good news! You can absolutely add these non-Steam games to your Steam account. It’s like giving your favorite non-Steam titles a VIP pass to join the party. It’s not hard to do and can really make your Steam library the center of all your PC gaming activity.
Why Add Non-Steam Games to Steam?
Before we jump into the “how,” let’s explore the “why.” There are some great reasons to add non-Steam games to your Steam library. It’s not just about having them all in one place, though that’s a big perk!
- Centralized Game Library: Instead of having shortcuts all over your desktop or having to remember where you saved each game, Steam can be your one-stop-shop for launching all your games, both Steam and non-Steam games.
- Steam Overlay: One of the best features, the Steam Overlay, works with non-Steam games. This means you can use Steam’s chat, screenshot, and web browser while playing. It’s like having all the convenience of Steam in your non-Steam games.
- Steam Controller Support: If you’re using a Steam Controller or another controller that’s setup to work well with Steam, many non-Steam games can also use this controller support when launched through Steam, making it a more consistent experience.
- Playtime Tracking: Love seeing how many hours you’ve sunk into a particular game? Steam will track your playtime, even for those non-Steam additions. It’s fun to see your playtime on both Steam games and others all in one location.
- Friend Activity: You can let your Steam friends know what you are playing, adding that sense of shared gaming experience to all of your titles.
Adding Non-Steam Games – Step-by-Step
Now that you understand the perks, let’s get to the actual process. It is very easy and straightforward to do. Here’s a detailed guide to get your games into your Steam library:
Step 1: Open the Steam Client
The first step is to open Steam. Make sure you are logged into your account. Look for the Steam icon, usually on your desktop or in your system tray (the bottom right corner of your screen). Click the icon to start the Steam program. You will need to log in if you haven’t done so already. Remember the username and password you used to create a Steam account.
Step 2: Find the “Games” Menu
At the very top of the Steam window, you’ll see a menu bar. Click on the “Games” menu. This will open a small drop-down menu with several options.
Step 3: Select “Add a Non-Steam Game to My Library”
In the “Games” menu, you’ll see several options. Find the option that says, “Add a Non-Steam Game to My Library…”. Click on this to start the process of adding a non-Steam game.
Step 4: The “Add a Game” Window Appears
A new window will pop up titled “Add a Game.” This window will display a list of all the programs and executable files found on your computer. It might take a few seconds for the list to appear. This window is your tool for selecting the game.
Step 5: Locating Your Game’s Executable File
This is a crucial step. You need to find the file that actually runs your non-Steam game. This file usually ends with the extension ‘.exe’. Here’s how to do that:
- Scroll Through the List: The “Add a Game” window shows many programs. Look carefully for your game’s name. If your game is a very popular title, it might be easy to find it. You can use scrollbar in the right side to view all the installed applications and games.
- Use the “Browse” Button: If you don’t see your game listed, click the “Browse…” button in the bottom part of this window. A new file explorer window will appear. Now you need to find where the game is installed on your computer. This process can feel a little like an adventure, but you will get it figured out in the first go.
- Navigating with the File Explorer: Use the file explorer to navigate to your game’s installation folder. This folder is usually where the game was saved during installation. It can be in “Program Files”, “Program Files (x86)”, or in your own Documents or another special folders. Be sure to look through the folder.
- Selecting the Executable File: Inside the game’s installation folder, find the ‘.exe’ file. Select this file and click “Open” or “OK”. This is the file that launches the game. This will take you back to the “Add a Game” window, where you will now see the game listed.
Step 6: Selecting the Game and Adding to Steam
After browsing and locating the game’s executable file using above step or it’s automatically present in the listing then this next step is quite easy. Select the check box next to the game in the list. You will see that now check mark is showing in the check box. After check mark is visible, click the “Add Selected Programs” button at the bottom of this window. This will add the game to your Steam library.
Step 7: Check Your Steam Library
Close the “Add a Game” window and go back to the main Steam window. Click on the “Library” tab. In the library, select “Games” option in the left sidebar. You should now see your newly added non-Steam game in the list with all of your other games. It will likely be at the end of the list if you sort alphabetically, or at the top if you sort by date added. If you can’t immediately spot it, scroll through your list and check. The game’s name should now be in your games list.
Step 8: Launch the Game
Click on the game’s name in the list to select it, then press the big green “Play” button on the right side of window. If everything went correctly, the game should now launch through Steam, and you can now access all of Steam’s normal functionality as if it were a Steam game! You are now all set and ready to play your favorite non-Steam title. If it doesn’t start properly you can follow the troubleshooting section of the article or try again. If the game doesn’t work correctly, then it might require administrator rights or there might be other issues that should be resolved.
Customizing Your Non-Steam Game on Steam
Once you have added your non-Steam game to Steam, you can do some additional things to make it feel more like a real Steam game, such as:
Changing the Game’s Name
Steam might not always pick up the correct game name, so if it’s a little off you can easily change it. Right-click on the game in your library list, go to “Properties,” then change the name in the “Name” field. This is helpful if the file name is confusing, you can give it a name you like.
Adding Custom Art
Your non-Steam game might just have a generic gray icon. To fix this, you can add custom art to the game. This makes your library look much more visually appealing. Here’s how to change the logo and background image :
- Right-Click the Game: In your Steam library, right-click the game you want to change.
- Select Manage and then Set Custom Artwork: Hover the cursor over ‘Manage’ in right-click menu. This will open up a submenu, in which you have to select ‘Set Custom Artwork’.
- Select Image File: This opens a file explorer. Browse to where you saved the image files. You need to have good looking images for your games.
- Resize as needed: Sometimes, the images might not be the exact size Steam wants. You might need to resize them before they look their best.
- Repeat: If you want to change the big background image you have to select the ‘Set Custom Background’ option from ‘Manage’ submenu.
Adding a Category
If you have a lot of games, putting them into categories can make it much easier to find what you’re looking for. You can right-click your non-Steam game, then go to “Categories.” Now you can make a new category or pick an old category. This will group games based on what you like. For example, you might have “Retro Games,” “Indie,” or “My Favorite Games,” categories.
Troubleshooting Tips When Adding Non-Steam Games
Sometimes, things might not go perfectly the first time. Here are a few common problems you might run into and some fixes:
- Game Doesn’t Launch: If the game isn’t launching, make sure you chose the correct ‘.exe’ file. Also, some older games need you to run Steam as an administrator for them to work. Try closing Steam and starting it again with administrator rights. Right-click the Steam icon and select “Run as Administrator”. If the game requires specific libraries, make sure they are installed.
- Game Overlay Isn’t Working: Sometimes the Steam overlay doesn’t always work well with older games, or with games using special display settings. Try changing between full-screen or windowed mode to resolve this issue. You can also try the solutions mentioned on online forums and Steam discussions related to the game.
- Steam Isn’t Picking up the Game: Make sure the ‘.exe’ file you selected isn’t a launcher, or shortcut, but the actual game executable. Also, sometimes after adding a non-Steam game to Steam, it doesn’t show up right away in library. Try restarting the Steam client.
- Game Name is Missing: If Steam can’t find the game name automatically then it might show with a default name, you can easily change it by going to the game’s properties and enter the name of the game there.
Additional Things to Consider
There are a few extra points that can be helpful to keep in mind when adding non-Steam games:
Use a Dedicated Folder
When installing non-Steam games, try to create dedicated folders for better organization. For instance, you can create a folder just for non-Steam games. This makes it simpler to find the ‘.exe’ file when you want to add them to Steam.
Compatibility Issues
While most non-Steam games work well with Steam, some older or very specific games may not perform as expected. Check if other players had the same issues on online communities, and if not, you can try to ask for help or report bugs related to games on official forums. If you encounter any issues, the developer or official community forum can be a good place to find the solution.
Cloud Saving
Sadly, if the game is not a Steam game, then Steam’s cloud save feature will likely not work for these games. Save your progress manually or look for the built-in cloud saves for the games.
Controller Support
Steam can be very effective in controller support for both Steam games and non-Steam games. Try to launch the games through Steam, which will enable the Steam’s controller support option. If you have issues with controller support, check the game settings, to make sure that controllers are enabled there as well.
Adding non-Steam games to Steam is a simple but powerful way to bring your complete game collection under one roof. You gain many conveniences, such as Steam overlay, playtime tracking, controller support, and the ability to easily launch everything from one spot. By understanding the steps and troubleshooting tips, you can now enjoy all of your PC games in a single, accessible and fun environment.
How To Add Non Steam Games To Steam – Full Tutorial
Final Thoughts
To add a non-Steam game, first, locate “Add a Game” at the bottom left of your Steam client. Select “Add a Non-Steam Game” option. Browse your files, and pick the game’s executable file.
Steam adds the game to your library. You can then launch and manage it through the client. This lets you use Steam’s overlay for things like screenshots.
So, that’s how you add a non steam game to steam. It is a simple method to keep all your games in one place. The process is quite straightforward.

