
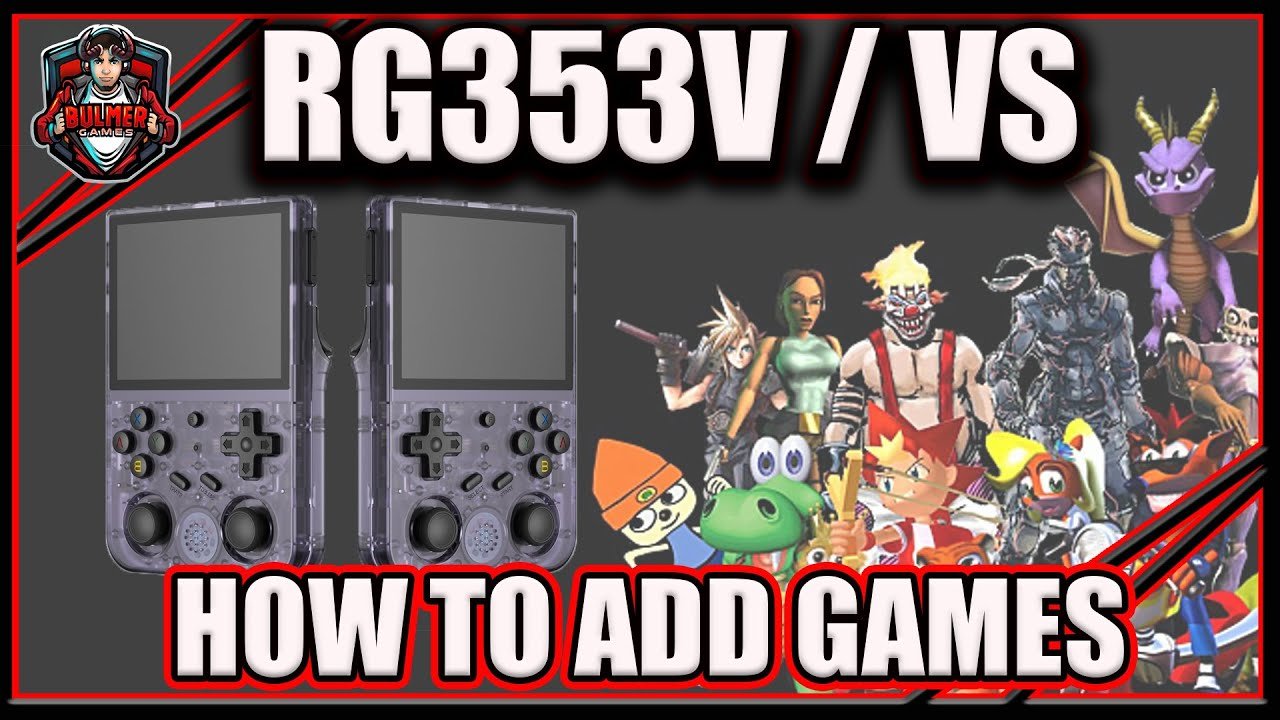
To add games to your Anbernic RG353V, you typically transfer game files (ROMs) to its SD card using a computer, ensuring they are placed in the correct folders corresponding to each system.
Ready to expand your retro gaming collection on that cool Anbernic RG353V? It’s an awesome handheld, but it’s even better with more games. Let’s talk about how to add games to Anbernic RG353V.
Getting those ROMs onto your device is pretty straightforward. You’ll need access to your device’s SD card, which is where games are stored. Connecting that card to your computer allows the transfer.
Each system has its own folder, so make sure you place games in the right places. Once the files are transferred, your RG353V can access them, and you are ready to play.

How to Add Games to Anbernic RG353V
So, you’ve got your shiny new Anbernic RG353V, and you’re ready to jump into a world of retro gaming. That’s awesome! But, before you can start playing all those classic titles, you need to get the games onto your device. Don’t worry, it’s not as hard as it might sound. This guide will walk you through everything you need to know, step by step. We’ll cover different ways to add games, talk about file formats, and offer tips to make the process smooth sailing.
Understanding Game Files (ROMs)
First things first, let’s talk about game files. For most retro consoles, the games are stored in files called ROMs. Think of a ROM like a digital copy of a game cartridge or CD. These files usually have specific extensions that tell your RG353V which console the game belongs to. Here are some of the most common extensions you’ll encounter:
- .nes: Nintendo Entertainment System (NES)
- .snes: Super Nintendo Entertainment System (SNES)
- .gba: Game Boy Advance (GBA)
- .gbc: Game Boy Color (GBC)
- .gb: Game Boy (GB)
- .md: Sega Genesis/Mega Drive
- .ps1: PlayStation 1 (PS1)
- .n64: Nintendo 64 (N64)
- .zip: Compressed files often containing ROMs
- .7z: Another type of compressed file similar to .zip
It’s really important to understand that you need to acquire these game files legally. Owning a physical copy of a game is generally considered a prerequisite for legally possessing its digital ROM file. There are many places on the web that might offer them, but we must emphasize the importance of respecting copyright laws and only using your own legally obtained game files.
Preparing Your SD Card
The primary way to get games onto your RG353V is through an SD card. This small memory card is where all your games and system files will live. It’s helpful to have a dedicated SD card just for your games. Here’s how to prepare it:
Choosing the Right SD Card
The RG353V can use Micro SD cards up to a certain size. A 128GB card is often plenty for most retro gamers and this is the maximum it can handle. It is important to get a good quality card, so that you will not encounter any problems like a read or write error. It is always advisable to buy branded sd cards from popular brand.
Formatting Your SD Card
Before you start adding games, it’s a good idea to format your SD card. Formatting clears the card and makes sure it’s working correctly with your RG353V. Here’s how to do it:
- Insert the SD card into your computer: You’ll need an SD card reader if your computer doesn’t have one built in.
- Locate the SD card in File Explorer (Windows) or Finder (Mac): You should see the SD card appear as a removable drive.
- Right-click on the SD card and select “Format”: A formatting window will appear.
- Choose the FAT32 file system: This is the format your RG353V uses.
- Name the card (optional): You can give it a name like “RG353V Games”.
- Click “Start”: This will erase everything on the card, so double-check you have no important data on the card!
Once the formatting is complete, your SD card is ready to go. Make sure to “eject” the card safely from your computer before removing it. This prevents corruption of data in the SD card.
Adding Games to Your SD Card
Now comes the fun part – adding the games themselves. There are a couple of different ways to do this:
Directly Copying ROMs
This is the simplest method and involves copying your ROM files directly onto the SD card.
- Insert the SD card into your computer.
- Open File Explorer (Windows) or Finder (Mac): You will see your SD Card listed in the system, click on it.
- Create folders for different consoles: This will help keep your games organized. For example, create a folder called “nes” for NES games, “snes” for SNES games, and so on. You can use the same names as the file extensions, like mentioned before.
- Copy your ROM files into the appropriate folders: Drag and drop the ROM files into the right folder. For example, all of your .nes games will go into the nes folder.
- Eject the SD card safely: Always do this to avoid damaging the data.
- Insert the SD card into your RG353V.
When you turn on your RG353V, the games should now be available to play. The exact way you access them will depend on the custom firmware (or operating system) you are using on your device. Usually, you can navigate to the appropriate folder for the system in the main menu.
Using a Computer File Manager Over WiFi
Some custom firmware for the RG353V has the option to transfer files over your home WiFi network. This is usually an option in the network settings and would be accessed via an IP address in your web browser or a file manager such as WinSCP.
- Connect your RG353V to your home Wi-Fi: Go to the network settings on your device, and connect to your home network.
- Find your IP Address: The device will likely display its IP address in the network settings menu. Take note of this.
- Open your computer’s file manager (such as WinSCP): Input the IP address you found from your RG353V in the hostname field, and use the correct user name (often root) and password (often emuelec or similar).
- Open the correct directory: Usually, it will be the same storage location as if you used an SD card. From here, create the same console-specific folders as mentioned earlier.
- Copy your ROM files: Copy the ROM files to the right console folder from your computer to your device.
- Wait until file copy is completed: This may take longer if you have a large amount of files.
This method is more convenient than removing the SD card each time, but it depends on what your chosen firmware supports. It can be a little more complex to set up. You’ll need to download specific apps on your computer, and sometimes, you’ll need to configure settings on your RG353V. If you can achieve this, it is a great option to get games onto your handheld. The steps and software to use can vary by operating system.
Using RetroArch and Emulation Station
Most custom firmwares for the RG353V use RetroArch for the actual emulation of games, often managed through an interface like Emulation Station. Here’s how it works:
RetroArch
RetroArch is a piece of software that acts like a hub for different emulators. When you load up a game on your RG353V, RetroArch is typically what handles the emulation behind the scenes. RetroArch has a menu where you can adjust settings like screen size, controller inputs, and video filters to enhance your gameplay.
Emulation Station
Emulation Station is a user-friendly front-end that makes navigating your games easier. It displays your games with artwork and descriptions, and it simplifies launching a game. Instead of navigating through a complex file system, Emulation Station provides an easy-to-use interface. It’s the main screen you’ll see after powering on your device.
How They Work Together
When you select a game in Emulation Station, it tells RetroArch to start the appropriate emulator and load the game. It manages your game library and makes everything easy to use. It means that you do not need to delve into the complicated RetroArch menu every time you want to change the system, or select a game.
Important Tips for Adding Games
Here are some important points to keep in mind when adding games to your RG353V:
- Keep organized: Create folders for different consoles to help keep things organized.
- Clean romsets: Where possible, use curated romsets, or files that have been checked. This will remove duplicates and keep only the best version.
- Naming Convention: Ensure your ROM files are correctly named so that they can be identified by your chosen operating system. This means you need to retain the .zip or the file extensions and do not rename your file.
- Read the documentation: Check out any instructions that came with your operating system. These may include specific folder locations.
- Check compatibility: While most games run smoothly on the RG353V, some may not work perfectly. It is worth checking to see if others have played your game of choice before trying.
- Update your firmware: Make sure your RG353V has the latest firmware updates to ensure compatibility with games and features.
- Backup your SD Card: Copying your SD Card to your computer, before adding too many files, is always a good idea.
Dealing with Compressed Files
Sometimes you’ll find ROM files packaged in .zip or .7z files. These files are compressed, which means they take up less space on your SD card. For the RG353V, you don’t usually need to uncompress them before adding them to your SD card. The device can usually read them directly.
However, it’s worth noting: in some situations, if you find a game that isn’t working, you can try to extract the file using a program like 7Zip. This will turn the compressed file to a singular ROM file, which you may find works better. If you try this, and it is still not working, then it may be an issue with that specific game file, and it may be worth checking another source for that game.
Where to Find ROMs (Legally!)
As previously discussed, you should only use ROM files you have legally obtained yourself by having the original game. This is always the best and most ethical way to get ROM files for your games. It is also important to note that you should check local copyright laws in your country, as different laws exist around these practices.
If you do have original copies of your games, you may find online guides that show how to extract ROM files from your old cartridges and disks.
Adding games to your Anbernic RG353V is a straightforward process once you understand the basics. By following these steps, you’ll be playing your favorite retro titles in no time! Remember to always obtain your game files legally, format your SD card correctly, keep your games organized, and be patient if you encounter any issues. With a little patience and this guide, you are sure to become an expert in no time.
How To Add Games To Anbernic RG353V and RG353VS Retro Gaming Console
Final Thoughts
In essence, adding games involves connecting your RG353V to a computer. Then, transfer game files to the appropriate folders on the device’s storage. This often uses a microSD card reader for easy file movement.
Remember to check specific file formats the emulator supports. Different systems use various ROM types. That’s how to add games to anbernic rg353v; It’s straightforward once you know the basic steps.

