Brining a Cornish game hen involves submerging it in a saltwater solution, often with added sugar and aromatics, for several hours to enhance moisture and flavor before cooking.
Ever wondered how to make a Cornish game hen incredibly juicy and flavorful? The secret lies in brining. It’s a simple technique that makes a world of difference.
Knowing how to brine a Cornish game hen will completely change your cooking game, giving you a bird that’s not only succulent but also infused with delicious taste. This method ensures your game hen never dries out.

How to Brine a Cornish Game Hen: A Step-by-Step Guide
Have you ever cooked a Cornish game hen and found it a little dry or bland? That’s where brining comes in! Brining is like giving your hen a super-powered flavor and moisture boost. It’s a simple process that makes a huge difference in how juicy and delicious your bird turns out. This guide will walk you through everything you need to know to brine a Cornish game hen, from gathering your ingredients to cleaning up.
What is Brining and Why Should You Do It?
Before we dive into the “how,” let’s talk about the “why.” Brining is basically soaking meat in a saltwater solution. It might sound strange, but it’s a fantastic way to improve the texture and taste of your poultry. Here’s how it works:
- Moisture Retention: The salt in the brine helps the hen’s cells hold onto more water. This means that when you cook it, it will be less likely to dry out. It’s like giving your hen a built-in insurance policy against dryness.
- Enhanced Flavor: Salt is a flavor enhancer. The brine not only makes the hen juicier but also seasons it throughout, resulting in a more flavorful final product. You can also add other aromatics to the brine, which infuse the hen with even more deliciousness.
- More Tender Meat: The brine breaks down some of the proteins in the meat, resulting in a more tender and pleasant texture. This is especially helpful for leaner meats like game hens.
Think of it like marinating, but instead of focusing on flavor alone, brining primarily focuses on adding moisture and tenderness. Both are really helpful, but the methods are a little different.
Gathering Your Brining Supplies
Before you start, you’ll need a few things. It’s important to have all of this set up beforehand, so you are not scrambling for items in the middle of the process.
Essential Brining Equipment
- A large pot or container: This needs to be big enough to hold the hens and enough brine to cover them completely. A non-reactive container is best (stainless steel, glass, or food-grade plastic). Avoid using aluminum.
- Measuring cups and spoons: Accurate measurements are important for the brine.
- A kitchen scale (optional but recommended): For accurately measuring the salt.
- A whisk or spoon: To stir the brine ingredients.
- Plastic wrap or a lid: To cover the container while the hens are brining.
- A refrigerator: To keep the hens cold while they brine.
Brine Ingredients
- Water: The base of the brine. You’ll need enough to completely submerge your hens.
- Salt: Kosher salt is recommended because it is pure and flakes up nicely. Avoid table salt or sea salt, as they can have different densities and saltiness.
- Sugar (optional): Sugar adds a touch of sweetness and helps balance the saltiness of the brine. Brown sugar or regular granulated sugar work well.
- Aromatics (optional): These are ingredients that add flavor to the brine. Consider things like:
- Whole peppercorns
- Bay leaves
- Garlic cloves
- Fresh herbs (thyme, rosemary, sage)
- Citrus peels (lemon, orange)
Creating the Perfect Brine Solution
Now for the fun part—making the brine! The most important part of the brine is the ratio of salt to water. Too much salt and your hen will be too salty; not enough salt, and you will not get the benefits of brining. The generally accepted ratio is around 5-6% salt to water, but this is a bit high for some and can make the meat too salty. We will be using the lower side of that ratio to ensure that your hens are perfectly seasoned and juicy, not over salted.
Basic Brine Recipe
Here’s a basic recipe for a simple brine. You can easily adjust it based on the number of hens you have. For two Cornish game hens, you will need:
- 4 cups of water
- 1/4 cup kosher salt (approximately 2 tablespoons and 2 teaspoons)
- 1/4 cup sugar (optional)
- 2-3 cloves of garlic, smashed
- 1 bay leaf
- 1 teaspoon whole black peppercorns
If you would like to make a large batch of brine to use multiple times, you can make a large batch and store it in the refrigerator. The brine recipe is a ratio, so you just need to keep that in mind when scaling up. For instance, you can use 8 cups of water to 1/2 cup of kosher salt, 1/2 cup of sugar, 4-6 cloves of garlic, 2 bay leaves, and 2 teaspoons of peppercorns. This will brine more hens.
Steps to Prepare the Brine:
- Combine Ingredients: In your large pot, combine the water, salt, sugar (if using), garlic, bay leaf, and peppercorns.
- Heat the Brine: Place the pot over medium heat and stir until the salt and sugar are completely dissolved. You don’t need to bring the mixture to a boil. Just get it warm enough so everything dissolves.
- Cool the Brine: Remove the pot from the heat and let the brine cool completely. It is VERY important to not put your hens into a hot brine. Make sure that the brine is at room temperature before you move on to the next step. You can speed this process up by putting the pot in the refrigerator or putting it in an ice bath.
Brining Your Cornish Game Hens
Now that your brine is ready, it’s time to give those hens a good soak.
Preparing the Hens
- Rinse: Rinse the Cornish game hens under cold water and pat them dry with paper towels.
- Trim (if necessary): Remove any excess fat or loose skin.
Submerging the Hens
- Place the Hens: Carefully place the Cornish game hens into the cooled brine. Make sure that they are completely submerged.
- Weight If Needed: If the hens float, you can use a plate or bowl to weigh them down and ensure that they stay submerged. Just make sure that the items that you are using to weigh the hens down are clean and food safe.
- Cover the Container: Cover the pot or container with plastic wrap or a lid. This will prevent odors from spreading throughout your refrigerator.
- Refrigerate: Place the container in the refrigerator. The hens need to brine for a specific amount of time to work their magic.
How Long to Brine
The amount of time to brine your hens is an important consideration. If you brine them for too long, they can become too salty. If you don’t brine them long enough, you will not get the full benefits of the brining process.
Brining time recommendation:
- For Cornish game hens: 2-4 hours is typically enough time to brine these small birds.
- Don’t over-brine: Brining for longer than the recommended time can make the meat too salty. Check on your hens throughout the process.
Post-Brining Procedures
Once your hens have brined, you’re almost ready to cook them. But first, there are a couple of important steps.
Rinsing and Drying the Hens
- Remove the Hens: Take the Cornish game hens out of the brine.
- Rinse Thoroughly: Rinse the hens under cold water to remove excess salt. Don’t skip this step!
- Pat Dry: Thoroughly pat the hens dry inside and out with paper towels. It is extremely important to dry the hens properly to make sure that you get a good crisp skin when you cook them.
- Rest (optional): Let the hens rest on a wire rack for about 30 minutes to an hour in the refrigerator. This helps further dry out the skin, making it even crispier when you cook it.
What’s Next?
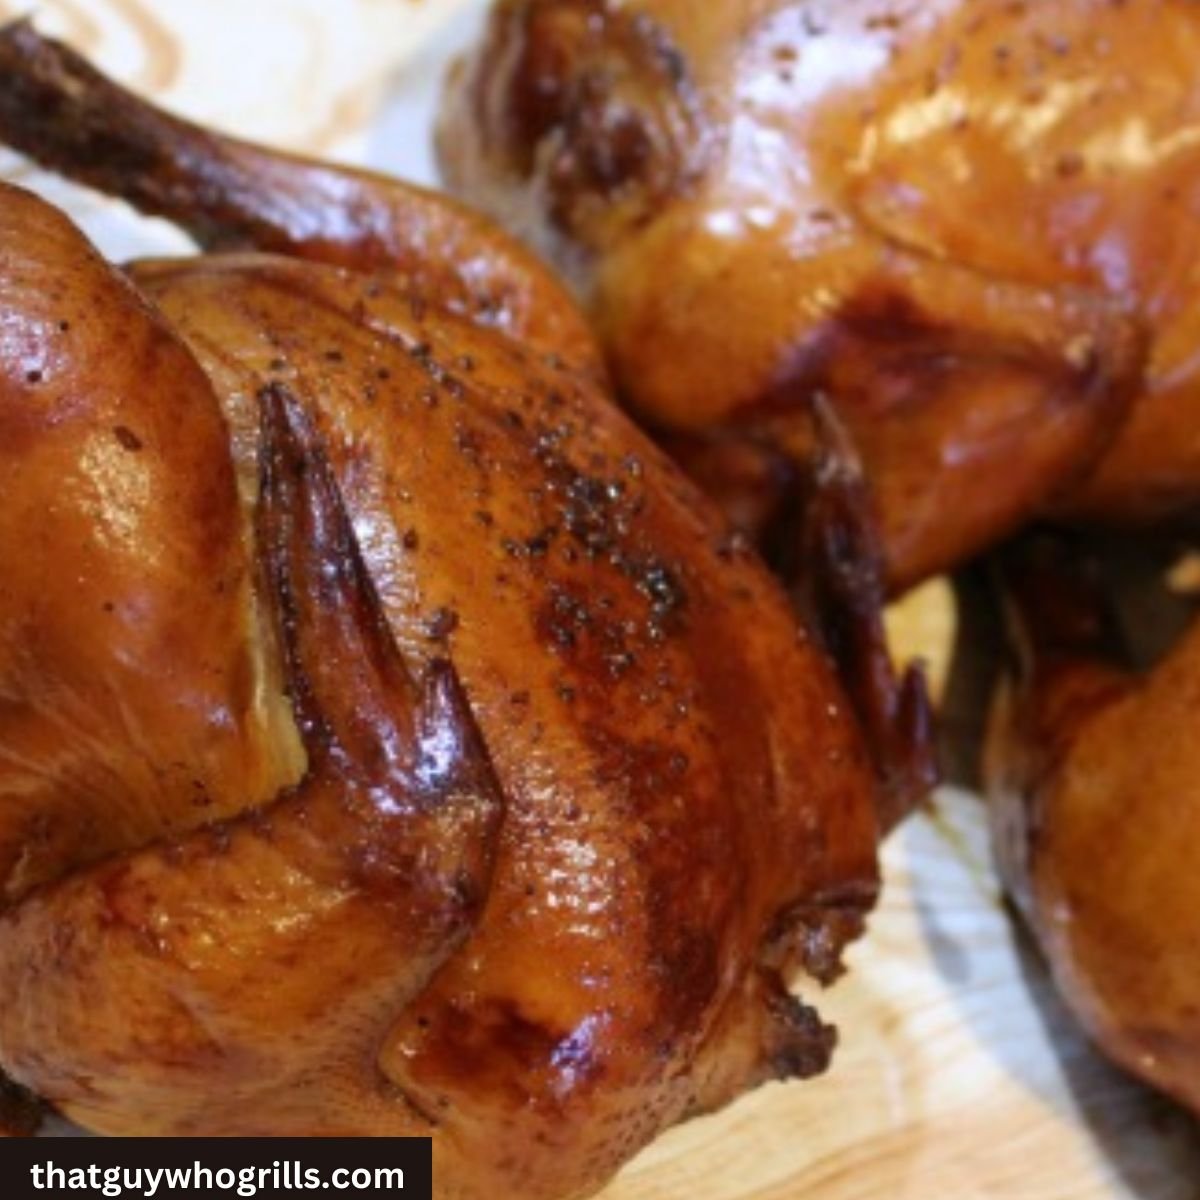
Your hens are now ready to be cooked. You can bake, roast, grill, or pan-fry them. They will be delicious no matter how you decide to prepare them. Since they are already well seasoned, they do not need much more than some oil or butter, and some more salt and pepper to finish them off. You could also add some other seasonings if you would like. Experiment with different herbs and spices to see what you like best.
Tips for Brining Success
Here are a few extra tips to make sure your brining experience is smooth and successful:
- Use the right kind of salt: Kosher salt is best for brining. Avoid using table salt, as it is finer and more concentrated, which can cause your chicken to become too salty.
- Keep it cold: Always keep the hens refrigerated while they brine. This will ensure that your birds are safe while they are absorbing the brine.
- Don’t reuse brine: Once you have used brine on meat, discard it. Do not reuse it because it can harbor bacteria.
- Adjust seasonings: Feel free to adjust the seasonings in the brine to your liking. Experiment with different herbs, spices, and aromatics.
- Plan ahead: Make sure you plan ahead so your hens have enough time to brine. If you are brining them for a special dinner, it is best to make sure you start the process the day before.
Brining a Cornish game hen is a simple yet powerful technique that will make a huge difference in the taste and texture of your poultry. By following these steps, you’ll be on your way to cooking the juiciest, most flavorful hens you’ve ever had! Enjoy your delicious creations!
Cornish Hens (With Brine Recipe)
Final Thoughts
To brine your Cornish game hens, simply submerge them in a saltwater solution, often with added sugar and spices. This process enhances moisture and flavor. Brining before cooking prevents the meat from drying out.
The duration depends on the hen’s size but usually between 4 to 12 hours, refrigerator safe. Remember to pat the hens dry before cooking after brining. That’s all you need to know about how to brine a cornish game hen, enjoy your flavorful poultry!

