
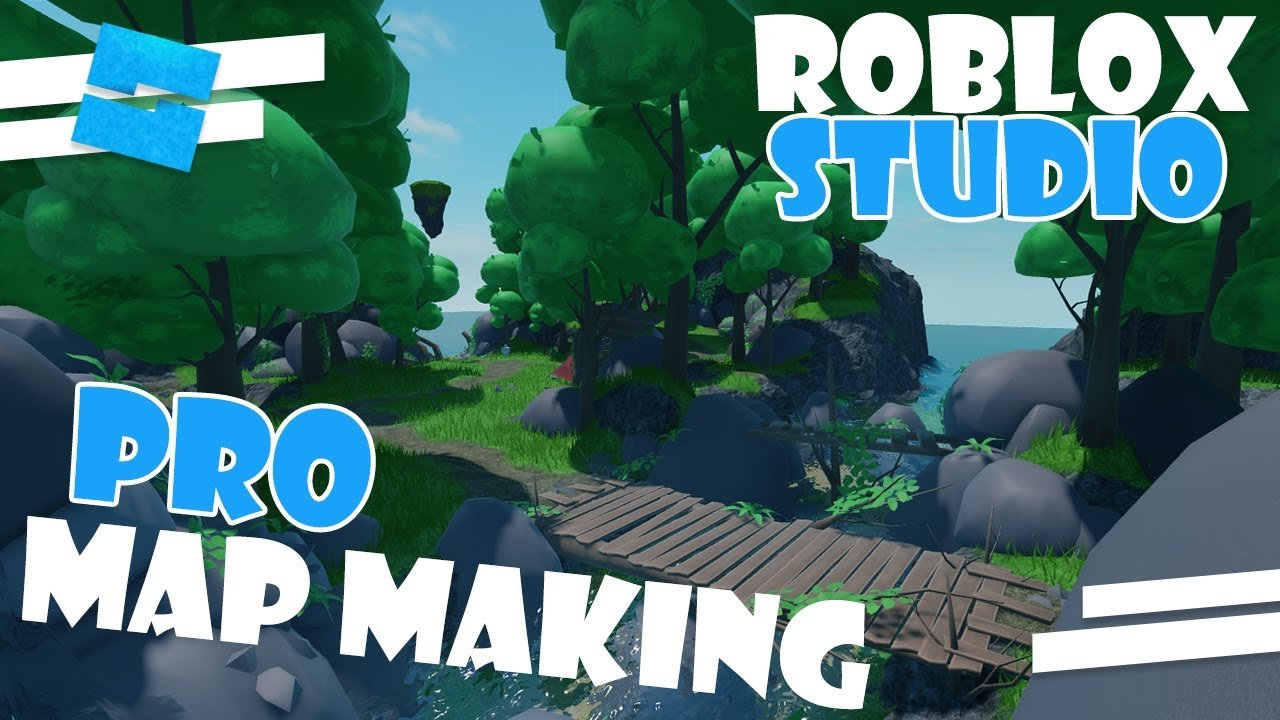
To build a custom map in Roblox, you primarily use Roblox Studio to create, manipulate, and combine parts into the desired layout.
Ever dreamt of creating your own world in Roblox? It’s easier than you might think! This guide will walk you through the basic steps on how to build a custom map in Roblox. Get ready to shape your virtual landscape, piece by piece. You will be using tools inside of Roblox Studio itself.

How to Build a Custom Map in Roblox
Want to make your own awesome world in Roblox? Building a custom map is super fun, and it’s easier than you might think! This guide will show you how to get started, from the very first block to a complete game environment. We’ll cover all the basics so you can create the map of your dreams.
Getting Started with Roblox Studio
First, you need Roblox Studio. It’s the tool where all the map-making magic happens. You can download it for free from the Roblox website.
Once you have it installed, open it up! You’ll see a bunch of different templates you can use as a starting point. If you’re just starting, the “Baseplate” template is a good choice. It’s just a plain, flat area where you can build anything.
Understanding the Roblox Studio Interface
Roblox Studio looks a little complicated at first, but it’s easy to learn. The main screen is divided into a few key areas.
- The Viewport: This is where you actually see your map as you’re building it. You’ll be spending most of your time here!
- The Explorer: This window shows all the parts and objects in your map. It helps you organize everything.
- The Properties Window: Here you can change the way objects look and act. You can make them bigger, change their color, or even make them move!
- The Toolbox: This window is full of pre-made models, images, and audio that you can use in your map. It’s a great way to add cool stuff without having to build everything from scratch.
Basic Building Techniques
Now let’s get into the fun part: building! You’ll be using basic parts to create your map. Think of these as digital LEGOs.
Adding and Manipulating Parts
To add a part, click on “Part” in the Model tab. A block will appear in the viewport.
You can move parts around using the Move tool. It looks like arrows pointing in different directions. Click on a part, then drag the arrows to reposition it.
The Scale tool, which looks like squares, lets you change the size of the part. Drag the squares to make it longer, taller, or wider. You can also rotate parts with the Rotate tool, which looks like curved arrows.
Using the Color and Material Properties
Want to make your blocks look different? You can! In the Properties window, you can change a part’s color. Click on the “Color” box, and a color picker will appear.
You can also change the material of a part. This can make it look like wood, metal, or even glass. Select the “Material” dropdown in the Properties window to choose from a wide variety of options.
Creating Different Terrain
A map isn’t just blocks! You also need terrain like grass, hills, and water. Roblox Studio has a special tool for making terrain.
The Terrain Editor
Find the “Editor” tab and select the “Terrain” button. This will open up the Terrain editor. Here, you’ll find different tools for shaping your map’s land.
The “Paint” tool lets you add terrain types like grass, rock, sand, and water. Select a material and then “paint” it onto the map by clicking and dragging. The “Add” and “Subtract” tools allow you to create mountains and valleys.
Adding Water Features
Water is an important element in many maps. You can easily add lakes, rivers, and oceans with the terrain tools. Use the “Paint” tool with the water material to create water features.
Remember to adjust the level of the water with the Add and Subtract tools. It can be fun to make waterfalls or underground streams!
Adding Details with Models and Assets
Now your map is starting to take shape! Let’s add more details like trees, buildings, and other fun objects. Roblox has a huge library of pre-made models you can use.
Browsing the Toolbox
Open up the Toolbox window. You’ll see lots of different categories like models, images, and audio. You can search for specific items too, like “tree” or “house.”
Click on a model you like and it will appear in your map. You can use the Move, Scale, and Rotate tools to position it where you want it.
Customizing Models
You can even change the look of the pre-made models. Select a model and open the Explorer window. Click on the triangle next to its name to see its individual parts. Select the parts to adjust colors, materials, or even make some parts invisible.
Adding Scripting for Interactivity
Making your map interactive is key. Adding scripts will allow you to make doors open, characters move, and add all sorts of game mechanics.
Understanding Basic Lua Scripting
Roblox uses a programming language called Lua. Don’t worry, you don’t need to be a coding expert to get started. We can begin with simple scripts. You can use the search engine to find simple codes, like creating a button that opens the door.
You add scripts inside the parts or objects, then the code will give instructions on how those things act in the game.
Adding Clickable Objects
Let’s add a simple script to make a block clickable. First, create a part. Then in the Explorer window, find that part and click the + sign next to it, and click script. A script window will open, paste this code into it:
                    function onClick()
                       print("Clicked!")
                      end

                     script.Parent.ClickDetector.MouseClick:connect(onClick)
Then select the block and click the + sign next to it, and click ClickDetector. When you run the game, clicking that block will print the word “Clicked!” in the output window.
Testing Your Map
It’s very important to test your map frequently as you build. This will help you find any problems early on.
Using the Play Button
To test your map, click the “Play” button at the top of Roblox Studio. Your character will spawn in your map so you can walk around and see how it feels.
See if anything looks wrong or isn’t working. Test the basic functions and gameplay as much as you can.
Debugging and Troubleshooting
If something doesn’t work the way you expected, don’t worry! It happens to everyone. The Output window can show messages about any errors you might have.
Carefully read the messages and try to figure out what went wrong. Double-check your code and your build to find issues. Sometimes the smallest of mistakes can cause the biggest problems!
Advanced Techniques
Now that you know the basics, let’s look at some more advanced techniques.
Using Lighting
The way you light your map can make a big difference in how it looks. In the Explorer window, find “Lighting”. There you can change the brightness and color of the light. You can also add effects like fog or special lighting. Experiment with different settings to get the perfect mood for your game.
Adding Sound Effects
Sound effects can make your map more immersive. You can add sound effects to the background or to specific objects. Upload or select them in the toolbox, click on the part and then add the sound by clicking the + sign and select the “Sound” object. Now select the sound object, and in properties paste the sound id that you want.
Collaboration
You can build maps with your friends! Roblox Studio has a collaboration feature. Start your building, and then go to the “File” Menu, and click “Collaborate”. Click the button to turn on collaboration, then add your friends’ username and invite them to join your map. It will allow you both to be in the same game at the same time and help you build faster. Now you both can create your amazing custom map!
Publishing Your Map
Once your map is finished, you’ll want to share it with everyone! Publishing your map is easy.
Making Your Game Public
In the File menu, select “Publish to Roblox.” You’ll need to give your game a name and description. Once you’ve done this click “Publish”. Make sure the game is set to “Public” if you want other people to play it.
Getting Feedback
After your game is published, share it with your friends and ask for feedback. See what they think of your map and if they have any suggestions. Use their ideas to make your game even better.
Building a custom map in Roblox is a fun and rewarding experience. It takes practice to get good, so don’t be afraid to experiment and learn as you go. By following the steps in this guide, you can create the map of your dreams! Remember to test and iterate on your design, and, most importantly, have fun. With practice, you will be making amazing Roblox worlds that other players will enjoy in no time.
The ULTIMATE Beginner Guide to Roblox Studio.. (Start BUILDING Now!)
Final Thoughts
In essence, building a custom map involves using Roblox Studio tools. Start with basic shapes and gradually add details. This includes terrain, objects, and scripting for interactions.
Remember, practice makes perfect. Experiment with different elements to see how they work together. The key takeaway is that learning how to build a custom map in roblox, requires time and dedication.

