To capture game with OBS, you need to add a ‘Game Capture’ source in your scene, select the specific game window, and ensure it’s set to capture the application.
Want to share your gaming adventures? You’re in the right spot. Learning how to capture game with obs is easier than you might think. We will guide you to start recording or broadcasting your gameplay.
It’s all about setting up the correct source for capturing your game. This allows OBS to grab the visuals so you can share with others. Get ready to become a content creator!

How to Capture Game with OBS
Ready to show off your awesome gaming skills? Or maybe you want to make cool video game guides? OBS Studio (Open Broadcaster Software) is a free program that lets you record and stream your gameplay. It’s like having your own personal video studio, and it’s easier to use than you might think! Let’s explore how you can use OBS to capture your games.
Getting Started with OBS
Before you can record your amazing gameplay, you need to get OBS. Don’t worry, it’s free and safe to use! Here’s how:
Downloading and Installing OBS Studio
- Go to the OBS Project Website: Open your web browser and go to the official OBS Studio website. You can easily find it by searching “OBS Studio download” on Google or your favorite search engine.
- Download the Correct Version: The website will show you different download options. Choose the one that matches your computer’s operating system (Windows, macOS, or Linux). Click the download button.
- Run the Installer: Once the download finishes, find the downloaded file and run it. Follow the instructions on the screen. It’s mostly just clicking “Next” a few times!
- Launch OBS: After the installation is done, you can find OBS Studio in your list of programs. Click it to open it.
The OBS Interface Explained
When you first open OBS, it might look a bit complicated, but don’t panic! It’s actually pretty easy to understand. Think of it as a collection of building blocks that you use to create your video. Here are the key areas:
- Scenes: Scenes are like different camera angles or settings. You can create multiple scenes, each with its own set of sources. For example, you might have a scene for just your game, and another with your webcam showing your face.
- Sources: Sources are what you actually see in your recording or stream. This could be your game, your webcam, a picture, or text.
- Mixer: The Mixer shows you the audio levels for your different audio sources, like your microphone and the game sound. You can adjust these so the audio sounds just right.
- Controls: The Controls area has buttons to start and stop recording, start streaming, and change settings.
Setting Up Your First Game Capture
Okay, now that you’ve got OBS and know your way around a little, it’s time to record your game. Here’s how to do it:
Creating a New Scene
- In the bottom-left corner of OBS, find the “Scenes” box.
- Click the “+” button (usually found below this box) to add a new scene.
- Give your new scene a name (like “Game Capture”). Press “OK”.
Adding Your Game as a Source
- In the “Sources” box, click the “+” button.
- Choose “Game Capture” from the list.
- A new window will pop up. Give your source a name (like “My Game”). Click “OK”.
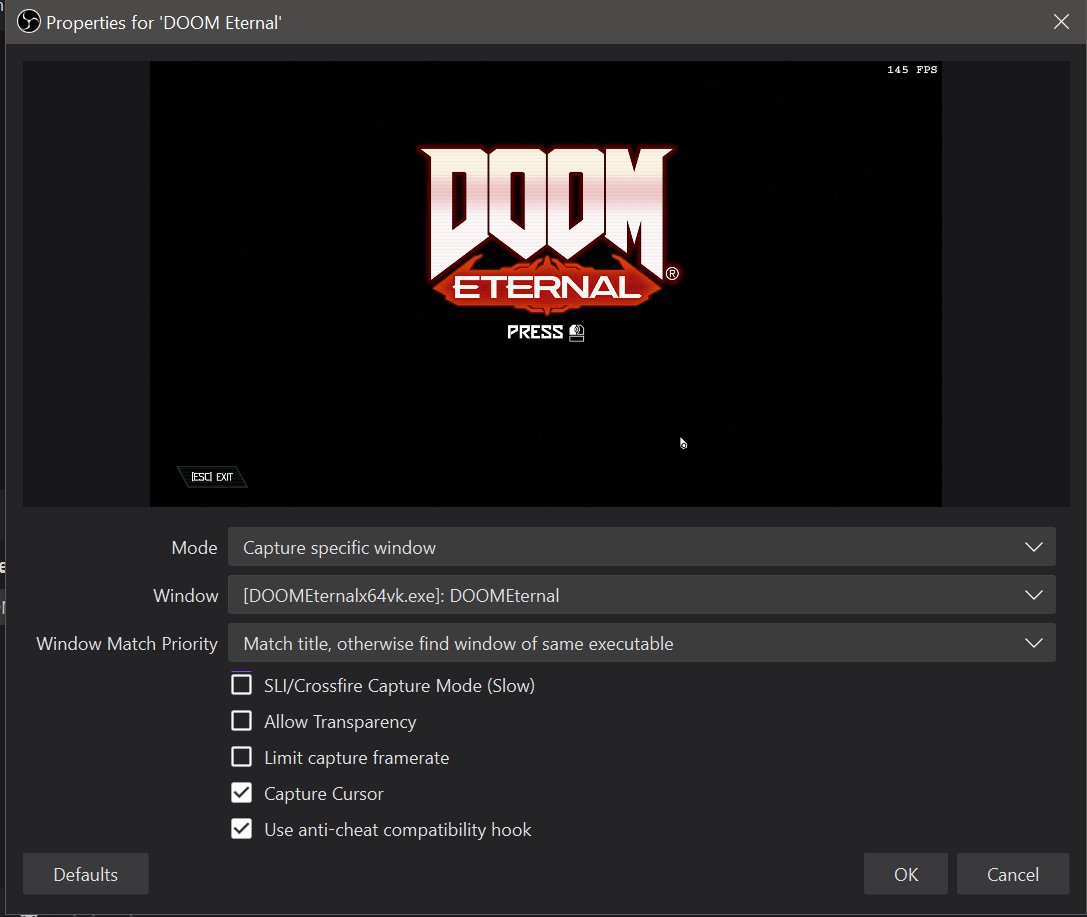
- Now, you will have to tell OBS how to find your game. Under “Mode” you will see options, if your game is already running select “Capture specific window” and then in “Window” select the game’s name. If you want OBS to automatically capture any game you open, chose the “Capture any fullscreen application” option, however this can sometimes cause problems if you are playing in windowed mode.
- Click “OK.”
Adjusting the Game Capture Source
Sometimes, the game capture source won’t show the game exactly as you want, or might even be showing something unexpected. Here are some tips to help fix this:
- Resolution: Make sure the resolution of the capture is the same or similar to the resolution of the game.
- Cropping: If you want to remove parts of the game screen you don’t need, right-click the game source and choose “Transform” and then “Edit Transform.” Here, you can crop the source, move it, and resize it.
Adding Your Webcam (Optional)
If you want to show your face while playing, you can add your webcam as another source:
- In the “Sources” box, click the “+” button again.
- Choose “Video Capture Device” from the list.
- Give your webcam a name (like “My Webcam”). Click “OK”.
- Select your webcam from the drop-down list, and set the resolution and other options.
- Click “OK.”
- You may need to resize and move the webcam window on the screen to position it how you like.
Adding Audio Sources
A great video needs great sound. Here’s how to make sure your game and your voice sound good.
Adding Game Audio
The game’s audio is usually automatically captured when you add the Game Capture source, but double check in the Mixer panel. There is a desktop audio track, make sure it is not muted and its level is set correctly. If it’s not getting captured, you may need to change your audio input device from your computer’s settings.
Adding Your Microphone
- In the “Sources” box, click the “+” button again.
- Choose “Audio Input Capture” from the list.
- Give your microphone a name (like “My Mic”). Click “OK”.
- Select your microphone from the drop-down list.
- Click “OK.”
Adjusting Audio Levels
- Look at the Mixer panel. You’ll see sliders for your different audio sources (like your mic and desktop audio)
- Talk into your microphone and look at the mic audio level. Make sure it’s not peaking too high (going into the red), because this will cause static noise. Adjust the slider so it is in the green or yellow zone.
- Do the same for your desktop audio, adjust it so it is not too loud or too quiet compared to your voice. You may want to turn your game sound slightly down, to make sure your voice is not drowned out.
Recording Your Gameplay
Now that you have set up everything, you’re ready to start recording. It’s very easy!
Starting and Stopping Recordings
- In the “Controls” box, click “Start Recording”.
- Play your game!
- When you’re finished, click “Stop Recording” in the “Controls” box.
Where are my recorded videos saved?
OBS saves the recordings in the “Videos” folder by default. However, you can change the location if you like.
- Click “Settings” in the “Controls” area.
- Go to “Output”.
- Look for the “Recording Path.” You can change the folder here.
Basic OBS Settings
Let’s take a look at some important settings that can help make your recordings look and sound even better:
Output Settings
In “Settings” under “Output,” you can change the recording quality. The most important options here are:
- Recording Format: MP4 is a very common and good format.
- Encoder: The encoder affects the recording quality. If you have an Nvidia graphics card, choose the NVENC encoder. If you have an AMD card, choose the AMD encoder. If you do not have one of those cards, use the x264 encoder, but be aware this will use your CPU to encode and could impact your in game performance.
- Bitrate: A higher bitrate means better quality, but larger file size. 2500kbps-5000kbps is good for 720p recordings, and 6000kbps-10000kbps is suitable for 1080p recordings.
Video Settings
- Base (Canvas) Resolution: This is the size of your OBS window (the screen you’re creating). It is usually best if it is the same as your monitor resolution.
- Output (Scaled) Resolution: This is the size of the recording. If you are recording in 1080p, set this to 1920×1080. If you’re having trouble running your game and recording at 1080p, try scaling down to 720p (1280×720).
- Common FPS Values: This is how many frames per second are recorded. For games, 60fps gives a much smoother video. However, if you have a lower end system you may want to try 30fps.
Troubleshooting Common Issues
Sometimes you might experience some problems when using OBS, but don’t worry, most problems can be easily fixed! Here are some common issues and solutions:
No Game Audio Being Captured
- Make sure your game audio isn’t muted in the Mixer.
- Check that the correct audio device is selected in your computer’s sound settings and the OBS settings.
- Try restarting OBS.
The Game Screen is Black
- Make sure you have added the game capture as a source in the scene.
- Make sure the game is actually running.
- Try running OBS in Administrator mode.
- Try changing the game capture mode from “Capture specific window” to “Capture any full screen application”.
Recording is Laggy
- Lower the Output (Scaled) Resolution.
- Lower the FPS.
- Change to a more efficient encoder (like NVENC if you have an Nvidia card).
- Close other programs that may be using your computer’s resources.
Recording is choppy
If you have tried all above options and your recording is still choppy, there is another trick you can try.
- In settings, go to “Advanced”.
- In the “Process priority”, change it from “Normal” to “High” or “Above Normal”.
Beyond Basic Recording
Once you have mastered the basic recording features, there is so much more you can do with OBS.
Adding Overlays
Overlays are images or graphics you add on top of your gameplay. This might be your name, your social media icons, or a picture of your logo.
- In the “Sources” box, click the “+” button.
- Choose “Image” from the list.
- Select your overlay image and resize it as necessary.
Adding Transitions
Transitions make moving between scenes look smooth and professional. If you have multiple scenes (e.g. intro, game, outro) then transitions can add a lot.
- Go to the “Scene Transitions” panel.
- Select the transition you want, you can also add new transitions.
Setting up streaming
Besides recording your videos you can also use OBS to stream your game to your favorite platform. Twitch and YouTube are common options.
- In settings click “Stream”.
- Select the service you wish to stream to.
- Connect your account.
- Go back to the main OBS screen and click the “Start streaming” button.
Multiple Audio Tracks
OBS can record multiple audio tracks at the same time, this can be useful in editing, you might want to turn down the game audio or mute it completely to only hear your voice. Having your game audio and your microphone audio on different tracks, gives you much more flexibility when editing your videos later.
- In “Settings”, go to “Output” and then select the “Recording” tab.
- Under the audio settings, select which tracks you want to use for the different audio sources.
- When you import the recordings into an editing software you will have access to the multiple audio tracks.
Using OBS may seem a bit intimidating when you first start, but with a little practice, you can make great quality videos of your games. The more you play with the settings and different sources, the better you will get. So go ahead, set up OBS, play your games and make some great videos.
How to ADD a GAME CAPTURE In OBS STUDIO // Game Capture In OBS STUDIO (FAST)
Final Thoughts
Successfully capturing gameplay with OBS involves setting the correct scene and sources. Choose ‘Game Capture’ as your source; it automatically finds your game window. Adjust video and audio settings to match your preferences.
Remember to check your recording before you start long sessions to avoid errors. Understanding basic settings and sources helps you with how to capture game with obs effectively. You can easily record, and further edit content with OBS, giving you a professional output.

