Creating a Family Feud game in PowerPoint involves designing question slides, answer reveal animations, and using hyperlinks for navigation between rounds and the scoreboard.
Want a fun way to engage a group? Imagine bringing the excitement of a game show right to your screen! You can do exactly that by learning how to create family feud game in powerpoint.
This tutorial will show you the key steps in designing your very own interactive Family Feud game. It’s surprisingly easy and a great way to add some unique fun to any gathering or presentation.

How to Create a Family Feud Game in PowerPoint
Want to bring the fun of Family Feud to your next party or family gathering? You can! And you don’t need fancy software or expensive equipment. With a little time and effort, you can build your very own interactive Family Feud game right inside PowerPoint. Let’s break down how to do it step-by-step.
Planning Your Family Feud Game
Before you even open PowerPoint, it’s good to think about a few things first. This planning stage will make building the game much easier.
Gathering Your Questions and Answers
The heart of Family Feud is its survey questions. You’ll need to come up with questions that have multiple answers. Think about things that are fun and relatable to your group. Here are some ideas to get you started:
- Name something you’d find at the beach.
- Name a popular pizza topping.
- Name a type of animal you might see on a farm.
- Name a common household chore.
- Name a sport played with a ball.
Once you have your questions, you need to come up with the most common answers. Ask some friends or family for help brainstorming to get a good range of responses. You should aim for around 5-8 answers per question. Rank the answers in order of popularity, with the most common answer at the top. This will make scoring easier during the game.
Think about keeping a simple spreadsheet to organize all of your question/answer sets. This can make it easy to copy and paste in PowerPoint.
Choosing Your Teams and Point System
Decide how many teams you will have. Usually, Family Feud has two teams, but you can adapt this for more. You’ll also need to set your point values for each answer. This is usually based on how common the answer is, with more popular answers being worth more points.
Designing Your PowerPoint Slides
Now it’s time to think about how you want your game to look. Imagine the classic Family Feud board. We will create something similar in PowerPoint. You will need to think about:
- A Title Slide: This is where your game name goes. It could be “Smith Family Feud,” or something more creative.
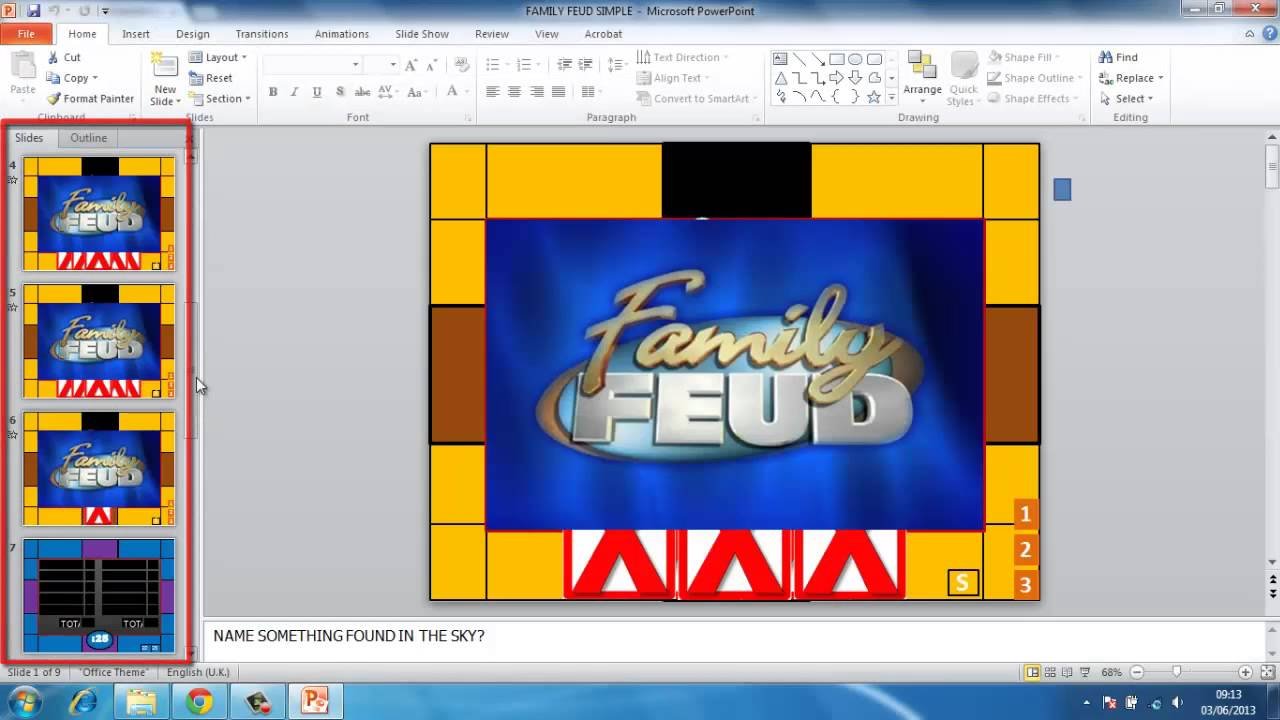
- Question Slides: One for each survey question. This slide shows the question and a grid or boxes for answers.
- Answer Reveal Slides: Slides to show the answers one at a time, and maybe a way to indicate when an answer is wrong.
- Score Slides: Simple slides that track each team’s scores.
Consider your colors, fonts, and how you want each slide to transition to the next. Keep everything simple and easy to read. Don’t make your slides too busy with too many animations, you want the focus on the game!
Building Your Family Feud Game in PowerPoint
Okay, now for the fun part: building the game! Open up PowerPoint and let’s get started.
Setting Up the Title Slide
Start with a blank slide. This will be your title slide. Add a large text box at the top and write your game title, such as “The Awesome Family Feud”. You can change the font, size, and color of your text to make it exciting. You could also add a picture related to your family or the theme of your game. You can also add a fun background, remember not to make it too distracting!
Creating the Question Slides
Now it’s time to make your question slides. Here’s how:
- Add a new slide: Create a new blank slide for your first question.
- Add the Question: Place a text box at the top and write your first survey question here. Make sure it is easy to read.
- Create Answer Boxes: This is where the answers will go. You can use shapes to make boxes or rectangles. Place these under the question, making sure to leave enough space for answers. Arrange them in a grid or list format like the classic show. Use at least 5 boxes. If you have more answers, make sure to add more boxes.
- Number Boxes: Put a small number on each box. These will show the number of each answer.
- Hide Boxes: Now, we want these boxes to look like they are hiding the answers. You can do this by making them all have a solid color like blue. This way the answer won’t show at first. You might also put question marks on the boxes for some fun style.
- Duplicate: You can duplicate this slide once you are happy with the design and just edit the questions and make sure you edit boxes so that it’s set up correctly for each question, if one questions has 7 answers, make sure to add 7 boxes. You will need to do this for all of your questions.
Remember to keep the design simple and consistent across all of your question slides.
Creating the Answer Reveal Slides
Here’s where we reveal the answers.
- Duplicate your question slides: The easiest way is to duplicate your question slide, this will maintain the same design that you have already used.
- Add text boxes for answers: For each of the blank answer boxes that you created, add a text box on top of that box. Make sure they are lined up correctly.
- Fill in the answers: Inside each of the new text boxes, write your answer for each corresponding box. You can make the text black or white and make sure the text size is big enough for people to read from a distance.
- Animation for reveal: Now it’s time to animate your boxes, so they make it seem like you are revealing the answer! Select the box, then choose ‘Animations’ at the top, and then select ‘Appear’. This will make the answer appear on click.
- Repeat for all the answers: Repeat this for each answer on the slide. Make sure the answer appears on click.
- Optional: Add sounds: You can add a “ding” sound when a correct answer is revealed. Go to ‘Insert,’ then ‘Audio,’ and choose a sound file. Then on the Animations tab, make sure the sound appears when the answer appears. If you want to add a buzz sound for a wrong answer, make sure to add a box to the slide that is a “X”. And use the same process as above to reveal that box with animation and sound.
You will do this for all of your questions. It’s best if you plan this out in the planning process before starting to build slides to make sure that your slide has everything it needs for animations.
Creating the Score Slides
To keep track of the game, you will need score slides.
- New Slide: Add a new blank slide.
- Team Names: Add text boxes at the top of the slide for each team, such as “Team 1” and “Team 2”. You can make these fancy, maybe use some fun colors for each team.
- Add Score boxes: Below each team name, add a text box. In this box you will write ‘0’. This is your starting score for each team.
- Animation for adding score: Now we are going to animate the boxes so that we can add points to these boxes. Select the score box, click ‘Animations’, select ‘Appear’, now repeat this step again, for each point you will click appear and then you can click another point and it will go up. If you want, you can write an animation for +5 or +10 for larger scores.
- Duplicate: After you set up your first score slide, duplicate it to create the next score slides.
You will need to make a slide for each round. If you want you can also create a summary slide that you can use at the end of the game to announce the winner. For the summary slide, use all the same steps above for team names and score boxes. You can even add some fun graphics to this slide to show that it is the summary slide and shows the final score.
Adding the Final Touches
Now that you have all your main slides, let’s make sure your game is extra fun.
Transitions
You can add transitions between slides for smoother movement between questions. Go to the ‘Transitions’ tab and choose one you like (e.g., ‘Fade,’ ‘Push,’ or ‘Wipe’). Keep the transitions consistent throughout the entire presentation so it doesn’t get confusing for your players.
Sound Effects
Adding sounds can really make the game feel more authentic. You can insert sound effects for things like right answers, wrong answers, and the end of a round. To add a sound, go to ‘Insert,’ then ‘Audio.’ Make sure to test all sounds to make sure they are loud enough and not too distracting.
Playing the Game
Now you are ready to play your Family Feud game!
- Start Presentation: Click the “Slideshow” button at the bottom right of PowerPoint. This will start the game in full screen mode.
- Read the question: Read the survey question to both teams.
- Team 1 answers: Start with one of the team. Let them give their answers, if the answer is not there on the list, then they have the “X”, if they answer the correct response, you’ll click to reveal that answer and assign them that point.
- Team 2 answers: Now the other team gets a chance to guess, if they get the answer on the board they will get to continue guessing, and get the points for it. If they get a wrong answer, they get a “X” and then the next team gets a chance.
- Continue: Continue doing this until the teams are out of answers or they have answered all the correct answers on the board.
- Update Score: When the round is over click the next slide and update the team score accordingly.
- Play another round: Continue to the next round using the same process as before.
- Summary Slide: After the last round, show the final summary slide to show the winning team!
That’s it! You’ve now got a fun and interactive game of Family Feud, all made in PowerPoint. You can change the questions and answers each time you play for even more entertainment!
Building a Family Feud game in PowerPoint can seem like a lot of work, but with planning and the right steps you will be able to create a fun interactive game that you can enjoy for a long time. Remember to be creative and have fun with it. The most important thing is that you create something that is fun for everyone. Now go have some fun with your friends and family, play Family Feud with a game you created on your own!
EASILY Create a Family Feud Game | Customizable PowerPoint Template!
Final Thoughts
To create a Family Feud game in PowerPoint, use custom animations for revealing answers. Implement triggers for scorekeeping and a main slide with a survey question. Add a fun, themed background. Remember that a visually appealing template is must for keeping players engaged.
You can add a sound effects to enhance game feel. The process of how to create family feud game in powerpoint is simple and effective with these few key steps. Your game will be ready in no time.

