To dump Switch games to PC, you typically need a modified Nintendo Switch, software like Hekate and a game dumping tool. You then transfer the game files to your computer.
Ever wondered how to play your favorite Nintendo Switch games on your computer? The idea of enjoying those adventures with improved graphics and potentially better performance is very tempting. Learning how to dump Switch games to PC makes this possible.
It involves a few steps that some users might find technical but, with the right guidance, it’s a process you can manage. This article will give you a basic understanding of what is needed.

How to Dump Switch Games to PC
So, you’re curious about getting your Nintendo Switch games onto your computer? It’s a pretty cool idea – imagine playing your favorite Switch titles on a bigger screen or backing them up safely. But, it’s not as simple as just dragging and dropping files. There are a few steps involved, and it’s really important to know what you’re doing to avoid any problems with your Switch. Let’s walk through the process together, making it easy to understand.
Why Would You Want to Dump Switch Games?
Before we dive into the “how,” let’s talk about “why.” There are a few reasons why someone might want to dump their Nintendo Switch games to their PC:
- Backups: Having digital copies of your games means you have a safety net if something happens to your physical game cartridges. Think of it like making a copy of an important document – just in case.
- Emulation: Once you have a copy of your game file, you can use emulators, special programs that let you play Switch games on your computer. This can be fun to play on a bigger screen with your gaming peripherals.
- Modding and Customization: For some people, the fun doesn’t stop at just playing the game. They might want to create mods or make changes to their games, and having a digital copy is necessary for this.
It’s important to remember that dumping your own games for personal use is usually okay, but sharing those game files with others is against the rules and can get you into trouble. So, always play it safe!
What You Need Before You Start
Dumping your Switch games requires specific tools and some preparation. Here’s a list of what you will need before starting:
The Necessary Hardware
- A Nintendo Switch: Obviously, you need the console itself and, depending on your switch version, it may need to be hacked using a jig or other exploit.
- A Computer: You’ll need a PC with Windows, macOS, or Linux. Make sure it has enough space to store the game files. These files can be pretty large.
- An SD Card: This is the memory card for your Switch. Make sure it’s formatted correctly and has space for the game dumps. Generally, it’s best to use a larger card to ensure you have plenty of space, such as 128GB or larger.
- A USB-C Cable: This is used to connect your Nintendo Switch to your computer.
- A Jig or RCM Loader: Depending on your Switch model, you may need a small tool that connects to the right joycon rail, these are available online and used to put your switch in RCM mode (Recovery Mode), enabling homebrew software. You might require an RCM loader, which is like a small USB drive that has the necessary payload files.
Software Requirements
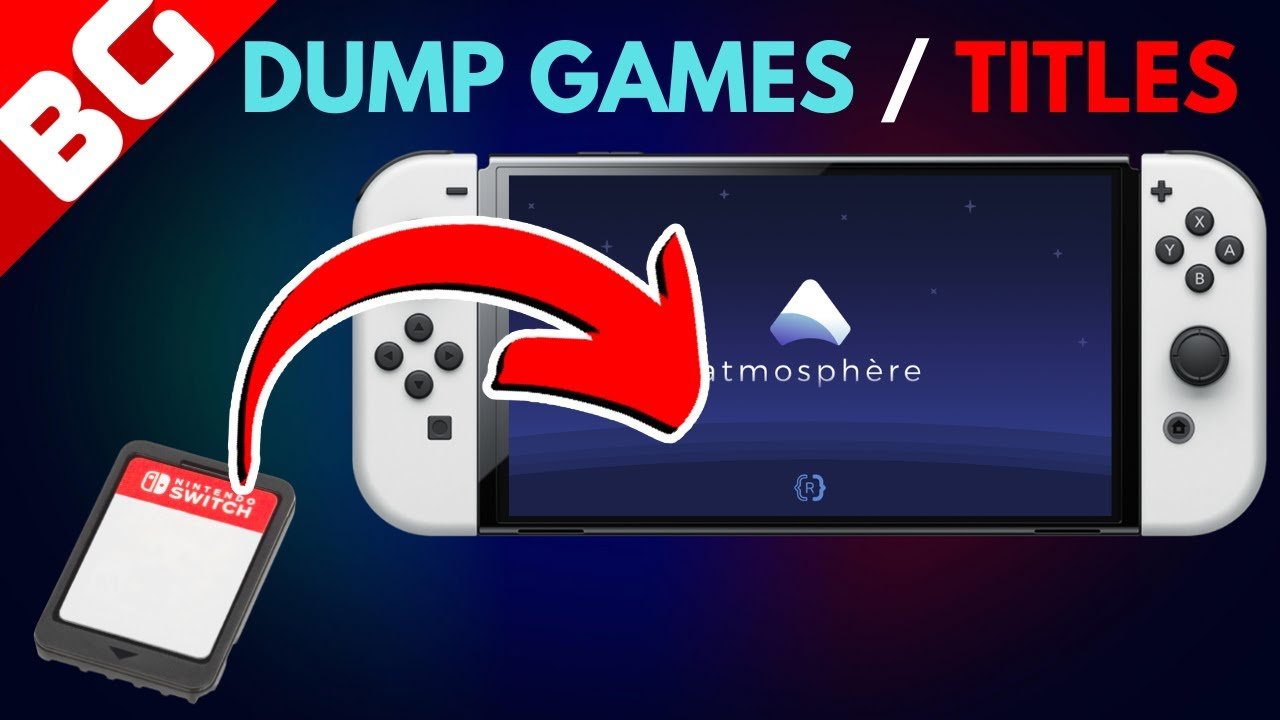
- Homebrew Software: You’ll need certain homebrew applications on your Nintendo Switch to dump games. The most common one is generally called “hekate” this allows you to install other useful tools, like the game dumping application.
- Game Dumping Tool: Programs like “nx-game-card-tool” are commonly used. These are also installed via your Homebrew software.
- Driver: You may require a USB driver on your PC to properly connect to your switch. This is often Zadig.
Preparing Your Nintendo Switch
Before you can start dumping, you need to set up your Switch. This part can be a little technical, so let’s break it down step by step:
Checking Your Switch’s Compatibility
Not every Switch can be easily modified. The original Switch models, those released in 2017 and 2018 are the easiest. Later models, like the Switch Lite and the OLED model, require other methods and are more challenging. First, you will have to determine your switch’s serial number to understand which model you have and what software is required. The serial number is located on the bottom of your switch.
Key Points:
- The original Nintendo Switch has a serial number that starts with XAW or XAJ and can usually be modified using a jig.
- The Nintendo Switch Lite starts with XJC, and the Nintendo Switch OLED model starts with XKW.
Setting Up Homebrew on your Switch
Installing Homebrew software is like giving your Switch the ability to run apps made by independent developers. These apps, also called homebrew, can do cool things, like dumping your games. Here’s how to generally do it:
- Download the Necessary Files: First, download the homebrew files onto your computer, this usually involves the hekate bootloader, and the game dumping tool, you may also need a payload injector or similar tool if you have a newer switch.
- Format Your SD Card: Make sure the SD card is formatted as FAT32 or exFAT. This is essential for your Switch to read the files correctly.
- Copy Files to SD Card: Place the downloaded homebrew files onto your SD card.
- Put Your Switch into RCM Mode: This is where your Jig comes into play. Follow online tutorials to safely insert it, and put your switch into recovery mode.
- Launch Hekate: Use the RCM loader, or by manually injecting a payload into your switch, this will boot up into the Hekate software.
This part can be tricky, so it’s good to find some youtube videos that show this process in a step by step fashion for your particular switch model. Be very careful, and follow all steps carefully.
The Actual Game Dumping Process
Alright, now for the most exciting part, actually copying your games. Here’s how it generally works, with some variations depending on your setup:
Using nx-game-card-tool
Once your switch is running Hekate, you need to use your homebrew launcher menu to run the game dumping tool, nx-game-card-tool is very popular and works very well.
- Launch the Tool: Once you are on your homebrew menu, open the game dumping tool.
- Choose the Game: Insert the game cartridge you want to dump into your Switch. The tool should recognize the game and show it on the screen.
- Start Dumping: Select the game and start the dumping process. It might ask where you want to save the game files. Make sure to select a location on your SD card with enough space.
- Wait: This step can take some time depending on the size of the game and the speed of your SD card. Be patient.
- Turn Off Your Switch: Once the process is complete, turn off your Nintendo Switch. You can now eject the SD card from your switch, and move it to your computer for the final step.
Transferring the Game Files to Your PC
Once your game has been dumped to your SD card, it’s time to move it to your computer.
- Insert SD Card into PC: Take out the SD card from your Switch and put it into your computer using an SD card reader.
- Locate the Dumped Game Files: Open your computer’s file explorer and find the folder on your SD card where the game files were saved. The file name will be in a .nsp or .xci format.
- Copy the Files: Drag and drop the game file from the SD card to a folder on your computer.
- Safely Eject: Eject your SD card from your computer properly.
Important Tips and Things to Keep in Mind
Dumping games can seem complicated, so let’s talk about some tips and things to keep in mind:
File Formats
Switch games are commonly dumped into two file formats: .nsp and .xci.
- NSP Files: These are like digital versions of the games downloaded from the Nintendo eShop, and they are usually installed on a homebrewed switch.
- XCI Files: These are like a direct copy of the game cartridge, these are mainly used for emulation, and are most popular for game backups.
Keeping Your Switch Safe
- Don’t share your game files: It’s really important not to share the game files with anyone else, as this can have legal implications.
- Be careful with homebrew: Only use homebrew software from trusted sources, using unknown sources can cause damage to your console, or compromise its security.
- Follow tutorials: If you are unsure about any step, find online tutorials or videos from respected sources.
Troubleshooting Common Problems
Sometimes, things don’t go as planned. Here are some common problems and how to fix them:
- Switch not recognized by computer: Make sure the proper drivers are installed, and that you are using a good quality USB cable. Sometimes, you may need to try multiple USB ports on your computer.
- Game dump process failing: Make sure your SD card is formatted correctly and that you have enough space for the dumped game files.
- Homebrew not loading: Make sure you have the latest versions of the necessary files for your switch version.
Advanced Techniques (For the More Experienced)
If you’ve gotten the hang of the basic game dumping, you might want to experiment with some advanced techniques. Here are some things more experienced users do:
Using a Hard Drive
If you have a lot of games, you can copy them directly to a hard drive that you keep connected to your PC. This helps you better organize your library of backups and makes it easier to locate your files. You will need a USB C hub with USB ports to make this work. You can then format your hard drive to exfat to make it compatible with both windows and your Switch when you are homebrewing.
Automated Dumping Methods
Some tools allow for automated game dumping, speeding up the process. These tools can be more complex to set up, but they are very useful if you have a lot of games. These tools often have a dedicated GUI interface that simplifies the process significantly.
Modding your Games
After dumping, some users modify their game files to add custom content or make other changes. These files can be reloaded back onto your switch if you want to try custom mods, but this is an advanced technique and should only be done if you understand the risks.
Remember, it’s really important to do your research and be careful with advanced techniques. There are many communities of players and developers that are more than willing to help, so if you are unsure of a step, don’t hesitate to ask!
Dumping your Nintendo Switch games to your PC might seem complex at first, but once you understand the process, it becomes much easier. Remember, always be careful, follow the instructions correctly, and prioritize the safety of your console. Happy gaming!
Dump Nintendo Switch Games and Play them on The Computer [Yuzu or Ryujinx] Tutorial [2023]
Final Thoughts
Dumping your Nintendo Switch games to your PC requires specific tools and a modified console. You need a custom firmware setup, and then you can extract game files. This process allows you to play backups on emulators.
Properly configuring your system is crucial for this process. You will use homebrew applications to access and copy game data. Remember to research and follow safe guides to avoid bricking your console. This answers how to dump switch games to pc.

