
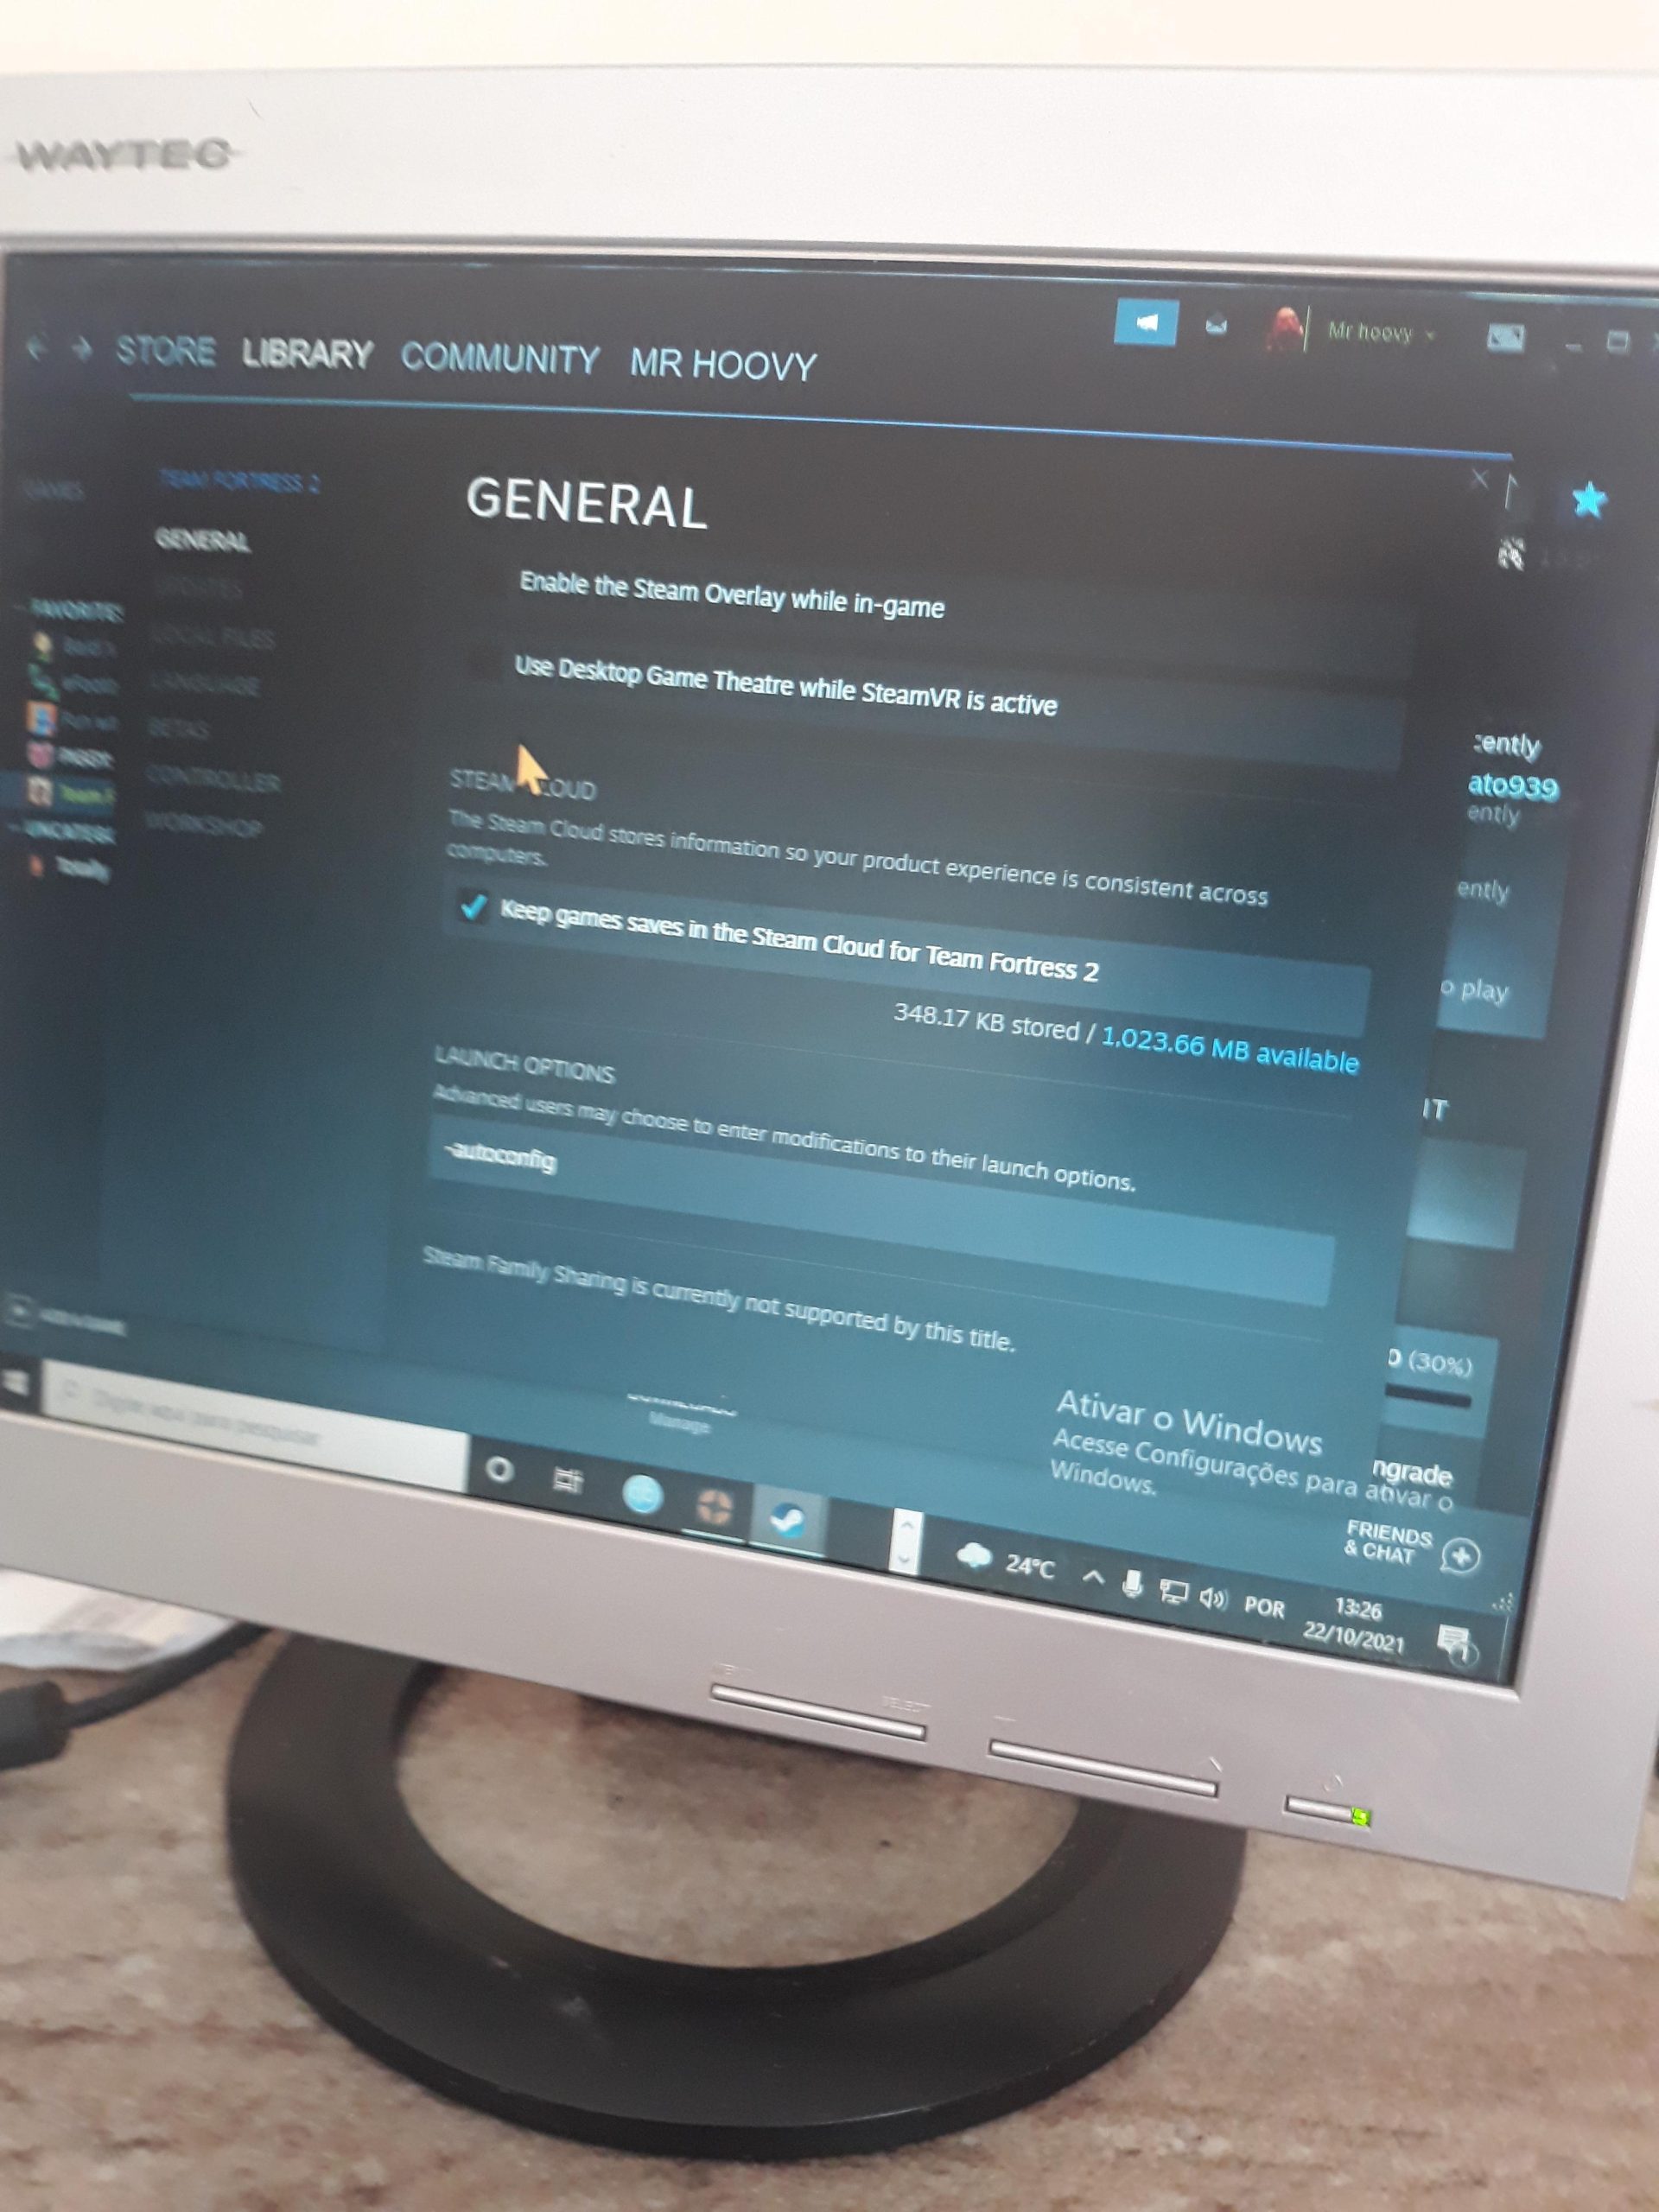
To enable Steam Community in game, simply open your Steam settings, navigate to the ‘In-Game’ tab, and check the box labeled ‘Enable the Steam Overlay while in-game’.
Ever wanted to chat with friends or access guides while playing your favorite games? It’s a common desire, and thankfully, Steam makes it easy. Many players find themselves wondering exactly how to enable Steam Community in game. It’s a simple process and once you get the hang of it, you’ll always have access to the Steam overlay while in game.

How to Enable Steam Community In-Game
Ever wanted to chat with your friends or check out a guide while playing your favorite Steam game without having to exit? That’s where the Steam Community in-game overlay comes in handy! It’s like having a mini-Steam window right inside your game. This feature lets you do all sorts of cool things, from messaging your buddies to browsing the web, all without interrupting your gaming session. But sometimes, it might not be turned on, and that’s what we are here to fix. Let’s dive into how you can make sure the Steam Community overlay is ready to go.
Checking the Global Steam Overlay Setting
First things first, let’s make sure the main setting for the Steam overlay is actually turned on. This setting controls if the overlay will work at all, no matter what game you play. Think of it like the main power switch for the whole operation. If this switch is off, the overlay won’t show up anywhere.
Accessing Steam Settings
To find this setting, you’ll need to start by opening the Steam application on your computer. Once it’s open, look at the top-left corner of the window. You’ll see the word “Steam.” Click on that, and a menu will pop up. From that menu, select “Settings.” This will open a new window where we can change all sorts of things about Steam.
Navigating to the In-Game Tab
Inside the settings window, there are several tabs across the top, like “Account,” “Family,” and “Downloads.” The one we need is called “In-Game.” Click on the “In-Game” tab to see all the options related to playing games. Now, let’s check for the main overlay switch.
Enabling the Steam Overlay
On the “In-Game” tab, you should see a box labeled “Enable the Steam Overlay while in-game”. This is the most important setting. Make sure there’s a checkmark in this box. If it’s empty, click the box to add a checkmark. This is like flipping that power switch on! If the box already has a checkmark, you’re already one step ahead. But it doesn’t hurt to double check!
Applying Changes
After you’ve checked the box, it’s time to save your changes. Click the “OK” button located at the bottom of the settings window. This will close the settings and save your new preferences. After doing that, close steam and open it again to make sure the changes are saved properly. Now you’ve done the first, and most important step, let’s move to the next one.
Verifying Game-Specific Overlay Settings
Okay, so you’ve turned on the main switch for the overlay. That’s great! But sometimes, individual games might have their own special settings that can override the main switch. It’s like every game has its own personal on/off switch that we also need to make sure is turned on.
Locating Game Properties
To check this, let’s find a game in your Steam library. On the left side of the Steam window, you’ll see a list of all your installed games. Right-click on the name of a game you want to check. A menu will appear; in this menu, choose “Properties.” This will open a special window just for that game.
Finding the General Tab
In the properties window, you’ll see a few tabs at the top, just like in the main settings. You should be on the “General” tab by default. If not, go ahead and click the “General” tab.
Enabling Overlay for the Specific Game
On the “General” tab, look for something like “Enable the Steam Overlay while in-game.” Just like before, you need to make sure this box has a checkmark. If it doesn’t, click the box to add one. This tells the game that, yes, you want the Steam overlay to work with this game! If there’s already a checkmark, then all good on this section.
Saving Changes Again
After ensuring that the checkmark is there, click “Close” to save your setting for this specific game. It’s always a good idea to double-check these settings for each game you play, just in case some games have it turned off.
Troubleshooting Common Issues
Even after checking all the settings, sometimes the Steam overlay might still not work. It’s like when your toy doesn’t work even with new batteries. Don’t worry! There are a few things we can try to fix that. Let’s put on our troubleshooting hats!
Restarting Steam and Your Computer
One of the easiest fixes is often the best. Sometimes, all you need to do is restart Steam. Close the Steam app completely and open it up again. If that doesn’t work, try restarting your whole computer. Sometimes programs get confused, and a restart is like a fresh start for everything.
Checking for Conflicting Programs
Sometimes, other programs on your computer can interfere with the Steam overlay. Things like screen recorders or game capture software might sometimes get in the way. If you have any programs like these open, try closing them. After doing that, start the game again and check if overlay is working.
- Examples of potentially conflicting programs:
- Screen recording apps (OBS, Bandicam)
- Game capture software (Fraps)
- Overlays from other apps (Discord, MSI Afterburner)
Running Steam as an Administrator
Sometimes, Steam might need extra permission to work correctly. You can give Steam this permission by running it as an administrator. Here’s how:
- Find the Steam shortcut on your desktop. If you don’t have one, find the Steam.exe file in the Steam folder on your hard drive.
- Right-click on the shortcut or the Steam.exe file.
- Select “Run as administrator” from the menu.
This will start Steam with special permissions, which might fix overlay problems. Now try running the game again and check the overlay.
Verifying Game File Integrity
If the game files are damaged or missing, this can also cause the overlay to malfunction. Steam has a tool that can check and fix these game files. Here’s how you do this:
- Go to your Steam library.
- Right-click on the game that has the overlay problem.
- Select “Properties.”
- Click the “Local Files” tab.
- Click the “Verify integrity of game files…” button.
Steam will now check if all files are okay. If any files are broken, Steam will download them again. After it is done, start the game to see if the overlay is working.
Updating Your Graphics Drivers
Outdated or corrupt graphics drivers can cause various problems with games, including overlay issues. It’s important to keep your graphics drivers up-to-date. Here’s how:
- For NVIDIA cards, go to the NVIDIA website and download the latest driver.
- For AMD cards, go to the AMD website and download the latest driver.
- For Intel integrated graphics, go to Intel website to download latest driver.
After downloading, install the latest driver and then restart the computer. After restarting, run the game and see if the overlay is working.
Dealing with Beta Programs and Different Versions
Sometimes opting into Steam beta program can cause issues for some users. It is always advised to use the stable release of Steam if you are facing any issues. To opt out of beta program, go to the settings menu from the steam option, go to interface tab, then go to client beta participation. If it is showing “Steam Beta Update” under “Beta participation”, click the “Change” button, and select “NONE – Opt out of all beta programs” from the drop down menu. Then click “OK” and “Restart Steam”. It is always good practice to keep your steam client updated to latest versions.
Check Firewall and Antivirus Interference
Sometimes, your firewall or antivirus software may mistake Steam for a threat and block its features, which includes the in-game overlay. If nothing else worked try this.
- Check your firewall settings to see if Steam is on the “Allowed” list.
- Temporarily disable your antivirus to see if that’s the problem, but remember to turn it back on afterwards.
If one of them was causing issue make sure to add steam to its “Allowed” list.
Specific Game Compatibility Issues
Some older games or indie games that are less popular, might not have full compatibility with the Steam overlay. There can also be issues specific to games when they are updated. If nothing else worked try to search the internet if the game you are playing have some issues regarding the overlay. It is important to make sure to update your game to latest version too.
Here’s a small table summarizing the steps mentioned for easy reference.
| Step | Action |
|---|---|
| 1 | Check Global Steam Overlay Settings |
| 2 | Verify Game Specific Overlay Settings |
| 3 | Restart Steam and Computer |
| 4 | Close Conflicting Programs |
| 5 | Run Steam as Administrator |
| 6 | Verify Game File Integrity |
| 7 | Update Graphics Drivers |
| 8 | Opt Out of Steam Beta |
| 9 | Check Firewall and Antivirus |
| 10 | Check for specific game issues |
By following these steps, you will be able to chat with your friends, check guides, and have a better gaming experience with the Steam overlay. It is an extremely useful feature which will improve your gaming.
How To Enable/Disable Steam Overlay!
Final Thoughts
To enable the Steam Community in game, first, check your game’s properties. Find the “General” tab and ensure the box labeled “Enable the Steam Overlay while in-game” is ticked. This crucial step activates the overlay.
Next, launch your game. If the overlay is enabled correctly you can use your default shortcut (usually Shift+Tab). This opens the Steam Community. Now you have access to features.
So, if you follow these steps you can fully utilize your Steam community features inside your game. That’s how to enable Steam community in game successfully.

