
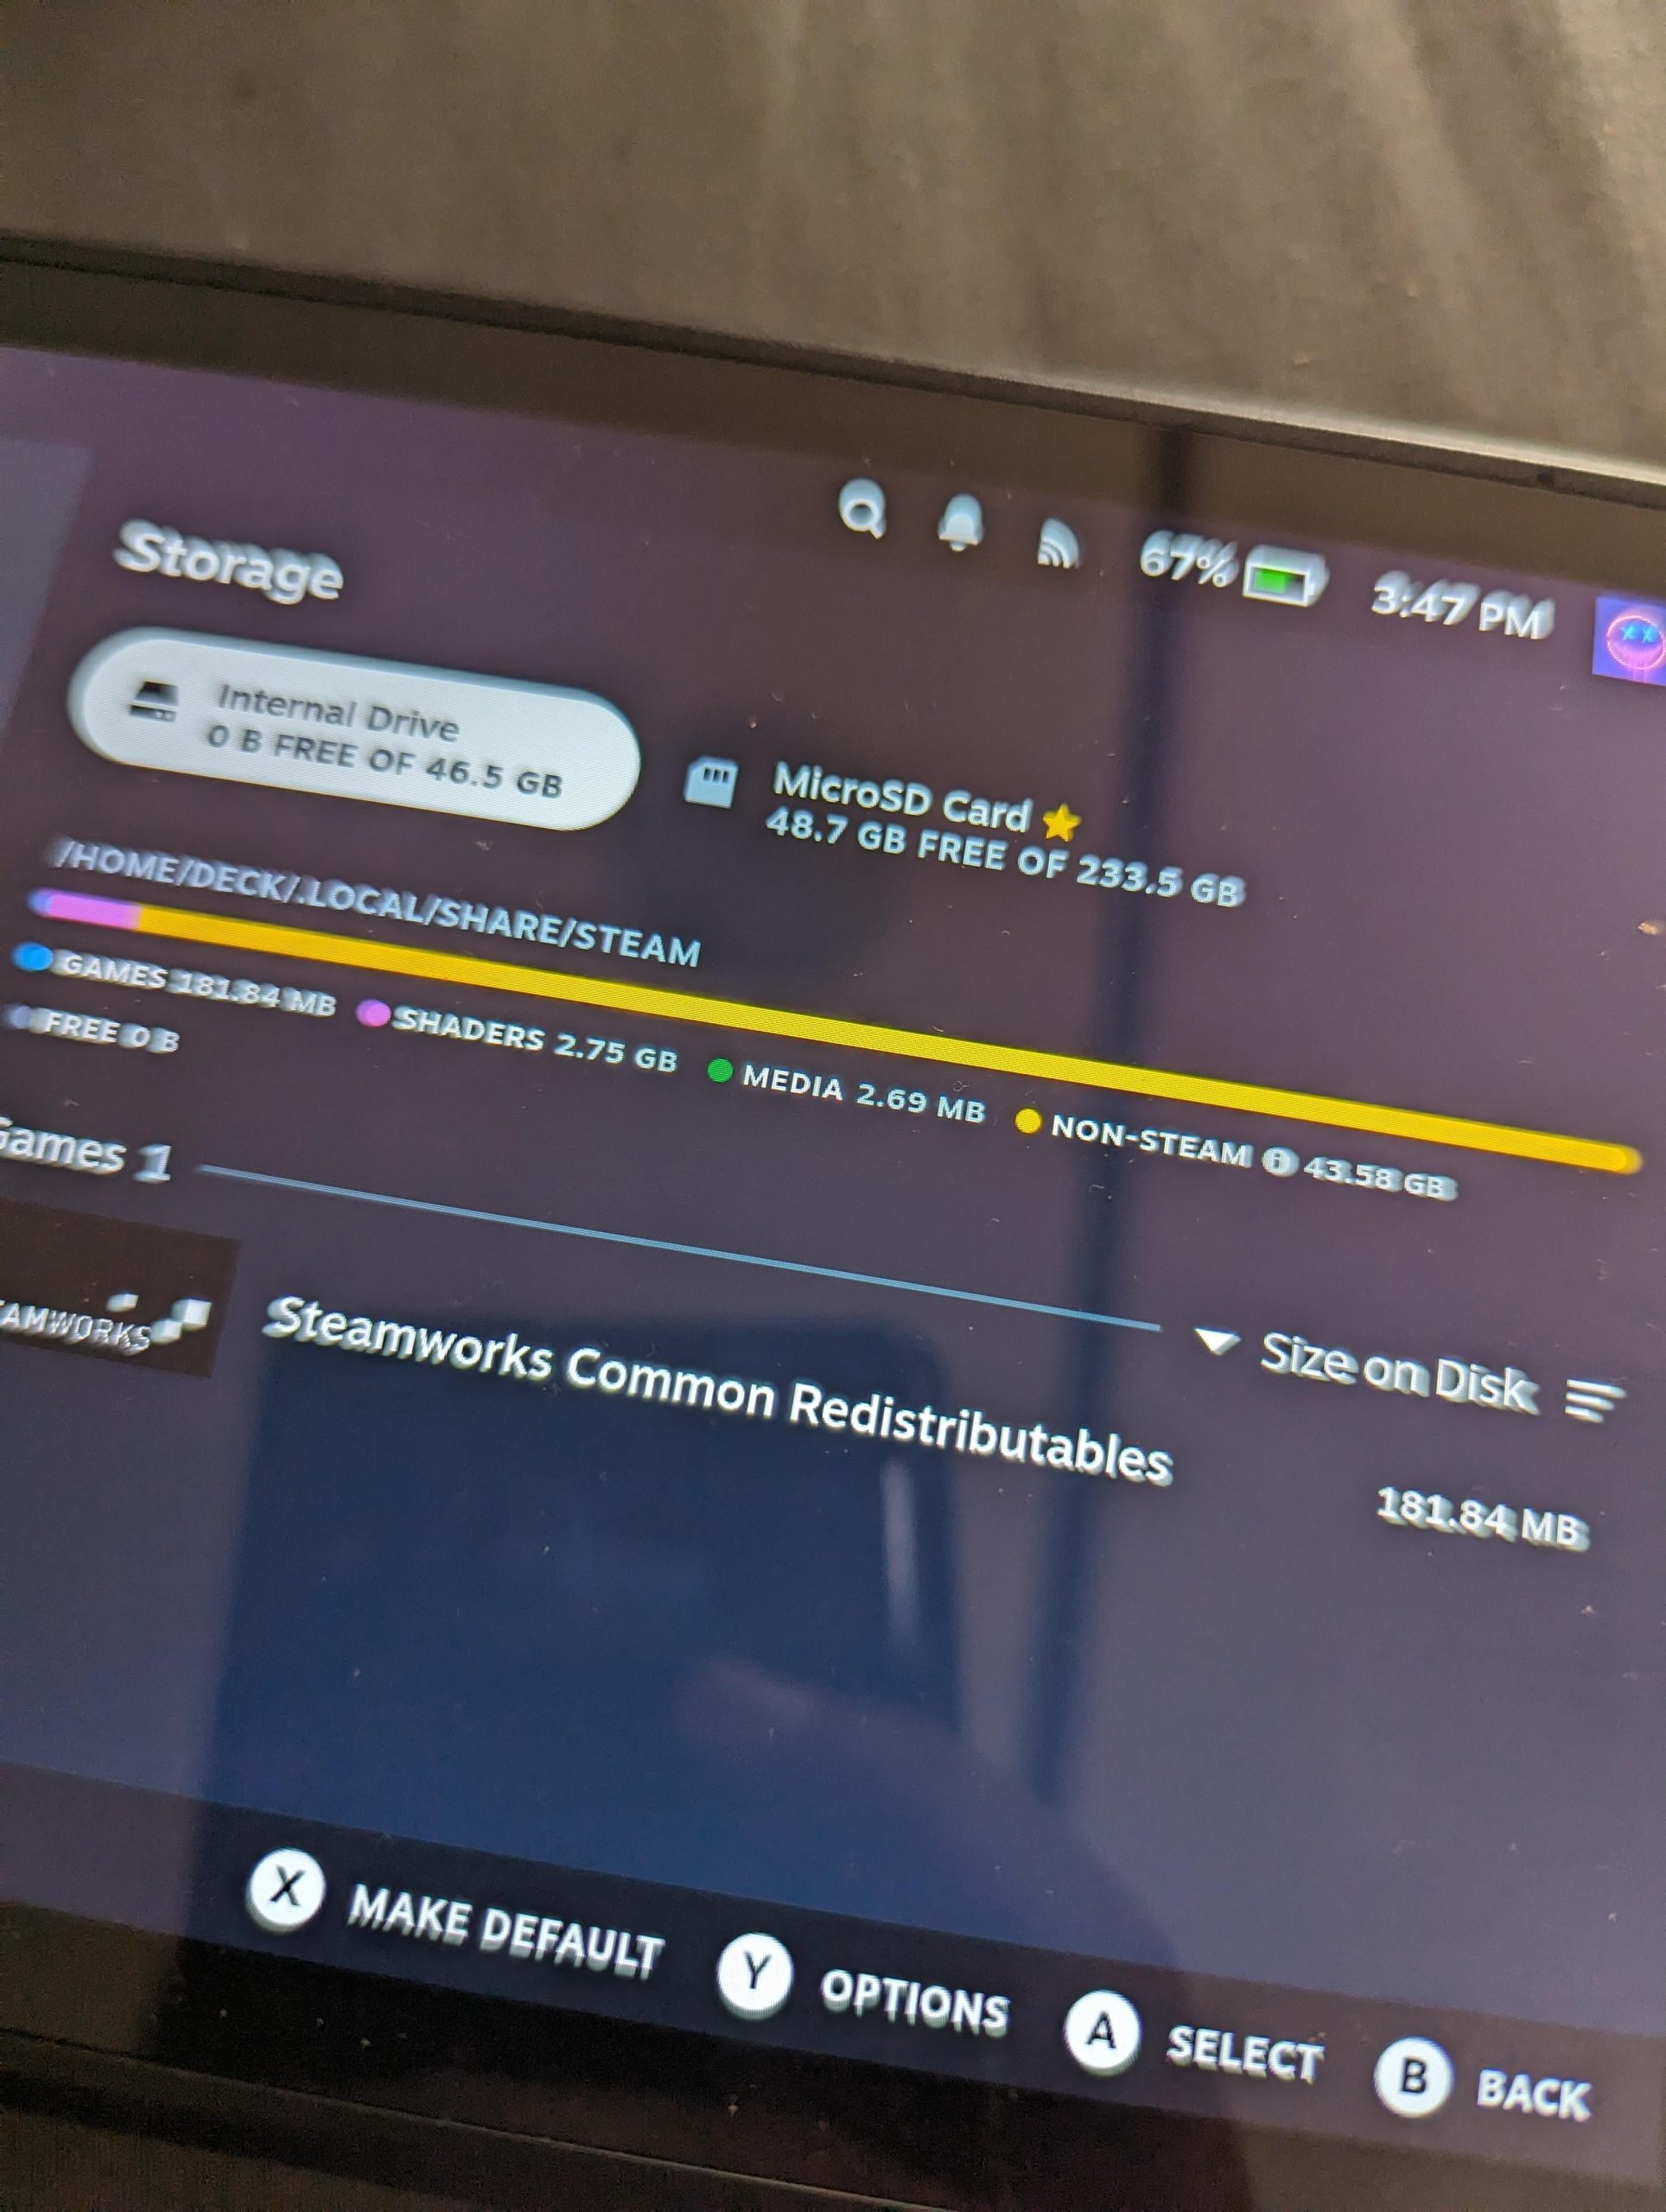
Managing Steam Deck storage with non-Steam games primarily involves using the desktop mode to move game files to an SD card or installing them directly there.
The Steam Deck is a fantastic device, but its storage can fill up quickly, especially if you enjoy playing games from various platforms. Adding non-Steam games adds another layer of complexity to managing this space. Knowing how to manage steamdeck storage with non steam games is crucial for keeping your device running smoothly and avoiding constant space issues.
Many users struggle with keeping their non-Steam titles organized and understanding where the games are using their precious storage. We’ll explore simple tips to maintain optimal space on your Steam Deck.

How to Manage Steam Deck Storage with Non-Steam Games
Okay, so you’ve got your awesome Steam Deck, and you’re loving all the games from Steam. But what about those other games? You know, the ones you got from GOG, Epic Games, or maybe even a Humble Bundle? Those “non-Steam” games can take up precious space on your Deck, and managing them might seem tricky. Don’t worry; it’s totally doable! Let’s jump into how we can keep your storage tidy and your game library happy, without a lot of headache. This guide will show you some easy ways to get everything organized.
Understanding Your Steam Deck Storage
Before we dive into managing non-Steam games, let’s take a quick look at how your Steam Deck stores information. Think of it like a mini-computer, with its own special storage space. Just like your phone or laptop, it has a specific amount of space to keep everything. Your Steam Deck might have 64GB, 256GB, or 512GB of built-in storage. That’s where your operating system (SteamOS), all your downloaded games (both Steam and non-Steam), and your game data are stored.
Internal Storage vs. MicroSD Card
The Steam Deck gives you two ways to store your games. The first one is the built-in storage, which we just discussed. It’s fast and reliable. The other option is a microSD card. You can buy a microSD card and insert it into the little slot on the bottom of your Deck, just like adding memory to a camera or phone. This is a really useful way to add more storage without replacing your whole system. Many people use this for non-Steam games, while keeping their fast, built-in storage for Steam titles.
Here’s a quick look at the pros and cons of each:
| Storage Type | Pros | Cons |
|---|---|---|
| Internal Storage | Very fast loading times, reliable | Limited space, can’t be easily upgraded |
| MicroSD Card | Adds a lot of storage, can be changed easily, generally less expensive per GB than increasing internal storage. | Slightly slower loading times compared to internal storage (although still plenty fast for most games). |
Installing Non-Steam Games on Your Steam Deck
Now for the fun part – getting those non-Steam games onto your Deck! We will explore different ways of installing games, ensuring we have a good understanding of our available options.
Using Heroic Games Launcher
The Heroic Games Launcher is a free and open-source program that makes it very easy to install games from places like the Epic Games Store, GOG, and Amazon Games. It’s sort of like a middleman, helping you manage your games and keep them organized. It’s a popular choice because it’s easy to use and adds a lot of compatibility.
How to Install Heroic
- Go into Desktop mode on your Steam Deck.
- Open the “Discover” app store (it’s like the app store on your phone).
- Search for “Heroic Games Launcher” and click install.
- Once installed, open Heroic from the applications menu and sign into your respective gaming account.
How to Install Games with Heroic
- Launch Heroic Games Launcher.
- Sign in to your account for the game store you want to use (e.g., Epic Games, GOG).
- Find the game you want to install and click “Install.”
- Heroic will ask where you want to put the game. It’s a good idea to choose your microSD card if you have one, to keep your main storage from filling up too quickly.
- Wait while the game downloads and installs. This can take a little while, depending on your internet speed and the game’s size.
Adding Non-Steam Games Manually
Sometimes, you might have games that can’t be installed using a launcher like Heroic. This happens often if you have games from older sources or indie titles. Don’t worry! It’s still possible to play these on your Steam Deck, it just takes a little more effort.
Where do these files go?
The usual location for non-steam games is in the Home folder of your Deck, within a folder called .local. You can find the .local directory in this path: /home/deck/.local.
Remember that files starting with a period ( . ) are usually hidden. Make sure your file explorer has “show hidden files” enabled. If you’re not comfortable with the file explorer, a simpler method would be to create a “Games” folder in your Home directory (or on your microSD card) and install all non-Steam games there. This avoids the need to hunt through hidden directories.
Steps to Add Manually
- Transfer your game files to your Steam Deck using a USB drive, network transfer, or other method.
- Decide where to put the game files (either on the internal storage or microSD card).
- Once your game is in place, you need to make the game’s executable file runnable by the Steam Deck. This usually involves using the “Properties” option.
- Open Steam in Desktop Mode.
- Click “Add a Game” in the lower left corner, and then “Add a Non-Steam Game.”
- Click the “Browse” button and locate the game’s executable file. This is usually a file with a .exe extension. Remember to change the selection filter from “Applications” to “All Files” to see it.
- Click “Add Selected Programs.”
Your non-Steam game is now added to your Steam library, and you can launch it from Game Mode. You can customize the game’s name and art by changing its properties from your library.
Using Lutris
Lutris is another open-source game manager that is like a combination of Heroic and a custom installer. Lutris is mainly used to install games from older platforms or titles that are only available as a Linux version. It’s a bit more complicated than Heroic but extremely powerful.
Installing Lutris
Install Lutris using the Discover store, like we did with Heroic.
How to Install Games with Lutris
- Launch Lutris in desktop mode.
- Search for your game in the Lutris interface, or add it manually if your game does not have a prebuilt configuration.
- Follow the installer prompts. Lutris automatically handles most of the technical aspects for you.
Remember, Lutris and Heroic are constantly being updated with new games and fixes, so they make playing non-Steam games much simpler! Check their documentation for more specific game instructions.
Managing Storage Space
Okay, so you’ve got your games installed. But how do you make sure they don’t take up all your storage space? Here are some useful tips:
Moving Games Between Storage Locations
Sometimes you might want to move games from your internal storage to your microSD card, or vice-versa. Here’s how:
- Go to your Steam Library, in Game Mode.
- Find the game you want to move.
- Press the menu button (the button with three horizontal lines).
- Select “Manage” then “Move Install Folder.”
- Choose your desired location (Internal or microSD).
Be patient because moving a big game can take some time. If you added your non-Steam game using the method we showed previously, you will need to move the files yourself using the file explorer in Desktop Mode.
Uninstalling Games You Don’t Play
If your storage is filling up, think about uninstalling games you haven’t played for a while. This is similar to how you’d remove apps from a phone.
- Go to your Steam Library.
- Find the game you want to uninstall.
- Press the menu button.
- Select “Manage” then “Uninstall.”
You can always reinstall the games later if you want to play them again.
Cleaning Up Game Files
Sometimes games leave behind extra files that take up space. It’s helpful to periodically check for these. This can sometimes be handled by clearing the compatibility data, which will delete saved data for any non-Steam games that were added manually. Be sure you don’t need the save files before deleting this data!
How to Delete Compatibility Data
- Go to your Steam Library.
- Find the game you wish to clear.
- Press the menu button (the button with three horizontal lines).
- Select “Manage” then “Properties.”
- Choose the “Compatibility” tab.
- Click “Delete Proton Files.”
Sometimes you can find additional temporary files in the game’s folder, or inside the .local directory. Be careful not to delete files you don’t understand because this can break the game.
Using Cloud Saves (When Available)
If a non-Steam game supports cloud saves, you can move some saved game data off of your device, which will free up storage space. Steam cloud saves are an automatic and integrated function of most Steam games. For non-Steam games, this may need to be configured within the game options or the relevant gaming launcher. Some games also offer manual import/export of save data to cloud drives like Google Drive.
Tips for Keeping Organized
Naming and Adding Custom Art
Once you add non-Steam games, they might show up in your library with weird names or no artwork. Let’s fix that!
- Go to your Steam Library.
- Find the non-Steam game.
- Press the menu button.
- Select “Manage” then “Properties.”
- Change the “Name” box to whatever you want.
- Click the blank box in the art section to add your own picture to be used as the game’s logo.
You can find game art online by searching for “Steam grid art” or “game banner.” Make sure your image is in .png or .jpg format.
Creating Categories
You can create categories in your Steam library to keep similar games together. For example, you could have categories for “Emulators,” “Indie Games,” or “Epic Games.”
- Go to your Steam Library.
- Right-click on a game.
- Select “Categories.”
- Select or create new categories.
This helps you find your games much faster when your library starts to grow.
Regular Maintenance
Set aside some time every month (or every few weeks) to check your Steam Deck storage. It’s very helpful to do the following:
- Uninstall games you’re not playing.
- Check for and delete any lingering temporary files.
- Make sure all game logos are present and organized.
By keeping up with these small tasks, you’ll keep your Steam Deck running smoothly.
Troubleshooting Common Storage Issues
Sometimes, things might go wrong. Here are some common storage problems and their solutions:
“Not Enough Disk Space” Error
If you get this error, it means you’re trying to install a game when your storage is full. The easiest solution is to uninstall a game to make room. Another option is to check and make sure that you are installing your game on the appropriate storage device, and not accidentally trying to install a large game onto your limited internal storage.
Games Won’t Launch
If a game won’t start, try the following:
- Make sure the game’s files are still in the right place.
- Try verifying the game files, through the launcher or Steam settings.
- Check to see if you need to clear compatibly data.
- Restart your Steam Deck.
Sometimes, games need the correct “runtime environment” to function. This can be handled by using an alternative version of Proton through Steam compatibility settings. Make sure you have selected the proper version of Proton, or try different versions. You can find plenty of resources and guides for specific games that have special needs.
Slow Loading Times
If games on your microSD card load very slowly, it might be because your card is not fast enough. The Steam Deck does not always achieve the highest read/write speeds that some microSD cards advertise. Make sure that you are using a microSD card that has a good enough speed for games. Otherwise, moving those games to the internal storage will drastically improve performance.
Managing storage on your Steam Deck, especially with non-Steam games, can feel a bit challenging at first. But by using the tools and tips we’ve talked about, it becomes much easier. Remember that keeping your system organized will save time and effort in the long run. Enjoy your expanded game library and have fun playing all of your games on your Deck! By understanding storage options, mastering installation methods, and keeping organized, you’re set to take full advantage of your Steam Deck’s gaming potential.
Steam Deck – How To Reclaim Disk Space – Proper Shader & Compat Data Removal
Final Thoughts
Effectively manage non-Steam game storage on your Steam Deck by utilizing microSD cards. Move large game files to external storage and save valuable internal space. This ensures optimal performance.
Regularly check the storage usage and delete unneeded files for both Steam and non-Steam games. Consider using file explorer to manage folders and clean up unwanted game data.
Remember that efficient allocation of space is key. Learning how to manage steamdeck storage with non steam games will help you greatly enjoy the gaming experience.

