
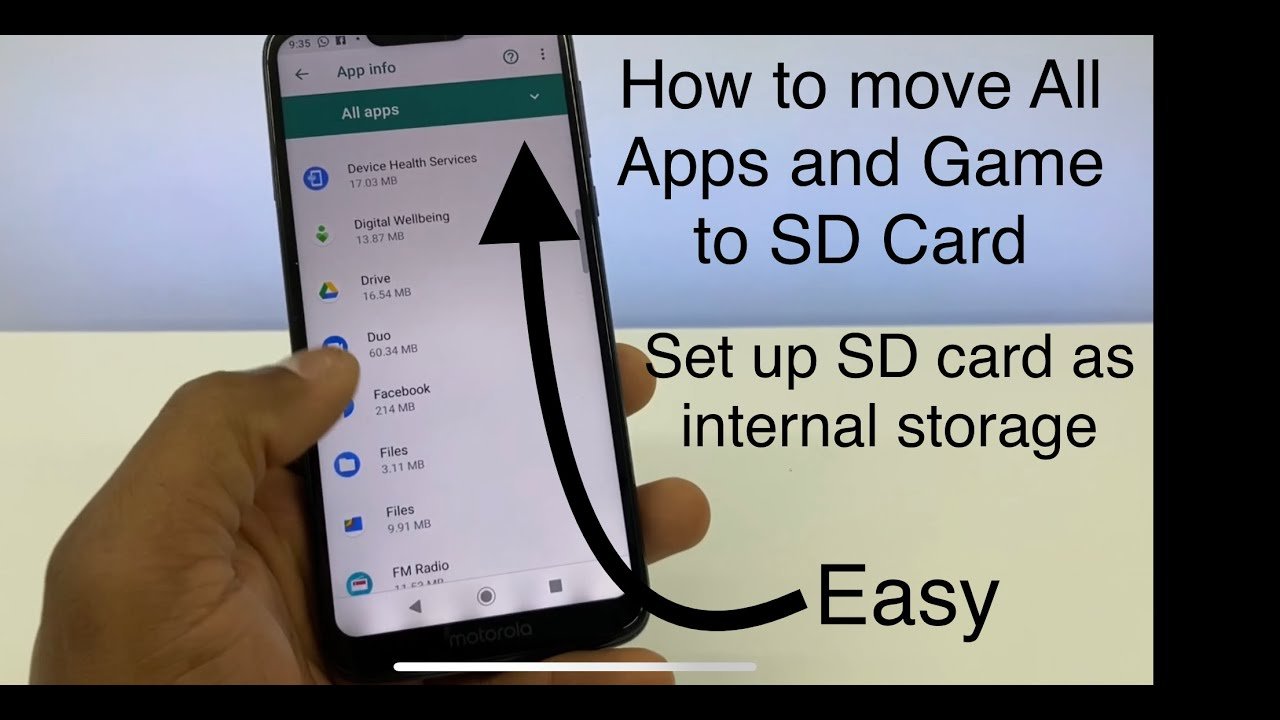
To move games to SD card, navigate to your device’s settings, find the ‘Apps’ or ‘Storage’ section, select the game, and choose the option to move it to the SD card.
Running out of space on your phone can be frustrating, especially when you love playing mobile games. The constant worry about deleting photos or apps to make room is tiresome. One simple solution is learning how to move games to SD card, freeing up valuable internal storage. Many devices offer this functionality, making it easy to keep playing your favorite titles without sacrificing space.

How to Move Games to SD Card
Running out of space on your phone or tablet can be a real bummer, especially when you’re trying to install the newest, coolest games. But don’t worry, you don’t have to delete all your other apps and photos! A lot of devices let you move your games to an SD card, which is like giving your device a bigger backpack for its stuff. Let’s dive into how you can do this, step by step.
Why Move Games to an SD Card?
Before we jump into the “how,” let’s talk about the “why.” Your phone or tablet has its own built-in storage, where everything lives. But that space can fill up fast, especially with big games that take up a lot of room. An SD card is like an extra hard drive. Here are some reasons to move your games to an SD card:
- Free Up Space: Moving games frees up the built-in storage for other things, like pictures, videos, and music.
- Better Performance: When your device isn’t overloaded, it can often run faster and smoother.
- More Games: You can download more of your favorite games without worrying about running out of space.
- Keep Everything Organized: Keeps your personal data separate from the game data.
Checking if Your Device Supports SD Card Game Transfers
First things first, not all devices let you move games to an SD card. Most Android phones and tablets do, but some might not, and iPhones and iPads generally don’t allow for SD card game storage. Here’s how to check:
Check Your Device Specifications
- Look at the Specs: Check the user manual, your device’s settings (usually under ‘About Phone’ or ‘Storage’), or the manufacturer’s website. See if it mentions an SD card slot and if it supports apps and games to be moved.
- Physical Inspection: Look for a small slot on the side or top of your device, which is where you can insert an SD card. If you see one, you’re in luck!
Types of SD Cards
If your device does have an SD card slot, make sure to use a compatible one. SD cards come in different sizes and speeds. Here’s a quick rundown:
- SD Cards: These are older and slower, they are not ideal for game storage.
- SDHC Cards: These cards are better for game storage, but not the best.
- SDXC Cards: These are the best for game storage, offering faster speeds and more space.
Look for SD cards with an “A1” or “A2” rating, as this means they are specifically designed to handle running apps and games faster.
Always choose a reputable brand of SD card to ensure data integrity. Using a fake SD card can cause data corruption.
Also, consider the storage space of the SD card, ensure that is large enough to store your games and other data you may want to have on the SD card.
Moving Games on Android Devices: The Easy Way
Most Android devices have a pretty simple way to move games to an SD card. Keep in mind that the exact steps may vary slightly based on your device’s Android version or manufacturer, but the general process is usually similar.
Using the Settings App
- Go to Settings: Find and tap the “Settings” icon on your device. It often looks like a gear or a cog.
- Open Apps or Applications: In the settings menu, look for “Apps” or “Applications” and tap on it.
- Find the Game: Find the game you want to move from the list of installed applications.
- Tap on Storage: Once you find the game app, tap it to access its settings, find and tap “Storage”.
Some devices may have a slightly different menu structure but will always contain similar keywords. - Change Storage Location: If your game can be moved, you will see a “Change” or “Move to SD Card” button. Tap it.
If there isn’t a “Change” or “Move to SD Card” option, this means that the game cannot be moved via this setting. - Confirm the Move: Tap “Move” or “Ok” to confirm the game transfer, and wait for the process to finish.
- Repeat: Repeat the above process for other games that you wish to move to your SD Card.
Troubleshooting Issues with the Settings App
Sometimes, you might find that the “Move to SD Card” option isn’t there for a particular game. This can happen for a few reasons:
- Game Doesn’t Allow It: Some game developers don’t allow their games to be moved to an SD card. This is usually for performance or security reasons.
- Android Version Restrictions: In some older versions of Android, the options for moving apps were limited.
- SD Card Issues: Ensure your SD card is properly inserted, formatted and working, it should not be corrupted.
A broken SD card cannot store games, nor be detected on your device. - Insufficient storage: Make sure you have enough available space on your SD card.
If you are having trouble with a particular game and the standard process, it’s worth researching online or contacting the game’s developer for additional assistance.
Moving Games using File Manager
If the settings app doesn’t allow you to move the game, you may be able to achieve this using a file manager app. This method requires a little more tech-savviness.
Installing a File Manager App
- Download a File Manager: Go to the Google Play Store and download a free file manager app, such as “Files by Google” or “Solid Explorer”.
- Install the File Manager: Install your downloaded file manager app, then open it.
Finding and Moving Game Files
- Grant Permissions: First time you open your file manager, you may need to grant permission to access your storage.
- Locate Game Folder: Look for the folder where the game files are stored, this may be in a folder called “Android” then the “data” folder.
Some game files can also be found in the “obb” folder inside the “Android” folder.
Be careful with the system folders, only move known game files, otherwise you may create issues with your device or other apps. - Copy/Move the Folder: Select the folder of the game you wish to move, then choose cut or copy,
then navigate to the SD card directory and paste. - Check the Game: Start the game after moving it to the SD card and see if it’s working correctly.
This process is more hands-on and should be done with care. It is not recommended for beginners to use this method, as moving the wrong files can result in your device or apps not working correctly.
Formatting Your SD Card as Internal Storage
Some Android devices allow you to format your SD card so that it acts as part of your phone’s internal storage, also called adoptable storage. This method can make managing space easier as the device automatically decides what to store on the SD card and what to keep in the internal memory.
Formatting Your SD Card as Internal
Warning: This process will format your SD card, which means everything on it will be erased. It is always recommended to make backups of your data.
Also this format makes your SD card only usable with this device, you won’t be able to use it on a computer or other devices.
- Insert SD Card: Ensure the SD card is inserted into your device.
- Open Settings: Go to Settings, then find the “Storage” options.
- Select SD Card: Tap on “SD Card”, then look for an option named “Storage Settings” or “Format”.
- Format as Internal: Select “Format as Internal” or a similar option and tap “Erase and format”.
Follow the steps and wait for the device to complete the formatting.
Considerations When Using Internal Storage
- Speed: While this makes space management easy, it can slow down the performance of your device if your SD card is slow.
- Single Device: An SD card formatted as internal storage works only on the device it was formatted on, and it can’t be used on other devices or computers.
- Data Loss: If the SD card fails, all the data stored on it may be lost.
- No Easy Removal: The card is meant to stay permanently in the device. If it is removed, the device may stop working until the card is put back.
Tips and Tricks for Moving Games
Here are some additional tips and tricks to make moving games to your SD card easier and more effective:
- Update Your Apps and Games: Keep your apps and games updated, as newer versions sometimes have better support for SD card storage.
- Restart Your Device: Sometimes, restarting your phone or tablet after moving games can help the changes take effect and ensure everything runs smoothly.
- Monitor Storage: Keep an eye on your storage levels even after moving games, to ensure you don’t run out again.
- Use an SD Card Reader for Computers: For some devices, moving the games with a computer to the SD Card can be much quicker, instead of doing it with the device itself.
Moving games to an SD card is a great way to get more space on your device and enjoy all the games you want. Remember to choose the method that best fits your device and comfort level, and you’ll be gaming without worrying about storage space in no time. It may not seem that easy at the start, but after a few tries, it is something you can manage pretty easily, it will also give you more space, which you can use for downloading even more games!
How to Move Apps and to SD Card Android / how to put Sd Card as internal storage
Final Thoughts
Moving games to your SD card frees up valuable internal storage. First, navigate to your device’s settings, then find the application section. Locate the game you wish to move and select the “move to SD card” option. This process might differ slightly depending on your device.
Remember, not all apps support moving to external storage. Sometimes, the option isn’t available because the app developer didn’t enable it. Therefore, you must check on your games individually.
Effectively manage storage with your sd card, it greatly enhances your phone’s performance. Knowing how to move games to sd card makes room for more apps and data, offering an improved experience.

