Moving games to an SSD generally involves using your operating system’s built-in tools or the game launcher’s options to relocate the installation files.
Is your game loading agonizingly slow? The culprit is likely your traditional hard drive. Many gamers face this problem and wonder how to move games to ssd. It’s a common desire to improve those load times and game performance.
Switching your games to a solid-state drive (SSD) can significantly reduce loading times and offer a much smoother experience. This simple upgrade can make a world of difference in your gaming.

How to Move Games to SSD
Okay, so you’ve got yourself a super-speedy SSD (Solid State Drive) and you’re ready to see your games load like lightning. That’s fantastic! But maybe you’re scratching your head wondering, “How do I actually get my games onto this thing?” Don’t worry, it’s not as complicated as it might seem. This guide will walk you through exactly how to move your games to an SSD, covering different platforms and situations, making sure you understand every step.
Why Move Games to an SSD?
Before we jump into the “how,” let’s quickly talk about the “why.” An SSD is much faster than a traditional HDD (Hard Disk Drive). This speed difference means:
- Faster Loading Times: Games will launch and levels will load much quicker. No more long waiting screens!
- Smoother Gameplay: Some games can have stutters or lag when reading data from a slow HDD. An SSD can help reduce or eliminate those problems.
- Improved Overall System Performance: While not solely focused on games, your whole computer will feel snappier when the operating system and other frequently used files are on the SSD.
Think of it like this: your HDD is like a regular bike, and your SSD is like a rocket. Both will get you there, but one is going to be much, much faster!
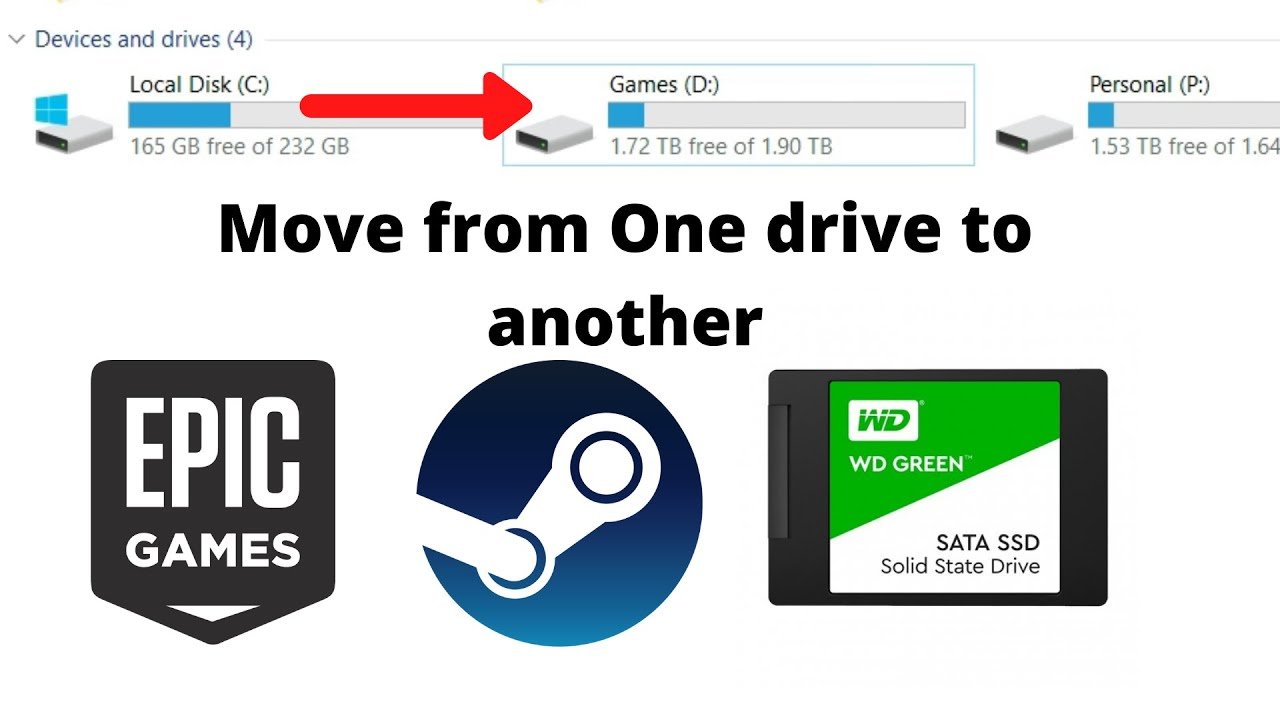
Moving Games on Windows
Windows makes moving games fairly easy, especially if you use game platforms like Steam, Epic Games, or the Xbox app. Each platform has slightly different methods, so let’s break it down:
Moving Steam Games
Steam has a built-in feature specifically for moving games. It’s straightforward and very helpful.
- Open Steam: Launch the Steam application on your computer.
- Go to Settings: In the top-left corner, click “Steam” and then select “Settings.”
- Navigate to Downloads: On the left-hand side of the settings window, click on “Downloads.”
- Select Steam Library Folders: At the top of the window, click on the “Steam Library Folders” button.
- Add a New Library Folder: A new window will pop up showing where your games are currently stored. Click on the “Add Library Folder” button.
Now, you will browse and select your new SSD folder where you want to move your games to.
- Close the Window: Close the settings window, and go back to the main Steam client screen.
- Move the Game: Go to the “Library” section in Steam, find the game you wish to move, and right-click on it. Select “Properties” in the menu.
- Select the Local Files Tab: Go to the Local Files option in the left side menu.
- Move Installation Folder: Click on the “Move Install Folder…” button.
- Choose the New Location: Select the new location on your SSD from the dropdown menu. Steam will then handle the moving process automatically.
Steam will move all of the game’s files over to the new location, and update its records, so everything works perfectly afterward.
Moving Epic Games Store Games
The Epic Games Launcher also has a way to move game files, although it’s a little more indirect.
- Open the Epic Games Launcher: Start the Epic Games Launcher on your PC.
- Go to Library: Click on “Library” on the left side of the launcher.
- Find the Game: Find the game you want to move in your library.
- Click the Three Dots: Click on the three dots (ellipses) next to the game’s name.
- Select “Uninstall”: Yes, you’re going to “uninstall” the game, but don’t panic! It’s not gone for good. The reason you need to do this is because there isn’t a specific ‘move’ option in this launcher.
- Start Reinstalling: After the uninstallation is complete, go back to the game in your library and click the Install option.
- Change Installation Location: Before it starts downloading again, it will give you an installation options window where you can select the install path. Choose the folder on your SSD.
- Complete the Installation: Let the installation process finish. Since the game files are already there, it will be a quick “verify” process instead of a full download.
This method is a bit of a workaround, but it gets the job done. The key is that Epic doesn’t redownload everything, it just confirms your game files when it reinstalls in the new location.
Moving Games from the Xbox App (Microsoft Store)
Games from the Xbox App are a little unique because they handle games differently than other platforms. Here’s how to move them:
- Open the Xbox App: Open the Xbox app on your Windows PC.
- Find the Game: Go to the game in your library.
- Move Options: Click the three dots on the game tile. In the menu, hover on “Manage” and select ‘Manage”.
- Select the Installation Location: In the new opened window, go to the “General” tab and click on the “Move” button.
- Choose your new SSD: Select your SSD from the new window that pops up, and start moving the files.
The Xbox app will take care of the game relocation. It’s important to let it finish completely, so that the game files work correctly on your SSD.
Moving Games Manually
Sometimes, you might have games that weren’t installed through a launcher, or maybe you’re just curious about doing things manually. It’s a bit more complicated, but definitely doable.
The Potential Pitfalls of Manual Game Moving
Before diving in, understand that manually moving games can sometimes cause problems. Games often have configuration files, registry entries, or shortcuts that point to their original installation path. Moving the game without fixing these can lead to it not launching properly.
Steps for Manual Game Moving (Advanced Users)
Here is a breakdown of the typical steps when attempting this method. Before moving on, please take note that these steps may require a bit of tech-savviness.
- Locate the Game Folder: Find the game’s main folder on your HDD. This is where all the game files are stored. Typically, this will be in the location you chose when installing the game.
- Copy or Cut and Paste: Copy (Ctrl+C) or cut (Ctrl+X) the entire game folder.
Important Note: Copying will leave a duplicate on your old HDD, while cutting will remove it from the HDD after you move to your SSD.
- Paste to Your SSD: Go to the location on your SSD where you want the game to live and paste (Ctrl+V) the folder there.
- Create a New Shortcut: Find the game’s main executable file (.exe), right-click on it, and select “Create shortcut”. You may find it in the games folder that you moved over. Move this new shortcut to your desktop or start menu.
- Test the Game: Now, try to run the game using this shortcut. If you face errors, keep reading, since there might be more steps for this method.
Adjusting Shortcuts (if needed)
Sometimes, the shortcut you create will work fine. However, if it tries to launch the game from its old location, you will need to edit the shortcut. Here’s how:
- Right Click the Shortcut: Right-click on the shortcut you created and click “Properties”.
- Edit the Target Field: In the “Target” field, you’ll see the path to the old location. Edit this to show the new location where the game is now located.
- Test Again: Run the game shortcut again to see if it works.
Adjusting Registry Entries (if needed)
Some games, especially older ones, will save important information in the Windows registry. If the game still doesn’t run, you may need to make changes to the registry. Be very careful, as registry edits can affect your PC.
Important Note: It is suggested you take caution before proceeding. It is best to follow this method only when you are already very familiar with registry edits and are confident in making changes. If you are unsure how to proceed, it is best to avoid this step. Improper editing of registry entries could cause unwanted effects.
- Open Registry Editor: Press the Windows key, type “regedit,” and press Enter to open the Registry Editor.
- Find the Game’s Entry: Use “Edit” > “Find” (Ctrl+F) and type the game’s name to search for entries related to the game.
- Modify Entries: Look for any entries that include file paths, and update them to point to your game’s new location on your SSD.
- Test Again: After making the necessary registry changes, test the game again to see if it works.
As you can see, moving games manually can become complex very quickly, which is why the other options are recommended. It is also why this method is only recommended for more advanced users.
Things to Keep in Mind
Moving your games to an SSD is generally straightforward, but here are a few extra things to think about:
- SSD Space: SSDs can sometimes have less storage space than HDDs. Make sure you have enough room on your SSD for all of the games that you want to move over.
- Game Saves: Most game saves are stored in your “Documents” folder, not in the same location as the game. These should be safe, no matter where the game is installed. However, it never hurts to back them up just in case.
- Reinstalling: If you have trouble moving a game, consider simply uninstalling it completely and then reinstalling it on your SSD. Sometimes, this is the easiest way to make sure everything works correctly.
- Performance: Even older games will load much faster from your SSD.
- Don’t Overfill Your SSD: Try to keep your SSD at least 10-15% empty. This will help with performance and make the drive last longer.
What about game files for consoles?
Moving console games can also have a large impact on load times, but how you approach this is different from Windows. For the scope of this article, here are some things you should consider for each console.
Playstation
Playstation allows users to add external SSDs and HDDs for game installations. These steps will show how to move these games.
- Connect the External Drive: Connect the external drive via a USB cable. Make sure that your external drive is compatible with Playstation.
- Go to Storage: Navigate to “Settings” > “Storage”. Here, you will see the hard drives that the console can use.
- Select the Game: Select the game that you want to move, and you will see that option available. Click “Move” to start the process.
- Choose the Destination: Select the destination where you want to move the game. This could be your internal SSD or external drive.
Xbox
Similar to the Playstation, Xbox consoles also allow external storage for game installation.
- Connect the External Drive: Connect your external drive via a USB cable. Make sure that your external drive is compatible with the Xbox.
- Go to Storage: Navigate to “Settings” > “Storage Devices”. Select the internal drive.
- Select the Game: Select the game that you want to move, and you will see that option available. Click “Move” to start the process.
- Choose the Destination: Select the external drive where you want to move the game to.
Nintendo Switch
Unfortunately, Nintendo Switch does not allow the moving of games between external and internal storage. It only allows you to move the data from your console to your external Micro SD card, but does not let you run the games from the card. This card should only be used as a storage device.
You must install the games directly onto the card if you want to play on an external drive.
Moving your games to an SSD is a game-changer for anyone who wants faster loading times and smoother gameplay. Following these steps for your specific game launcher will help ensure that your games work well and have the best experience.
How To Move Steam Games To Another Hard Drive / SSD
Final Thoughts
Moving games to an SSD significantly improves loading times. You can typically do this via the game launcher’s settings or by manually moving game files. Reinstalling is also an option.
Remember to check your game’s settings or file locations. how to move games to ssd can sometimes involve using specific migration tools.
These steps speed up your gaming experience. You will see performance improvements overall. Choose the method that suits your needs best.

