You can permanently remove Game Bar on Windows 11 by disabling it through the settings app and also uninstalling Xbox components using PowerShell.
The Windows 11 Game Bar, while useful for some, can be a nuisance for others. It might pop up unexpectedly during regular use, interfering with your workflow. Many users want to know how to permanently remove Game Bar win 11 for a cleaner experience.
This short guide will provide steps to completely disable this feature. You will learn to adjust settings and use PowerShell for a thorough removal. We’ll make sure that the Game Bar stays gone for good.

How to Permanently Remove Game Bar Win 11
The Game Bar in Windows 11 is a handy tool for gamers. It lets you take screenshots, record videos, and chat with friends. But, if you’re not a big gamer, or you just find it annoying, you might want to get rid of it. The good news is that you can! This article will show you easy ways to permanently remove the Game Bar from your Windows 11 computer. We’ll go through several methods, from the simple settings menu to more advanced techniques. Let’s begin!
Understanding the Windows 11 Game Bar
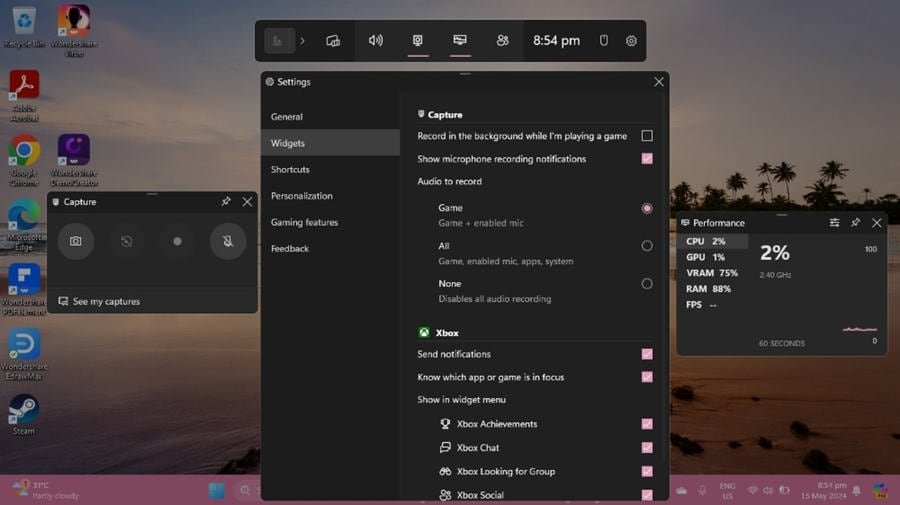
Before we dive into removing it, let’s quickly understand what the Game Bar is. Think of it as a pop-up control panel for games. When you press the Windows key + G, it appears on your screen, showing you options like:
- Capturing screenshots and game clips.
- Recording your gameplay.
- Adjusting audio levels.
- Seeing how your system is doing.
- Connecting with your Xbox friends.
For many gamers, it’s very useful. However, if you’re not a gamer, or if the Game Bar keeps popping up at unwanted times, it can be a bother. So, let’s see how we can make it go away permanently.
Method 1: Disabling Game Bar Through Settings
This is the most common and easiest way to remove the Game Bar. It’s like turning off a light switch, very straightforward. Here’s how you can do it:
Accessing the Settings Menu
First, you need to open your Windows 11 Settings. There are a couple of ways to do this:
- Click on the Start button (the Windows logo at the bottom-center or left of your screen). Then, click on the little gear icon that says “Settings.”
- Or, you can press the Windows key + I on your keyboard. This is a shortcut that takes you straight to settings.
Navigating to Gaming Options
Once you are in the Settings, look for the “Gaming” option. You will likely find it on the left side of the Settings window. Click on “Gaming.”
Disabling the Game Bar
After clicking on “Gaming,” you’ll see several options. Select “Xbox Game Bar”. Now, you should see a switch that says “Open Xbox Game Bar using this button on a controller.” Turn this switch off. It’s usually blue or green when on and turns grey when off.
By turning off that switch, the game bar is now disabled. The hotkey Windows key + G will no longer bring up the game bar. This is enough for most people, but there are some additional tweaks we can explore for thorough removal if you want to go further.
Method 2: Using the Registry Editor for Full Removal
For a more complete removal of the Game Bar, you can tweak the Windows Registry. This is like making changes to the engine of your computer. It’s important to be careful when you edit the Registry, so follow these steps carefully. If you do something incorrectly here, it might cause your system to not work correctly. So be careful and follow each step exactly.
Opening the Registry Editor
To open the Registry Editor, follow these steps:
- Press the Windows key on your keyboard and type “regedit.”
- The “Registry Editor” should pop up in your search results. Click it.
- You may be asked if you want to allow this app to make changes. Click “Yes”.
Navigating to the Game Bar Key
Once the Registry Editor is open, you will see a series of folders on the left. These are like the different sections of the registry. You need to navigate to the correct one, using these steps:
- Expand “HKEY_CURRENT_USER” by clicking the little arrow next to it.
- Next, expand “Software.”
- Then, expand “Microsoft.”
- Next, expand “GameBar.”
You should see “GameBar” in the left panel. Once selected the right side panel, you can see some values.
Modifying the Value for AppCaptureEnabled
On the right panel, look for a value called “AppCaptureEnabled”. If you do not see it, then you need to create one. You can do that by right-clicking on the right-side panel, hover over ‘New’ and select ‘DWORD (32-bit) Value’ then name it ‘AppCaptureEnabled’. After this, then right-click on “AppCaptureEnabled” and click “Modify…”.
A window will pop up. In the “Value data” box, type “0” and click “OK”. This setting tells Windows that you do not want any app capturing to be enabled, it also disables the game bar.
Now, close the Registry Editor. You might need to restart your computer for the change to take full effect. After restarting, Game Bar will now be even more thoroughly disabled, it will even stop some of its background processes.
Method 3: Disabling Game Bar Services
Windows also runs services in the background that support the Game Bar. Disabling these services will help further remove it and prevent it from starting without your explicit permission.
Opening the Services Application
To get to the Services application, follow these easy steps:
- Press the Windows key on your keyboard and type “services.msc”
- Click on the “Services” option that appears in the search results.
- This will open the Services application window.
Locating Xbox Services
In the services window you will see a list of a lot of items. You need to find the Xbox related services. Look for:
- Xbox Accessory Management Service
- Xbox Live Auth Manager
- Xbox Live Game Save
- Xbox Live Networking Service
These are the main services relating to Xbox and its game bar functionality. You may have other Xbox related services on your PC as well, if you see them, you can disable them also.
Disabling the Services
Now, you need to disable these services. To do so, follow these steps for each one:
- Right-click on the service name that you want to disable (one of those you identified in the previous step).
- Click “Properties.”
- In the “Properties” window, find the “Startup type” dropdown menu. Change it to “Disabled.”
- Click “Apply” and then click “OK”.
After making changes to all of these, restart your computer for changes to take affect. This will greatly reduce the chance of the game bar coming on by itself.
Method 4: Removing the Game Bar App Package (Advanced)
For those who want the Game Bar gone for good, removing the app package is the next step. This is a more advanced method, but it’s quite effective at permanently removing the Game Bar from your Windows 11 system. The method below involves PowerShell.
Opening Windows PowerShell as Administrator
PowerShell is a very powerful command tool for Windows. To open it with administrator access:
- Click the Windows start button.
- Type “powershell” in the search bar.
- You should see “Windows PowerShell” as a result. Click the “Run as administrator” option, or right-click on it and select “Run as administrator” option.
- Click “yes” on the prompt asking if you want to allow the program to make changes to your PC.
Finding the Game Bar App Package
In PowerShell, type the following command and press Enter to find the Game Bar’s app package:
Get-AppxPackage Microsoft.XboxGamingOverlayThis will show you information about the Game Bar. The important part is the “PackageFullName.” It looks like a long string of letters and numbers.
Removing the App Package
Now, you will use this “PackageFullName” and use it to remove the package using the following command. Replace ‘YourPackageFullName’ with the one you got earlier in the step above:
Remove-AppxPackage YourPackageFullNameFor example, it may look something like this:
Remove-AppxPackage Microsoft.XboxGamingOverlay_1.2302.2006.0_x64__8wekyb3d8bbwePress Enter. After a few seconds, the app package will be removed. If it does not work the first time, try a reboot and try again.
After removing this package, the Game Bar will be completely removed from your system. If you want to reinstall it, you’d need to do that through the Microsoft Store.
Method 5: Using Group Policy Editor (Windows Pro Users)
If you’re using Windows 11 Pro, you have an additional tool at your disposal: the Group Policy Editor. This is a very powerful way to control settings on your computer, including the Game Bar.
Opening Group Policy Editor
To open it follow the steps below:
- Press the Windows Key + R on your keyboard to open the run box.
- In the run box, type “gpedit.msc” and press “enter” or click OK.
Navigating to the Correct Policy
In the Group Policy Editor, navigate through the different folders on the left to find the following policy:
Computer Configuration\Administrative Templates\Windows Components\Game DVR and BroadcastDisabling Game Bar Settings
In the “Game DVR and Broadcast” folder, look for the “Allow game bar” setting. Double click it to open it. In the new window, change the radio button to “Disabled”, then click “Apply” and click “OK”
Close the Group Policy Editor. This change will stop the Game Bar from coming on. You may need to restart your computer to see the changes fully take effect. This method ensures that the Game Bar is disabled at the policy level, making it very difficult to start by accident.
Checking if Game Bar Is Removed
After using any of these methods, you might want to confirm that the Game Bar is indeed gone. Here are a few ways to check:
- Try pressing the Windows key + G. If the Game Bar doesn’t appear, you’ve been successful!
- Check in the Windows settings. If you go back to the Gaming section, make sure the Game Bar options are turned off as you set them.
- If you used the PowerShell method to remove the app package, then you will no longer see the Xbox Game Bar in the list of installed apps on your machine.
If you still see signs of Game Bar after these checks, double check each step again. Sometimes you might accidentally miss one step, especially if it is a more involved step.
By using these methods, you can confidently remove the Game Bar from your Windows 11 system. Whether you prefer a simple settings change or a more advanced method, one of these should help you achieve the experience you desire.
How to Remove the XBox Game Bar on Windows 11
Final Thoughts
To permanently remove Game Bar Win 11, disable it within the settings app. Navigate to the gaming section, then turn off the Game Bar toggle. You may also disable it through the registry editor for a deeper removal.
These steps, completed carefully, should effectively prevent the Game Bar from appearing. This ensures you won’t see the overlay in your future games or other applications. Remember to restart your computer after making registry changes.

