
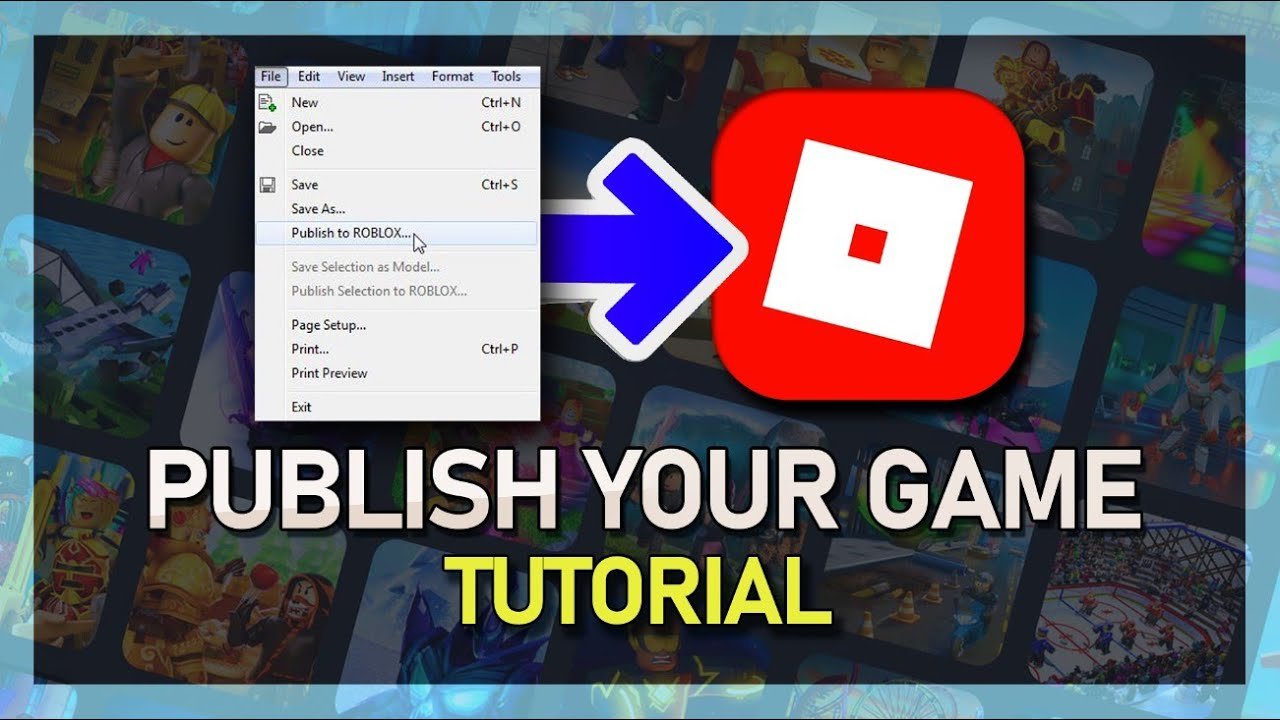
‘To post a game on Roblox, you must first create it using Roblox Studio, then navigate to the “File” menu, choose “Publish to Roblox”, and configure your game’s settings before finalizing the upload.’
Ever dreamt of sharing your game creation with the world on Roblox? The process is not as complicated as it may seem. Many aspiring developers, just like you, wonder how to post a game on Roblox.
Creating a game can be a rewarding experience. Learning how to post a game on Roblox opens the door for others to explore your digital world. Let’s explore the simple steps to make this happen.

How to Post a Game on Roblox
So, you’ve created an awesome game on Roblox! You’ve spent hours building, scripting, and testing, and now you’re itching to share your masterpiece with the world. Posting your game is the final step in your Roblox developer journey, and it’s super exciting. This guide will walk you through the entire process, making it easy to get your game out there for everyone to play.
Getting Ready to Publish
Before you hit that publish button, let’s make sure everything is in tip-top shape. A little preparation can make a big difference in how successful your game becomes. Think of it like getting ready for a big party – you want everything to look its best!
Testing is Key
First things first, test, test, test! Play your game thoroughly. Invite friends to play with you and get their feedback. Look for bugs or glitches, places where players might get stuck, or things that are just not as fun as they could be. You need to be sure your game is working great and fun for others. This will help you make changes and improvements before releasing the game to the public.
- Play in different ways: Test your game by pretending you are a new player. Try all the different things that your players will do.
- Invite friends: Have your friends play your game and tell you what they like and what they don’t like.
- Check for Errors: Look for error messages and fix them before you post your game.
Setting Your Game’s Name and Description
A catchy name and a clear description are super important. These are the first things players see, so they need to make a good impression. Think of a name that reflects what your game is about and is easy to remember. Your description should explain what your game is, what players can do, and why they should play it. Be clear and engaging, and try to make people excited to try your game.
- Name: Choose something memorable, relevant, and easy to spell. Avoid using complicated words or special symbols.
- Description: Briefly explain your game, including its core mechanics, goals, and any special features.
- Keywords: Think about words people might use to search for your game. Include these words in your description.
Creating a Great Game Icon and Thumbnail
Your game’s icon and thumbnail are like the cover of a book. They are the pictures people see when looking at different games, and they make them want to click on yours! Use high quality pictures and make sure they show what your game is about. Your icon should be small, so don’t make it too crowded. Your thumbnail is larger, so you can show more of the action. Make sure both are visually appealing and fit with the style of your game.
- Icon: Use a simple and clear image that represents your game. It will appear very small.
- Thumbnail: Use a colorful and attractive image to capture the attention of the players.
- Consistency: Make sure your icon and thumbnail go well with the feel of your game.
Game Settings Checklist
Before going live, you need to configure your game settings. This includes everything from the maximum number of players to the game’s genre. You can also set if you want your game to be public or just for you and your friends.
- Max Players: Choose how many players can be in your game at the same time.
- Genre: Pick the category that fits your game best (e.g., Adventure, Roleplay, Tycoon).
- Access: Decide who can play your game (public, friends only, or private).
- Monetization: Consider ways to earn Robux through in-game purchases, if desired.
Publishing Your Roblox Game: Step-by-Step Guide
Okay, now that you’ve prepared everything, let’s get to publishing! Here’s a step-by-step breakdown of the process.
Navigating to the Publishing Menu
First, you need to go to the Roblox Studio. Once you’re in your game project, look for the “File” menu at the top left of the screen. Click on “File,” and a dropdown menu will show up. From there, you will see the option for “Publish to Roblox”. Clicking this will open the publishing window. This is the place where you’ll finalize your game settings and get it ready to share with other players.
Choosing Between a New Game and Overwriting an Existing One
When you click “Publish to Roblox”, a window will appear. Here, you have two options:
- Create New Game: This option lets you create a totally new game on your Roblox profile. Use this if it’s your first time publishing this game or if it’s completely different from any other projects.
- Overwrite Existing Game: Use this option when you’re making updates to a game that’s already published. This way, you keep all the data associated with your previous game. Be careful though, you don’t want to overwrite an important game!
Make sure you carefully consider which option you need. If you’re starting fresh, choose “Create New Game”. If you’re pushing out an update, choose “Overwrite Existing Game” after selecting the correct game from the list.
Configuring Your Game Details
Once you’ve chosen between a new game or an update, you’ll arrive at the main settings window. Here, you need to enter all those details we discussed earlier. This section is all about setting up the look and feel of your game on the Roblox platform.
- Name: Make sure the name you’ve chosen fits your game.
- Description: Provide a captivating description of your game.
- Creator: This should be you or your group.
- Genre: Select the right genre from the available options.
Setting Permissions and Privacy
Permissions are super important to get right before posting your game. You get to decide who can actually play your game. These settings control who has access to your creation. You can choose to keep your game private, share it with friends, or make it public to everyone.
- Private: If you want to keep it to yourself for testing, this is the option.
- Friends: Choose this if you want only your friends to have access.
- Public: Choose this option if you want to allow everyone to play your game!
Carefully consider how public you want your game to be. Starting with friends is often a good way to gather feedback and catch those last minute errors.
Game Device Settings
These settings determine which devices your game is playable on. You can choose to make your game available on computers, phones, tablets, or even gaming consoles. Make sure your game works well on the devices you allow.
- Computer: If your game runs well on computers.
- Phone/Tablet: If your game works well on mobile devices.
- Console: If your game is optimized for consoles.
Testing your game on different devices is the best way to make sure everything works smoothly.
Advanced Settings: Playtesting and Data
There are other advanced options you can consider. You can allow play testing and collect data about how players play your game.
- Play Testing: You can select to participate in playtesting events on roblox.
- Data Collection: You can choose whether or not you’ll collect gameplay data (with player consent).
Finalizing and Publishing
Once you have gone through all settings, reviewed and confirmed everything, you can press that publish button! Roblox will take a moment to process the information. Once it is done, your game will be live! Make sure that you get the confirmation that you have published your game successfully.
After Publishing: Promoting Your Game
Publishing your game is just the first step. Now, you need to get people to actually play it! Here are some tips to help get more players:
Sharing Your Game
The easiest way to get people to play your game is to share it directly! Copy your game link from your Roblox profile and share it with your friends, family, and on social media.
- Share the Link: Make sure the link you are sharing takes people directly to your game page.
- On Social Media: Post your game on all platforms where you think people would find it.
- In Discord: Reach out in Roblox communities and discord to find players.
Engaging with Players
Talk to the people who are playing your game! Respond to their comments and feedback, and ask them what they would like to see. This will make them feel like you care, and they will be more likely to keep playing. Regular updates and communication can keep players interested.
Updating Your Game
Games are never fully perfect. You will need to continually make improvements. Make a schedule to fix bugs, add new content, or make game changes. When you do update your game, be sure to let people know, so they return to your game.
- Bug Fixes: Look at error messages and player reports and fix them right away.
- New Content: Add new things like new levels, weapons, or characters to make your game fresh and exciting.
- Announce Updates: Let people know when you update your game so they know it is constantly getting better.
Using Roblox’s Promotion Tools
Roblox also has its own tools that you can use to promote your game, such as advertisements and sponsored games. These can be helpful to get a lot of players in a short amount of time. However, these require some Robux, so make sure that you manage your resources well.
- Sponsored Games: You can pay Robux to show your game to lots of people.
- Advertisements: Use advertisement to promote your game to different players on the site.
Monitoring Game Performance
You should constantly monitor your game performance. See how many players are playing, and how much time they are spending in your game. This will allow you to make changes as needed. Understanding your game data will show you what you need to improve.
- Analyze Player Data: Learn about how people play your game.
- Track Engagement: Look at the time people are playing your game, and make adjustments based on this information.
- Use Insights: Based on these statistics, make adjustments to improve the game.
That’s it! You’ve learned how to post your game on Roblox and some important tips to help it succeed. Now it’s time for you to share your creation with the world, watch players enjoy it, and keep on making great games. Remember that creating and publishing a game on Roblox is a learning experience. Keep practicing, and you’ll be making the best games in no time! Your journey to becoming an expert Roblox game creator has just started!
How To Publish A Roblox Game – Full Guide
Final Thoughts
To post your game on Roblox, you first create it in Roblox Studio. Then, you save the game to Roblox. This makes it visible to you. You must make it public for other players.
Remember to adjust the game settings for appropriate access. This includes things like device compatibility. Finally, test your game thoroughly before publishing. These steps describe how to post a game on Roblox.

