
To publish games on Steam, you need to create a Steamworks account, pay a fee, prepare your game’s store page, and upload your game build using the Steamworks SDK.
So, you’ve poured your heart into crafting a fantastic game and now want to share it with the world? The journey of learning how to publish games on Steam can seem daunting, but it’s actually a fairly straightforward process when broken down.
This blog post will walk you through the essential steps, helping you navigate the Steamworks platform. Let’s get your game out there for everyone to enjoy!

How to Publish Games on Steam: A Complete Guide
So, you’ve poured your heart and soul into making an awesome video game, and now you’re ready to share it with the world! That’s fantastic! Getting your game on Steam, the popular platform for gamers, can seem like a huge task, but don’t worry. This guide will break down all the steps, making the journey much easier to understand. We’ll walk through everything from getting started with Steamworks to launching your game and beyond. Let’s dive in!
Getting Started with Steamworks
Before you can even think about uploading your game, you need to set up your account with Steamworks, Valve’s developer portal. Think of Steamworks as your home base for all things related to getting your game onto Steam.
Creating Your Steamworks Account
First things first, you need a Steam account. If you’re a gamer, you probably already have one. If not, head to the Steam website and create a free account. Once you have a Steam account, you need to enroll in the Steamworks program. This involves a few steps:
Go to the Steamworks Website: Search for “Steamworks” on your favorite search engine or directly go to the Steamworks website through Steam.
Log in with your Steam Account: Click the login button and use your Steam account details.
Complete the Onboarding Process: You’ll need to agree to the Steamworks Distribution Agreement. It’s important to read this carefully because it outlines all the legal stuff. Don’t worry, it’s not that hard to understand, it’s just like signing any other agreement online.
Provide your banking and tax information: Steam needs this information to pay you when your game starts selling! You need to provide details like your company’s legal name, contact information, and financial institution information. Make sure everything is entered correctly, and it matches the information you have with the bank.
Pay the Steamworks Direct Fee: There’s a small fee you pay to join the program. This fee helps Valve keep the platform running smoothly, and it’s not a large amount. The current fee is $100 USD as of October 2024, but please check the official Steamworks site, as this is subject to change. This fee acts as an application fee and it is non-refundable.
After you complete these steps, you’ll have access to the Steamworks dashboard! This is where all the magic happens. It is your control panel for managing your game on Steam.
Understanding the Steamworks Dashboard
The Steamworks dashboard might seem a little confusing at first, but it’s actually quite straightforward once you get the hang of it. Here’s a quick look at some important sections:
Application Management: This section is where you’ll add and manage your game’s information, such as its name, description, images, and videos. You will be able to add different build/versions of your game here.
Pricing and Promotion: Here, you’ll set the price for your game, plan discounts, and manage marketing tools.
Community Hub: This is where your players will gather, share screenshots, chat, and talk about your game.
Sales and Finance: In this section, you can monitor your game’s sales, track revenue, and manage payments.
Preparing Your Game for Steam
Before you can upload your game, you need to make sure it’s ready for prime time. This involves a few steps, from creating your store page to adding all the necessary files.
Creating Your Store Page
Your store page is like the online storefront for your game. It’s the place where players will decide whether to buy your game. Here are the key elements to focus on:
Game Title: Choose a memorable and engaging name for your game.
Capsule Images: These are the most important images that will attract attention. Make sure these are high quality, and reflect the game’s theme well. Valve requires multiple capsule image sizes, so make sure you follow the guideline closely.
Game Description: Write a short, interesting description that makes people want to play your game. Avoid big paragraphs, instead, use short sentences and write it in a way that is easy for the reader to understand. It’s also good to include bullet points to highlight key features of your game.
Trailer: A video trailer of your game is very important. It helps potential buyers see what the game is like in action. Make the trailer exciting, and not too long, keep it under 2 minutes, and include actual gameplay footage.
Screenshots: Include a few screenshots of your gameplay to show off your game’s art style, and key moments of the game.
Tags and Genre: Choose appropriate tags and genres to help people find your game on the Steam store.
System Requirements: Be clear about the computer requirements to play your game to avoid disappointment later for players.
Preparing Your Game Files
Now, it’s time to prepare your game files for uploading.
Choose the Correct Format: Steam supports various game formats, including Windows, macOS, and Linux. Package your game according to the platform you want to distribute to.
Include Necessary Files: Make sure you include all the files your game needs to run correctly, such as game executable, libraries, configuration files, images, sound files and any other necessary assets. Avoid unnecessary files, which will take up space and time to upload.
Create Depot Configuration: In Steamworks, you will create “depots” which will be used to upload your game files. These act as storage locations for your game’s data.
Utilize Steamworks API: Integrate the Steamworks API into your game if you want to use Steam specific features like achievements, leaderboards, cloud saves and multiplayer functionalities. This part can be tricky, so you need to follow Steamworks guidelines very carefully.
Testing Your Game
Before you go live to the public, test, test, and test some more.
Playtest: Let some friends and beta testers play the game. Make sure the game runs fine and get their feedback. It’s better to fix the bugs at this stage.
Steam Playtest: Use the “Steam Playtest” feature of Steamworks to distribute your game to closed testers, This can be very helpful in gathering data and getting feedback.
Address issues: Correct all the issues and bugs from your testing phase. Don’t skip this important part of game development.
Uploading and Launching Your Game
With your store page created and your game prepared, now you’re ready to go live.
Uploading Your Build to Steam
SteamPipe: Steam uses SteamPipe to upload and manage game content. This tool is a command-line interface, so it’s essential to understand how to use it.
Upload Your Files: Follow the instructions for using SteamPipe to upload your game files. It may take some time depending on the size of the game and your internet speed.
Validate Your Build: Before launching, you should validate your uploaded build, in order to make sure everything is working as it should. Use the Steamworks dashboard to test everything thoroughly.
Setting Your Game’s Price
Research the market: Look at games similar to yours and see what prices are common.
Consider value: Make sure the price reflects the quality and the amount of content you’re providing.
Set a suitable price: Do not price your game too low or too high.
Be flexible: You can adjust the price of your game, and introduce sale offers after your game launch.
Setting Your Release Date
Pick a suitable date: Consider avoiding dates around big game releases, as that would steal your spotlight.
Give yourself enough time: Do not rush, pick a date that allows you to properly market and promote your game.
Plan Your Marketing: Make sure your marketing efforts are synced with your release date.
Launching Your Game
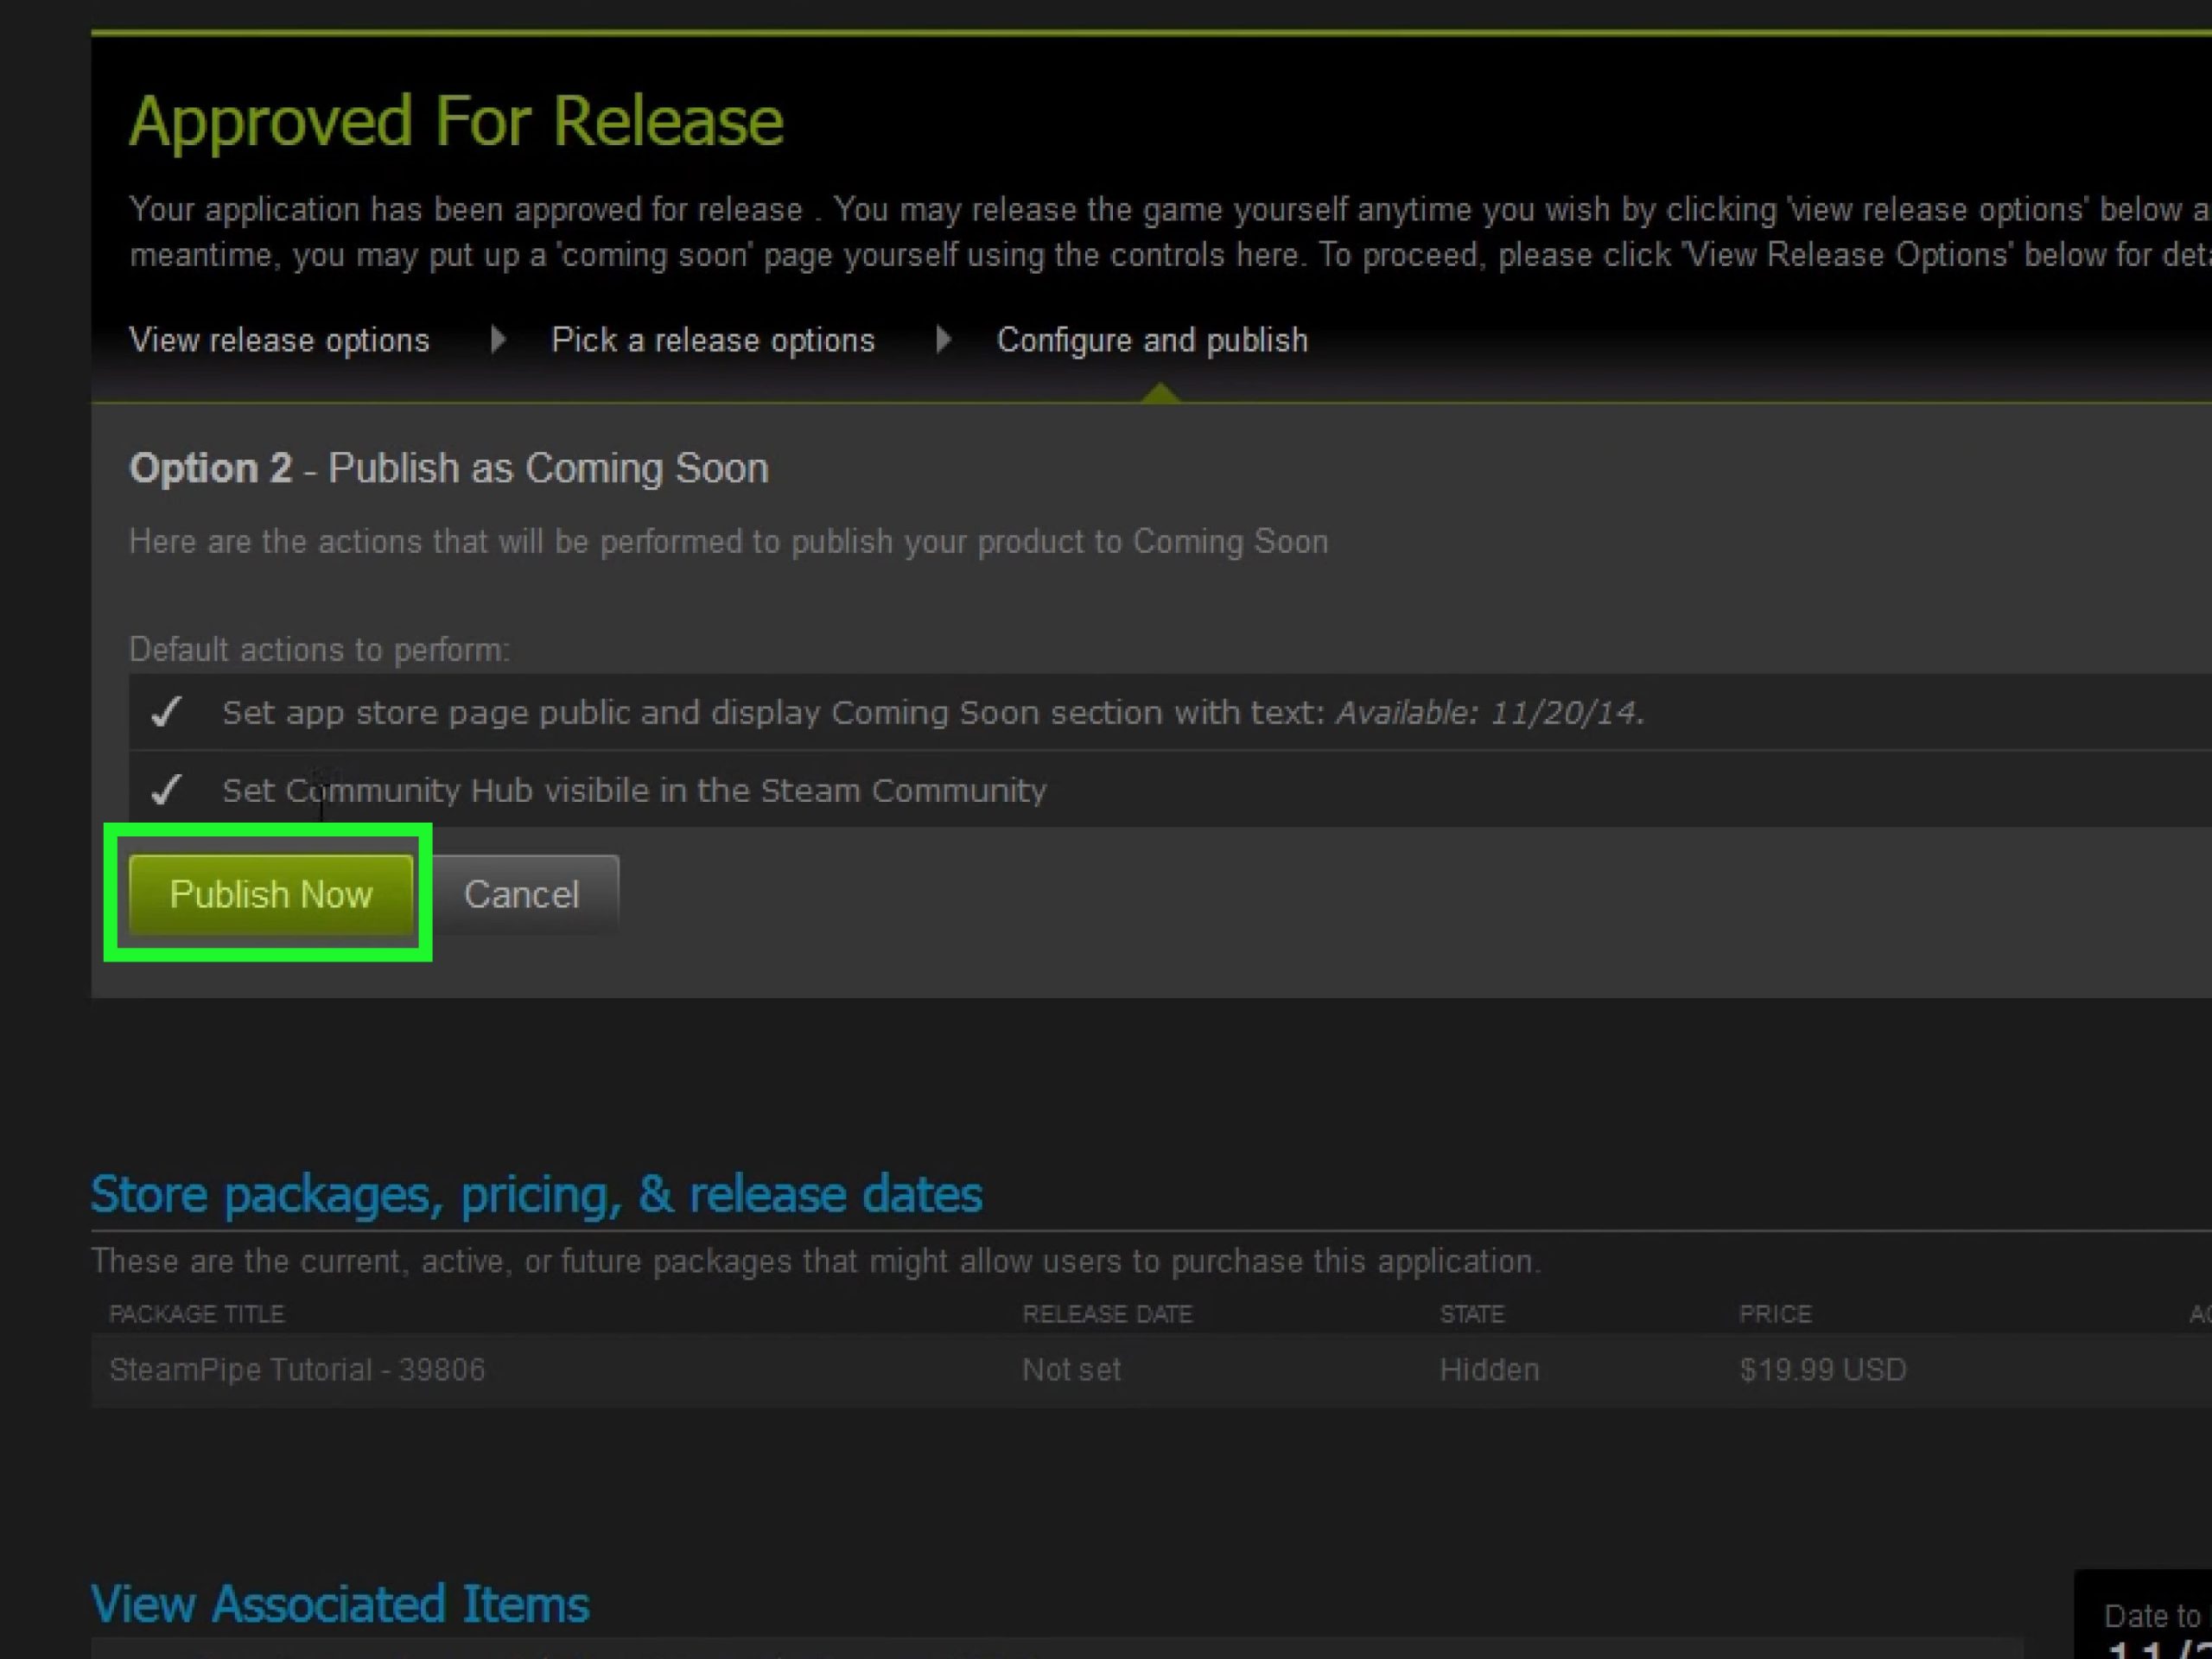
Click that “Release” button: Make sure everything is ready before you do this.
Monitor the launch: Pay attention to player feedback, and be quick to fix any reported bugs.
Promote Your Game: Keep promoting your game after the launch. Let people know your game exists.
Post-Launch and Beyond
Launching your game is just the beginning. Now, you need to keep your players engaged and grow your game.
Community Management
Engage with players: Respond to comments and issues quickly.
Create forums: Encourage discussions among players.
Listen to feedback: Use feedback to fix bugs and improve the game.
Updating Your Game
Release regular updates: Adding new content and bug fixes keeps the game fresh and players engaged.
Announce changes: Communicate with players about upcoming updates.
Be responsive: Use feedback to drive future updates.
Marketing and Promotion
Social media: Create and maintain social media accounts and share game updates there.
Influencer outreach: Contact gaming influencers to play and review your game.
Promotional events: Participate in Steam sales events to increase game visibility.
Analyzing Data
Check sales reports: Track your sales to see how well your game is performing.
Player behavior data: Study the way players engage with your game.
Learn and adjust: Use your findings to improve the game and your marketing efforts.
### Key Things to Remember
Here are some important tips to keep in mind throughout your Steam publishing journey:
Read the Steamworks documentation carefully: It has all the answers.
Plan ahead: Good planning will help you avoid problems later.
Don’t be afraid to ask for help: The Steamworks community is very helpful.
Be patient: Getting your game on Steam takes time, so don’t get discouraged.
Keep improving: Keep working on making your game the best it can be.
Publishing your game on Steam is a big achievement, but it’s also a great opportunity to connect with players and build a community around your creation. Take your time, follow the steps, and enjoy the process.
That concludes this comprehensive guide on publishing your games on Steam. It can be an exciting yet complex process, but with the right knowledge and approach, you can successfully bring your game to a worldwide audience.
How to Publish Your Game on Steam in 2022
Final Thoughts
To publish games on Steam, first pay the Steam Direct fee. Then you need to prepare your game’s build, create store page, and complete all required details. Finally, go through the review process.
You have to prepare all the necessary marketing materials for a successful launch. Remember that the proper configuration and pre-launch checks are very important for a smoother publishing.
Following these steps carefully helps you publish games on steam effectively. Proper planning greatly increases the success of your game’s release on the platform.

