
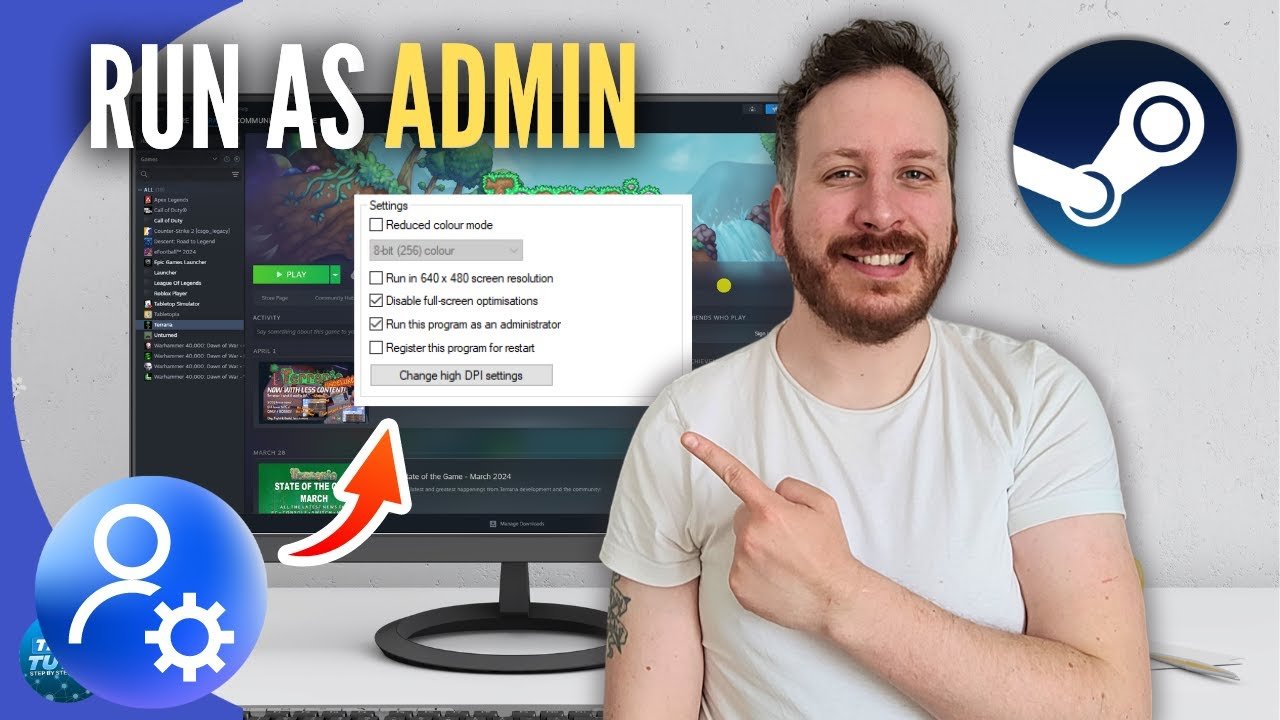
To run a Steam game as administrator on Windows 11, right-click the game’s executable file and select ‘Run as administrator’.
Do you sometimes encounter game errors or unexpected issues? These problems can often arise because the game lacks necessary permissions. Specifically, how to run steam game as administrator windows 11 can solve this problem.
Running your Steam game with administrator rights can allow it to access restricted resources and fix issues. This method provides needed access to system files.
Doing this might also help improve a game’s performance, especially when there are compatibility conflicts. Let’s see how it can be easily done.

How to Run Steam Game as Administrator Windows 11
Sometimes, games on your computer need a little extra permission to work correctly. Think of it like needing a special key to open a door. When a game needs this special key, it’s asking to run as an “administrator.” This means the game gets to use all the computer’s resources without any hindrances. Windows 11 has security features to protect your computer, and sometimes this protection can get in the way of your games. Running a Steam game as administrator can fix issues like games not starting, saving problems, or even crashing. This article will show you the steps you can follow on how to run your favorite Steam games as administrator in Windows 11. You will learn several methods, from changing settings once to setting it up so that the game always runs with the extra permission.
Why Run a Steam Game as Administrator?
Before we jump into the “how,” let’s talk about the “why.” Why would a game need administrator access? It’s all about control. Some games need to make changes to files deep within your computer. These are often related to game saves, configuration settings, or other background functions. If the game doesn’t have permission to make these changes, it can stumble and cause problems. For example:
- Saving Issues: A game might fail to save your progress if it cannot write to the correct folder.
- Game Crashes: Some crashes occur because the game can’t access needed files or settings.
- Installation Problems: Occasionally, a game might not install properly without the administrator key.
- Mod Compatibility: Some mods, which are additions to games made by fans, may need administrator access to work as intended.
Basically, running as an administrator gives the game full access, which can resolve various common problems and ensure smoother gameplay. However, it is important to remember that running a program as administrator gives that program full control over your computer so you should only give this access to software that you trust. Generally Steam and the games that you buy through the platform are safe to run in this way, but be careful of applications you find elsewhere online.
Method 1: Running a Game as Administrator Once
This method is perfect if you only need to run a game with extra permissions once in a while. It is quick and easy to do. It will not change the game to always run with administrative access. Follow these steps:
- Find the Game: First, locate the game in your Steam library.
- Right-Click: Next, right-click on the game’s name in the library. This will show you a menu of options.
- Select Manage: Move your cursor to “Manage” option, this should show you another small menu.
- Browse Local Files: Now click on “Browse Local Files”. This action will open a file explorer window that shows the game’s actual files on your computer.
- Find the Game’s EXE file: Inside this window, you’ll look for the main file that starts the game. This is often called an EXE file and it usually has an icon that matches your game’s logo or design. For instance, the EXE for “Super Fast Car Racing” might be named “SuperFastCarRacing.exe”.
- Right-Click Again: Right-click on the game’s EXE file.
- Run as Administrator: From the right-click menu select “Run as administrator.” This will start the game with the extra permissions that it may need.
- Approve Permissions: Windows 11 will likely ask you to confirm that you want to run the program as an administrator. Click “Yes” to allow it.
The game will now launch with administrator privileges. This method is great for a quick fix when you think a game isn’t working as it should and you want to see if administrator permissions helps.
Method 2: Always Running a Game as Administrator
If you notice a game always has issues, you might want to set it up to always run as administrator. This means you won’t need to right-click every time you want to play it. Here’s how you do this:
- Follow Steps 1-5 from Method 1: Begin by going through the first five steps from Method 1. Open the game files folder and locate the game’s .exe file.
- Right-Click the EXE file: Now, right-click the .exe file of the game.
- Open Properties: From the right click menu, select “Properties”. This will open a window with many options for the game’s file.
- Go to Compatibility Tab: At the top of the new window you will see several tabs. Click on the “Compatibility” tab. This tab has to do with how well a program works on your computer.
- Check the “Run this program as an administrator” box: In the compatibility settings, look for a checkbox that says “Run this program as an administrator”. Click on this box to enable it.
- Click Apply: Click the “Apply” button at the bottom of the window to save the changes you made.
- Click OK: Finally, click “OK” to close the properties window.
Now, every time you start this game using Steam, it will automatically run as administrator. You won’t have to perform those steps again unless you want to turn this feature off.
Turning off ‘Always Run as Administrator’
If, at any point, you want to stop a game from always running as administrator, you simply need to repeat steps 1-4, then uncheck the box next to “Run this program as an administrator” before clicking Apply and OK.
Method 3: Running Steam Itself as Administrator
Sometimes, the problem isn’t just with the game. Sometimes, Steam itself might need administrator privileges for some games to work. This is more common when games require to directly use your computer hardware or software. Running the Steam program with administrator access grants all the games it launches also access to system level resources, this can help fix many compatibility issues. Here is how to do this:
- Close Steam: First, you will need to completely close the Steam application. Make sure it is not still running in the system tray (the small icons in the lower right-hand corner of your screen).
- Locate the Steam Shortcut: Find the shortcut you use to open Steam. This is usually found on your desktop or in your start menu.
- Right-Click the Shortcut: Right-click on the Steam shortcut.
- Select “Run as Administrator”: Select the option that says “Run as administrator” from the right-click menu.
- Approve Permissions: Windows 11 will ask for your approval. Click “Yes” to allow it.
Steam will now launch with administrator privileges, and all games you launch from within Steam will, in turn, have access to administrator level resources. This method is helpful for games that have a lot of interaction with system level functions. Steam may also have issues related to its own access permission, which this method may resolve.
Setting Steam to Always Run as Administrator
Just like we did with the game files, you can also set Steam to always run as administrator. This will save you the trouble of having to right-click it each time. Here is how:
- Find the Steam Shortcut: Locate your Steam shortcut either on your desktop or in your start menu.
- Right-Click the Shortcut: Right-click on the Steam shortcut icon.
- Open Properties: Select “Properties” from the right click menu.
- Open the Compatibility Tab: Click the “Compatibility” tab in the properties window.
- Check “Run this program as an administrator” Box: Check the box next to “Run this program as an administrator”.
- Click Apply: Click “Apply” at the bottom of the window.
- Click OK: Click “OK” to close the properties window.
Now, Steam will always open with administrator privileges. This method is great for people who consistently have problems with their games not running correctly. You can always go back and uncheck the box if you no longer wish for Steam to always have these permissions.
Understanding User Account Control (UAC)
Windows 11 has a feature called User Account Control (UAC). UAC is like a security guard that watches over what programs try to do on your computer. It is designed to protect your computer from bad software by asking you for permission every time a program tries to make important changes. When you run a program as administrator, you are giving that program a higher level of access and authority. This might be necessary for games to run correctly, but it is important to know that this also means that you are giving them a higher level of control. For programs that you trust, this will be no problem, but be careful of software that is not known or safe to use. Be wary of giving permissions to software that you are not sure of.
Adjusting UAC Settings
You can change the way UAC works. Some people prefer UAC to be less strict, but this also makes your computer less safe. It is usually best to leave UAC as it is. But if you are having problems with UAC and administrator rights, here is how you change the settings:
- Open Start Menu: Click on the start menu button, usually at the bottom left corner of your screen.
- Type “UAC”: Type the letters “UAC”. This will start a search for anything with these letters in their name.
- Select “Change User Account Control Settings”: Click on the search result for “Change User Account Control Settings”. This will open the UAC settings window.
- Adjust the Slider: You will see a slider on the left of the UAC settings window. This slider determines how much protection UAC provides. If you move the slider down, UAC will be less strict and won’t ask for confirmation as often. If you move it up, UAC will be more strict and ask you for confirmation very often. Generally the default setting is best for most people, but you can move the slider if you have a specific reason to do so.
- Click OK: Click “OK” to save changes.
Remember, while lowering UAC restrictions may help with administrator access and games, it can also make your computer less safe. It is important to be sure about the software that you are giving permission to access your computer’s resources. Always use caution when adjusting these settings.
Troubleshooting Common Issues
Even after running games as administrator, you might still run into problems. Here are some things you can try:
- Restart Your Computer: Sometimes, simply restarting your computer can resolve problems with administrator access.
- Update Your Drivers: Outdated drivers for your graphics card and other hardware can cause problems. Make sure that you have all the latest drivers installed. You can usually find the most recent drivers for your hardware on the manufacturers websites.
- Check Game Files: Steam has an option to verify the integrity of game files. This option will scan the game files and make sure that no important data is missing or corrupted. If files are missing, Steam will automatically download them again. To do this, right click on the game name in the Steam library, select “Properties”, then “Local Files”, then click the “Verify integrity of game files” button.
- Reinstall the Game: If nothing else works, try reinstalling the game. This will replace all the game files with fresh ones.
- Contact Support: If all else fails, contact Steam or the game’s support teams. They may be able to help with specific problems that you are having.
By using the different methods that have been described and by trying some of these troubleshooting tips, you should be able to resolve most issues related to administrator permissions for your games.
Running Steam games as administrator in Windows 11 is a simple process, but it can greatly improve your gaming experience. Whether you need to do it once or all the time, following these methods will help you keep playing games with the fewest problems possible. Understanding why you need to run some games this way, and how Windows 11’s protections work, is an important step in PC gaming. By understanding UAC and how to give administrator permissions, you can keep your computer running smoothly and securely while also enjoying your games without problems.
How To Run Steam Games As Administrator
Final Thoughts
To run a Steam game as administrator on Windows 11, simply locate the game’s executable file. Then, right-click it and select “Run as administrator.” This action grants the game necessary permissions.
Alternatively, you can set a game to always run as admin. Right-click the game’s shortcut, go to properties, and within the Compatibility tab, check the “Run this program as an administrator” box. Now you know how to run steam game as administrator windows 11.
This ensures the game has all needed privileges every time you launch it. These methods help resolve permission-related issues.

