Sharing games on Oculus Quest 2 requires using the app sharing feature on the device itself or through the Meta account settings, this will let others use games you own on their devices.
Want to let family or friends enjoy your VR game library? You can easily enable others to experience the adventures you’ve purchased, this functionality means less buying duplicates of favorite titles. Figuring out how to share games on Oculus Quest 2 is quite simple once you understand the process.
We’ll guide you through the steps. There are different ways you can allow access, including device-based sharing and account settings. By choosing the right method, you control who gets to play which games.

How to Share Games on Oculus Quest 2
Want to let your friends and family try out all the cool games you have on your Oculus Quest 2? That’s a fantastic idea! Sharing games can make VR even more fun. Luckily, there are a few ways to do this. We’ll go through them step-by-step, so you can get everyone playing in no time.
Understanding App Sharing on Oculus Quest 2
Before we dive into the how-to, let’s talk about what game sharing actually means on the Oculus Quest 2. You can’t just give your friend a copy of a game like you might with a physical disc. Instead, it works through something called “App Sharing.” App Sharing allows multiple accounts to access the same games on a single device. Think of it like having different profiles on a smart TV, but for VR games! This feature is designed for families and close friends who share a single Oculus Quest 2 headset. It’s important to remember that this feature does have some limitations, which we’ll get into below.
Primary Account and Secondary Accounts
When you set up your Oculus Quest 2, you create a primary account. This is the account that owns the headset and any games you buy. You then can add secondary accounts, these are the ones which can play the games that are already owned on the headset. With App Sharing, the primary account shares their purchased game library with the secondary accounts on that device.
It is important to note that while secondary accounts can play the shared games, they cannot make their own purchases from their secondary profile. Purchasing games remains exclusive to the primary account owner.
Limitations of App Sharing
Here’s a quick look at some things you should know about App Sharing:
- One Headset Only: App Sharing only works on one Oculus Quest 2 headset at a time. You can’t share your games across multiple headsets using the same primary account.
- Account Limit: There’s a limit on how many accounts can use App Sharing on a single device. Meta regularly updates the number allowed, so check the current limit on their website.
- Not All Games Qualify: While the majority of games support App Sharing, some developers choose not to allow it. This is usually for reasons like competitive multiplayer balancing or other licensing issues.
- Only the Primary Account Can Buy Games: Secondary accounts can play the shared games, but they cannot purchase any new games themselves. If a secondary user wants a game that the primary account does not have, the primary account owner will have to buy it using their account.
- Profile Progress: Individual game progress and achievements are saved separately for each account. This means that each player has their own save states and achievements, so if multiple people are playing the same game, they will have their own unique experience.
- Simultaneous Play: If two users want to play the same shared game together using the same device at the same time, it is important to note that some games do not support this. While the sharing features allow more users to access the games on the headset, some games don’t support the ability to simultaneously play the same title on the same device through different accounts.
Setting up App Sharing on Your Oculus Quest 2
Now for the fun part – getting App Sharing set up! Here’s how you do it:
Adding a Secondary Account
Before you can share games, you’ll need to add the person’s account to your headset. Here are the steps:
- Turn on Your Headset: Make sure your Oculus Quest 2 is powered on.
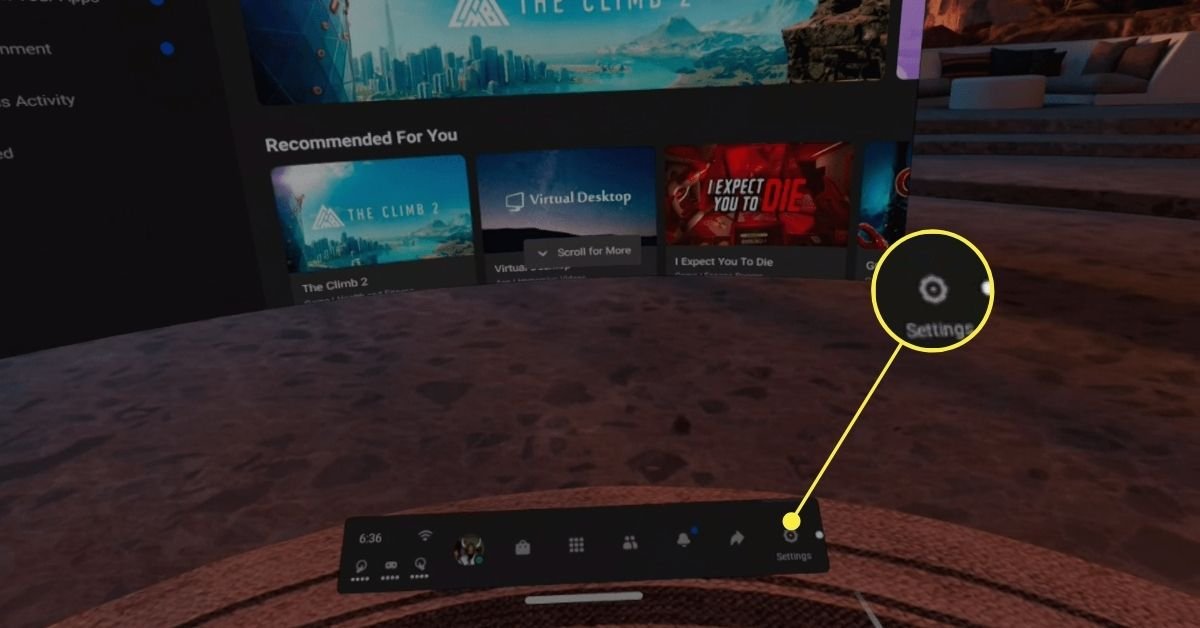
- Navigate to Settings: Look for the “Settings” icon in your home menu, it looks like a gear. Click on the icon to open the settings menu.
- Go to Accounts: Find and select “Accounts” in the settings.
- Add an Account: Click on the “Add Account” button.
- Follow the On-Screen Instructions: The headset will guide you through the process of adding a new account. The secondary user will need to use their Meta account credentials to sign in.
- Create a PIN: Each account will need a PIN, this keeps your account secure and private. Make a note of the pin that is used to log into the account.
After adding the secondary account, there may be some settings that the secondary user will be prompted to answer, for example; whether or not they would like the Oculus tutorial, or if they will choose to share their experience data. After completing the initial setup, they will be able to navigate the games library.
Enabling App Sharing
Once you have added all the necessary accounts, it is time to turn on app sharing and let the secondary users access the game library. The following steps should be taken:
- Navigate to Settings: Look for the “Settings” icon in your home menu, it looks like a gear. Click on the icon to open the settings menu.
- Go to Accounts: Find and select “Accounts” in the settings.
- Select “App Sharing”: Look for and select the “App Sharing” option under accounts.
- Turn on the App Sharing Toggle: Click the toggle to turn app sharing on. This enables the primary account to share their owned games with the secondary accounts.
Once you complete the above steps, you will be able to see an indicator that will say App Sharing is enabled. After this step, the secondary accounts will be able to access the shared game library. Note that the secondary account will need to log into the account from the user profile selection on the login screen.
Troubleshooting Common App Sharing Issues
Sometimes things don’t go exactly as planned. Here are some of the most common issues people experience with App Sharing and how to solve them:
Games Not Appearing in Secondary Accounts
If your shared games aren’t showing up for secondary users, check the following:
- Double-Check App Sharing is Enabled: Go back to Settings > Accounts > App Sharing and make sure the switch is toggled on. Sometimes after restarting the headset or updating software, it may turn off automatically.
- Verify Game Compatibility: Some games don’t support App Sharing. Double check on the Oculus store page for the game to see if it’s eligible for sharing.
- Restart the Headset: A simple reboot can fix many minor issues. Turn your Oculus Quest 2 off and then back on.
- Log Out and Back In: Have the secondary user log out of their account and log back in. This can refresh the game library.
App Sharing Toggle Greyed Out
If you find that the app sharing toggle is greyed out and you are unable to enable app sharing, it is likely because the primary account does not have a linked meta account. Make sure that your primary account has a linked meta account, in order for app sharing to be enabled.
Account Issues
Sometimes, there can be some issues with the account set up, which can affect the app sharing features. Here are some of the things to check in the case of account issues.
- Multiple Devices Logged In: Make sure the same primary account is not logged in on other devices. Sharing only works on one headset per account. If your primary account is logged in on more than one device, app sharing will not function correctly.
- Account Verification: Make sure the secondary accounts are properly verified and that the emails have been confirmed. If they are not properly verified, it may cause issues with the app sharing features.
Exploring Other Options for Sharing Games
While App Sharing is the main way to share games on the same Oculus Quest 2 device, there are some alternative methods to explore if you want to share games with people who have their own headsets.
Gifting Games on the Oculus Store
If you want to share a game with a friend or family member who has their own Oculus Quest 2, you can use the gift feature. The gifting option is located on the game’s store page, and you can send a digital copy of the game directly to another Oculus account.
The steps to gift a game on the Oculus Store are as follows:
- Navigate to the Oculus Store: Using your web browser, navigate to the Oculus store, and make sure you are logged in to the primary account.
- Find the game you would like to gift: Use the search bar to find the specific game you want to gift, or navigate the game selection to find the title you want.
- Click “Buy for a friend”: Click the “Buy for a friend” button on the game’s page.
- Enter Recipient’s Username or Email: Enter the Meta username or email address associated with the recipient’s Oculus account.
- Personalize Gift (Optional): You can usually include a personal message with the gift.
- Complete the Purchase: Finish the purchase process. The recipient will receive a notification that they have been gifted a game.
After gifting the game, the recipient will be able to access it in their games library. Note that the purchased game can only be accessed on the recipient’s account, and can not be shared between multiple accounts on the same device, like the regular app sharing feature.
Game Demos
Many games on the Oculus store also offer a free demo to their users. This is a great way to let other people get a feel for the game without having to purchase the full version. By using demos, you can also figure out if it is a game you would like to purchase and share with others through the app sharing feature.
By understanding these different approaches to game sharing, you can ensure that everyone can enjoy the fantastic VR experiences that the Oculus Quest 2 has to offer! Remember to regularly check Meta’s official guidelines, as policies may update from time to time.
With these methods at your fingertips, sharing the world of VR games with friends and family is easier than ever. Get ready to laugh, explore, and compete together in incredible digital landscapes!
How To Share Games & Apps On Oculus Quest 2
Final Thoughts
To share games on Oculus Quest 2, enable app sharing within the headset’s settings using a primary account. Then, other accounts on the same device can access and play those supported titles. Not all games are eligible for sharing, so check each one’s details.
Remember, only one person can use a shared game at a time. It’s important to note this limitation when considering ‘how to share games on oculus quest 2’. Ensure the other accounts are properly set up for access. This approach permits multiple users on the same headset to experience different games.

