To turn off noise suppression in the Xbox Game Bar on your PC, navigate to the settings menu within the Game Bar, find the audio settings, and disable the noise suppression feature.
Is your voice sounding muffled or unnatural during game sessions? The Xbox Game Bar’s noise suppression, while helpful in noisy environments, can sometimes negatively affect voice clarity. Learning how to turn of noise suppression xbox game bar pc allows you to control your audio input.
This quick guide will show you exactly where to find the setting and disable it. Adjusting this option will give you more control over your audio quality during your recording sessions.

How to Turn Off Noise Suppression Xbox Game Bar PC
Have you ever been in the middle of an intense game, trying to strategize with your teammates, only to have your voice sound muffled or cut out because of noise suppression? It’s frustrating, right? The Xbox Game Bar on your PC has a handy noise suppression feature that’s meant to cut out background sounds, but sometimes it can be a little too eager. If you’re dealing with unwanted audio problems because of this feature, you’re not alone! Many players look for ways to control this audio setting. In this article, we’re going to take a deep dive into how you can turn off noise suppression in the Xbox Game Bar on your PC and get your voice sounding crystal clear again. Let’s get started!
Understanding Noise Suppression in Xbox Game Bar
Before we jump into how to turn it off, let’s talk about what noise suppression does and why you might want to disable it. The Xbox Game Bar is a useful overlay that lets you record gameplay, chat with friends, and more. It’s designed to make your gaming experience smoother, and one of its features is noise suppression. This feature uses clever technology to try and reduce sounds like keyboard clicks, fan noise, or background conversations. When it works well, it’s fantastic. However, sometimes it can mistakenly identify parts of your voice as noise, leading to audio issues. This is why many people choose to disable it.
Why You Might Want to Disable Noise Suppression
There are several reasons why you might find that you want to switch off noise suppression. Here are a few common scenarios:
- Muffled Audio: Sometimes, the noise suppression feature can make your voice sound muffled or unclear, almost like you’re talking through a pillow. This can make it difficult for your teammates to understand what you’re saying, especially during fast-paced games.
- Choppy Voice: In some cases, it might cut out parts of your speech, making your voice sound choppy or robotic. This is particularly annoying when trying to communicate important information.
- Unnatural Sound: The noise suppression feature, while helpful in some situations, might make your voice sound unnatural or processed. If you want your voice to sound clear and authentic, disabling noise suppression is often the best option.
- False Positives: Sometimes the feature might mistake sounds that are part of your game environment as noise and cut it out. If you are trying to share some in game audio with your friends it could be impacted.
- High Quality Microphone: When you are using a high quality microphone you might want to rely on its noise cancelling features and want to disable Xbox Game Bar feature.
Steps to Turn Off Noise Suppression
Now that we understand the issue, let’s get to the good part: turning off noise suppression! It’s a straightforward process, and we’ll walk you through each step. There are two main ways you can manage noise suppression in the Xbox Game Bar:
Method 1: Using Xbox Game Bar Settings
This is the most common and direct way to access and change the noise suppression setting. Follow these steps:
- Open the Xbox Game Bar: The easiest way to open the Xbox Game Bar is by pressing the
Windows key + Gkeys together on your keyboard. This action will bring up the game bar overlay on your screen. - Access Settings: Once the Game Bar is open, look for the Settings icon. It looks like a gear or cog. Click on this icon to access the settings menu.
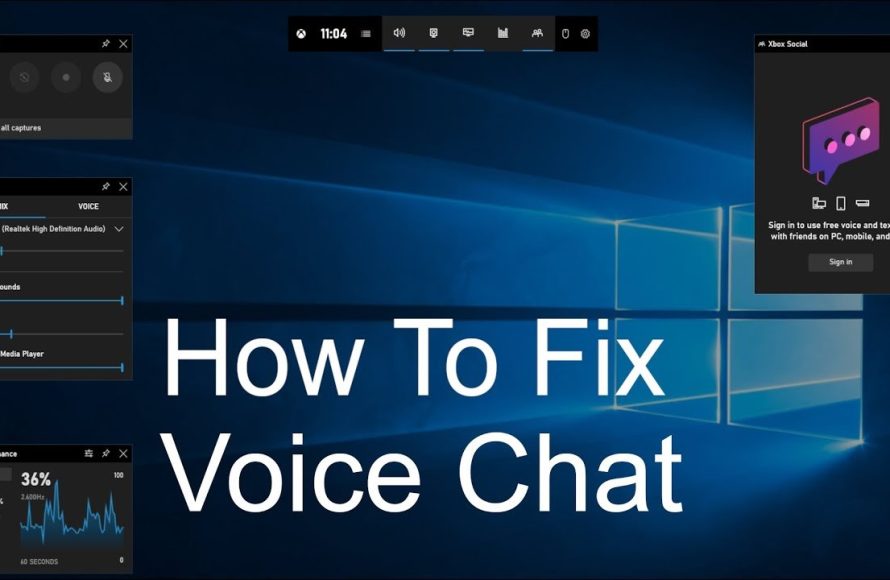
- Go to Voice Settings: In the settings menu, you’ll see different options on the left-hand side, such as “Capturing,” “Notifications,” and “Voice.” Click on “Voice” to go to the voice settings page.
- Locate the Noise Suppression Toggle: On the voice settings page, look for the option labeled “Noise suppression.” It’s usually a toggle switch, which looks like a small circle that can slide left or right. It may also be a checkbox.
- Turn Off Noise Suppression: If the toggle is set to “On” or the checkbox is checked, click on the toggle or uncheck the box to turn noise suppression off. This will disable the feature.
After you turn it off, you may want to do some test recordings to make sure everything sounds how you want it to sound.
Method 2: Through Windows Sound Settings
Sometimes the Xbox Game Bar settings might not work as expected, or you might prefer to manage this through your Windows sound settings. This is another way to control noise suppression. Here’s how:
- Right-Click on the Sound Icon: Find the sound icon in your system tray (usually located in the bottom-right corner of your screen). It usually looks like a speaker. Right-click on this icon.
- Select “Open Sound settings”: A menu will appear. From that menu, choose “Open Sound settings.” This will open the sound settings window in your Windows settings.
- Go to the Input Device: In the sound settings window, scroll down until you see the “Input” section. Here, you’ll see your microphone listed. Make sure that the correct microphone, the one you are using for gaming, is selected.
- Access Device Properties: Underneath the input section, look for the option “Device properties.” Select “Device properties” to manage the specific settings of your selected microphone.
- Find the Noise Suppression Option: On the next page scroll down until you see the “Enhance Audio” section. Here you will find the “Noise suppression” setting.
- Turn Off Noise Suppression: If the toggle is set to “On” switch the toggle to the off position.
After you’ve turned off noise suppression using this method, you may want to do some test recordings to make sure everything sounds how you want it to sound.
Troubleshooting Common Issues
Even after turning off noise suppression, some people still experience issues. Here are a few common problems and how to fix them:
Audio Still Sounds Muffled
If your audio is still not clear after turning off noise suppression, here are some things to check:
- Check your Microphone: Make sure your microphone is positioned correctly and is not covered. Some microphones have directional patterns, so make sure you are speaking in the right direction.
- Check your Audio Levels: Verify that your microphone’s input volume isn’t set too low in Windows settings. To do this, open up the sound settings again, and find the device properties of your microphone. In this menu you will see the level of the microphone.
- Check Other Software: There might be other applications, such as Discord or TeamSpeak, that have their own noise suppression settings. Make sure that noise suppression is disabled in all programs you’re using for voice communication.
- Update Audio Drivers: Outdated audio drivers can sometimes cause problems. Check your device manager and make sure you have the latest drivers.
Voice is Still Choppy
If your voice is still cutting in and out even when noise suppression is off, try these solutions:
- Check Your Internet Connection: A poor internet connection can sometimes cause voice issues, especially in online games. Make sure your internet connection is stable and has enough bandwidth.
- Check Your Microphone Connection: If you are using an external microphone make sure that the connection is stable. USB microphones might have problems with their connection.
- Restart your PC: A simple restart can sometimes clear up software glitches and improve audio quality.
- Test with a different application: Try to use the microphone with a different application, such as the Voice Recorder to make sure it isn’t a hardware issue.
Background Noise is Too Loud
If you’re finding that background noise is too loud after turning off noise suppression, consider these tips:
- Use a Good Microphone: A good quality microphone often has its own noise reduction features. If possible, invest in a microphone that is designed to minimize background noise.
- Improve Your Environment: Try to reduce background noise at its source. Close windows, reduce fan speeds, and ask others in the room to keep the noise level down.
- Use a Pop Filter: If you use a microphone that is sensitive to plosives (sounds made by P’s and B’s), then it can be useful to use a pop filter. This will prevent the plosive sounds from being too loud.
Additional Tips for Better Audio
Here are some extra tips to make sure your voice sounds great when gaming:
- Adjust Microphone Position: Play around with the position of your microphone. Experiment with different angles and distances to find the optimal placement for the best audio quality.
- Test Audio Settings: It’s a good idea to regularly test your microphone and audio settings, especially before a big game or stream. Use a tool like the Windows sound recorder to check how everything sounds.
- Use Headsets: Headsets typically have microphones that work well in gaming setups and block out background noises.
- Use the push to talk feature: In online game voice communication settings, there is usually an option to use a push to talk. This can be useful to prevent your microphone from sending ambient noises while you are not speaking.
By carefully following these steps, you can get the most out of your audio experience while gaming, ensuring that your voice is clear, natural, and free from unwanted noise suppression effects. Take the time to tweak the settings to best fit your setup, and you’ll be good to go.
In summary, taking control of the Xbox Game Bar’s noise suppression feature is a small change that can significantly improve your gaming communication. Whether you choose to turn off the feature through the Xbox Game Bar settings or your Windows sound settings, it’s crucial to find the setup that works best for you and your microphone. Don’t hesitate to tweak the settings to your preference and test them out to find the optimal voice quality. Remember, clear communication is key to success in many online games. By following the tips outlined in this article, you’ll be well on your way to having a better and more enjoyable gaming experience.
Xbox Game Bar DVR Mic Sound Quality fix | Windows 10
Final Thoughts
To turn off noise suppression, access the Xbox Game Bar settings. Navigate to the audio section, and locate the noise suppression option. Simply toggle the switch to disable this feature. Now you understand how to turn of noise suppression xbox game bar pc.
Doing this will allow your raw audio input, without any filtering or processing. This gives you more control over your microphone. This concludes the easy process to manage audio settings and how to turn of noise suppression xbox game bar pc .

