
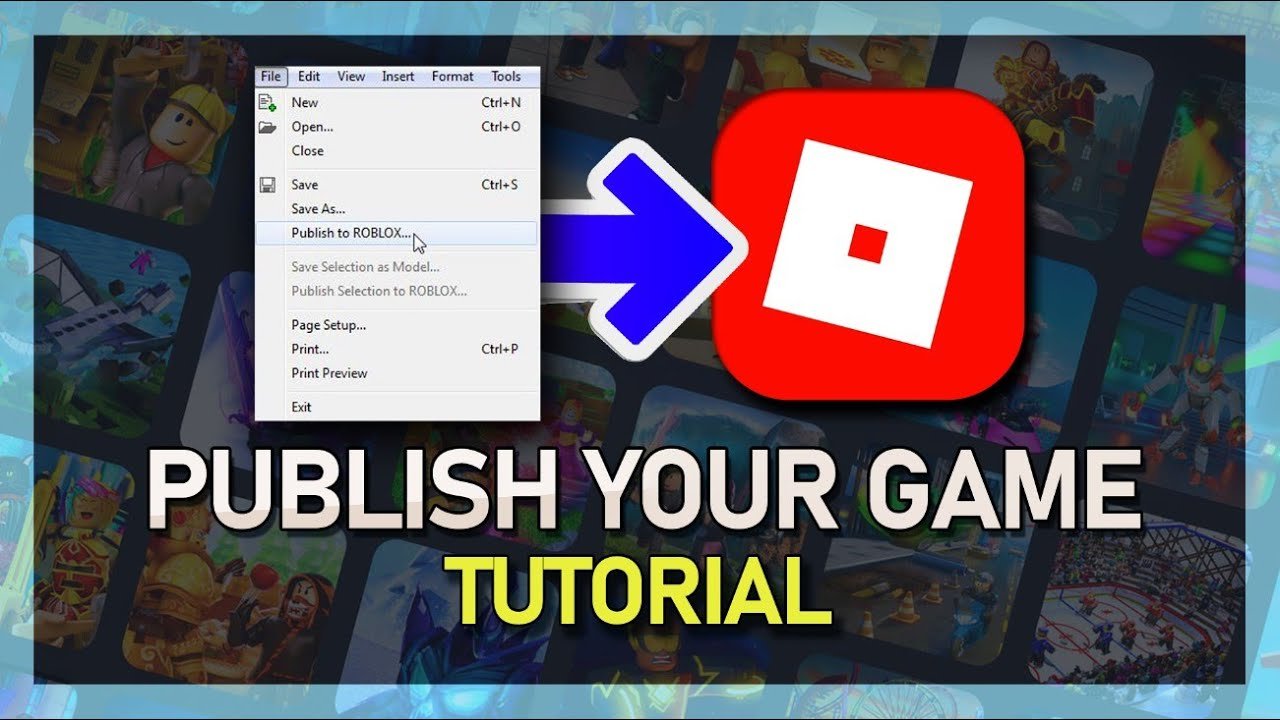
To upload a game to Roblox, you must first create your game using Roblox Studio, then navigate to the “File” menu, select “Publish to Roblox,” and choose or create a new place for your game.
Have you poured countless hours into building your dream Roblox experience? You’ve crafted intricate levels and engaging gameplay, now the big question is, how to upload a game to roblox so others can enjoy it too? It’s exciting to share your creations with the community.
Getting your game live involves a few straightforward steps within the Roblox platform. This guide will quickly show you the process so you can get started. Don’t worry, it’s easier than you might think and we will have you sharing your game in no time.

How to Upload a Game to Roblox
So, you’ve built an awesome game in Roblox Studio, and now you’re ready to share it with the world! That’s fantastic! Getting your game onto the Roblox platform so other players can enjoy it is easier than you might think. This guide will walk you through the whole process, step-by-step, making it simple even if you’re new to game development.
Preparing Your Game for Upload
Before you even think about clicking that upload button, there are a few things you need to check and do. Think of it like getting ready for a big race – you need to make sure your car is in tip-top shape!
Testing, Testing, 1, 2, 3
First and foremost, test your game! You wouldn’t want to release something buggy, right? Play through your game multiple times, trying out different scenarios. Get your friends or family to play too – they might spot things you’ve missed. Look for things like:
- Broken scripts: Do all your buttons and game mechanics work correctly?
- Glitches: Are there parts of the game where players can get stuck or break the game?
- Inconsistent gameplay: Does the game play smoothly, without lag or unexpected problems?
- Confusing elements: Is it easy for a new player to understand the rules and goals of the game?
Fix any bugs or issues you find before moving on. This will make the playing experience much better for everyone.
Giving Your Game a Great Name and Description
The name and description of your game are very important. They’re the first things people will see, so they need to be catchy and informative. Choose a name that’s memorable and relates to your game. The description should explain what the game is about, what players can do, and why they should try it out.
Here are some tips for writing a good name and description:
- Keep it short and sweet: Long, complicated titles can be hard to remember.
- Use keywords: Use words that people might search for when looking for games like yours. For example, if you made a racing game, include words like “racing,” “cars,” and “speed.”
- Be honest: Don’t make false promises or exaggerate what your game offers.
- Engage the reader: Write a description that makes people want to play your game. You can ask questions or make exciting statements to draw attention.
For instance, instead of just saying, “My Game,” you could say, “Epic Race Through Space!” Or, instead of describing the game as, “you can play,” try something like, “Race your friends through space, use power ups and beat the clock!”
Creating a Compelling Thumbnail
Just like a book cover, your game’s thumbnail is what catches a player’s eye. A good thumbnail can be the difference between someone clicking on your game and scrolling past. Make sure your thumbnail is clear, interesting, and represents your game well.
You have several options for creating a game thumbnail:
- Using screenshots: Take an action shot of your game that shows what it’s all about. Try different angles and poses to find the most appealing one.
- Creating custom images: If you’re good with graphic design, you can create a custom thumbnail using software like Photoshop or GIMP. You can add text, characters, or other elements to make your thumbnail more unique.
Whatever you choose, make sure it’s high-quality, and makes people want to click!
Setting Your Game’s Genre
Setting the right genre for your game makes it easier for players to find. Roblox has many genres to choose from, including:
- Adventure
- Building
- Comedy
- Fighting
- Horror
- Military
- Puzzle
- Racing
- Roleplaying
- Simulation
- Sports
- Survival
- Tycoon
Pick the genre that best describes what your game is all about. It is okay to pick more than one if needed, but pick only if it fits with the genre.
Uploading Your Game to Roblox
Now comes the fun part – actually getting your game onto Roblox! It’s a very easy process, but here are the steps you should follow:
Saving Your Game
Before you can upload, make sure you’ve saved your game to Roblox. In Roblox Studio, do the following:
- Click on “File” at the top left corner.
- Select “Save to Roblox As…”
- A window will pop up where you can choose whether to create a new game or overwrite an existing one. Select “Create New Game.”
- Give your game a name and optional description.
- Click the “Create” button.
Accessing Your Game’s Settings
After you’ve saved your game to Roblox, it will appear in your creations. Here’s how to find and access its settings:
- Go to the Roblox website and log into your account.
- Click on “Create” at the top of the page.
- In the menu, click on “Experiences” to find your games.
- Find your game on the list of games and click on its icon.
- Once on your game page, you will see three dots. Click the three dots, and a menu will open. Select “Edit.” This should open your game in Roblox studio.
- In Roblox Studio, click “File,” then “Game Settings.”
Configuring Game Settings
The Game Settings window is where you can configure various options for your game. Here are some key settings to focus on:
Basic Information
The Basic Info tab is where you can adjust your game’s name, description, and genre. Double-check everything here to make sure it’s accurate.
Permissions
In the Permissions tab, you can set who can access your game. You can choose between:
- Private: Only you and people you invite can play your game.
- Public: Anyone can play your game.
When you’re ready to share your game with the world, make sure you choose ‘Public’ here.
Thumbnails & Icons
This tab is where you can add your game’s thumbnail and icon. Click “Upload Image” to select your files. Remember, a great thumbnail is very important!
Monetization
Monetization settings allow you to set up if and how you earn Robux from your game. You can enable in-game purchases, game passes, and developer products here. This is optional and you can choose to just allow people to play your game freely.
Other Settings
You can also configure settings like:
- Allowed Devices: Decide if your game can be played on computers, phones, tablets, and/or consoles.
- Game Play Settings: Enable features such as player chat, team creation, and voice chat.
- Social Links: Add links to your Twitter, Youtube, etc. for players to check out.
Saving Changes
Once you have finished adjusting the settings, make sure to save your work by clicking on the “Save” button.
Making Your Game Accessible to Everyone
After you have uploaded your game, there are some more things to take into consideration. Here are a few:
Announcing Your Game
Just because your game is on Roblox, doesn’t mean everyone will see it. Get the word out. Share your game on social media, tell your friends, and try to create some hype! You could even consider:
- Creating trailers: Make a short video showcasing your game.
- Asking YouTubers to play: Reach out to Roblox content creators to ask them to check out your game.
- Using in-game messaging: You could add a button that sends a text to someone they can share.
Keep Updating
Games are never perfect! Keep listening to player feedback and making changes. Update with bug fixes, new content, and improvements. Players like when they see that the developers care about the game.
Engaging with Your Players
Talk to the people playing your game. Respond to their comments, ask for suggestions, and build a community around your game. Interacting with your players makes them feel valued, and in turn, they are more likely to tell other people about your game.
Using Analytics
Roblox has an analytics feature that can show you how many people are playing your game, how much time they spend in your game, and more. Use this data to understand what aspects of your game people like the most, and what they are not enjoying. You can use these to determine what changes you should be making.
Troubleshooting Common Issues
Sometimes things don’t go as planned. Here are some issues you might run into and how to fix them.
Game Not Appearing Publicly
If your game isn’t showing up for everyone, double-check the permissions settings in the game settings. Make sure it’s set to “Public.” You can also try saving the game again, and then closing and reopening the game page.
Thumbnail Not Displaying
If your game’s thumbnail isn’t showing up, make sure it meets Roblox’s requirements. It should be a JPG or PNG file and within the recommended size (512×512 pixels). You should also check to make sure you have the appropriate permissions.
Game Freezes or Glitches
If your game has errors after you’ve published it, return to Roblox Studio. Use the steps above to open the game for editing. Now go through your scripts and make sure that you do not have any errors. Additionally, test to see if you have any memory errors that could be causing issues. Make sure to save again once you have made your changes.
Players Reporting Issues
If players are complaining about issues, listen to what they are saying. Try to find out exactly what they are encountering so that you can find the error. You may need to update again, or even change certain parts of your design to provide a better playing experience.
Uploading your game to Roblox is the start of an exciting adventure. With careful planning, testing, and listening to your players, your game can reach a wide audience, and you can start your game developing journey! Remember to be patient, and don’t be afraid to ask for help if you need it. Have fun creating, and remember to share your games for all to enjoy!
How To Publish A Roblox Game – Full Guide
Final Thoughts
To upload your game, first, you will use Roblox Studio. You will navigate to the ‘File’ menu and select ‘Publish to Roblox.’
Choose whether to update an existing game or create a new one. Next, configure game details, like its name and description. Then, click ‘Create’ and your game is published.
This is how to upload a game to roblox successfully. Ensure you test your games to check their playability before making them public.

