
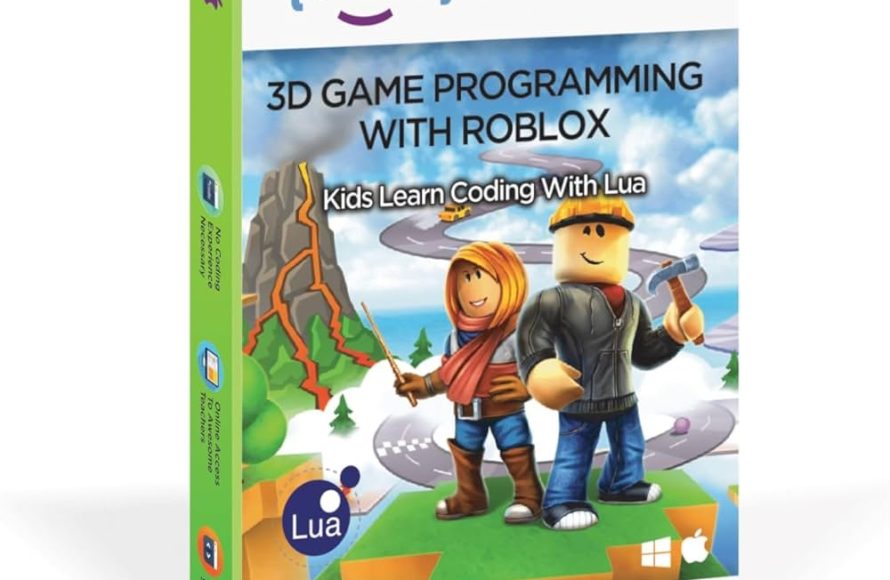
‘Roblox coding challenges for students’ provide structured exercises designed to teach programming concepts using Lua within the Roblox platform.
Are you eager to level up your game creation skills? Roblox offers a fun way to learn programming. It’s not just about playing, you can also build amazing experiences.
Exploring ‘roblox coding challenges for students’ is a great way to start. These challenges guide you through the basics of game logic. You will learn by doing, improving your coding skills step by step, and have lots of fun in the process.

Roblox Coding Challenges for Students
Let’s dive into the exciting world of Roblox coding! It’s not just about playing games; it’s also a fantastic way for students to learn valuable programming skills. We’re going to explore different coding challenges that are perfect for students, helping them grasp concepts while having fun.
Why Roblox is Great for Learning to Code
Roblox is more than a game; it’s a platform where creativity and coding meet. Here’s why it’s a super place to start learning to code:
- It’s Visual: Students see immediate results from their code. When they make a character move or build a structure, they see it happen right away. This is very encouraging!
- It Uses Lua: Roblox uses a coding language called Lua, which is easy to learn compared to other programming languages. It’s a great entry point to the world of coding.
- It’s Engaging: Because students are already familiar with Roblox and enjoy playing games on the platform, they are more likely to be interested in learning the coding behind it.
- It’s Collaborative: Students can easily work with friends on building games and learning to code together, which encourages teamwork and sharing ideas.
- It Offers a Wide Range of Possibilities: With Roblox, you can make almost anything – from simple obstacle courses to complex role-playing games. The opportunities are endless!
Getting Started with Roblox Studio
Before jumping into challenges, it’s important to get familiar with Roblox Studio, the place where you create and code games. Here’s a quick look at what you’ll need to know:
Navigating the Roblox Studio Interface
Roblox Studio has several key sections:
- The Explorer: This is where you see all the different parts of your game, like objects, scripts, and sounds.
- The Properties Window: Here, you can change the look and behavior of your game elements, like color, size, and what they do when touched.
- The Toolbox: You can find pre-made items and free models to use in your game.
- The Workspace: This is your 3D playground where you build and design your game.
- The Script Editor: This is where you will write your Lua code.
Understanding Basic Lua Concepts
Before you begin coding, understand these basic ideas:
- Variables: These are like containers for storing information, like a player’s name or score.
- Functions: These are sets of instructions that do something specific, like making a player jump or change color.
- Events: These happen when something takes place, such as a player touching an object, starting the game, etc. Your code will respond to these events.
- Comments: These are notes you leave in your code to explain what’s going on. They are not executed by the computer but help you and others understand the code.
Coding Challenges: Building Blocks of Learning
Now, let’s explore some fun and educational coding challenges that students can tackle in Roblox.
Challenge 1: The Color-Changing Block
Goal: Make a block change color when a player touches it.
What you’ll learn:
- How to create a basic block in the workspace.
- How to write a script that detects when an object is touched.
- How to change an object’s property (specifically, its color).
- Understanding of basic events and how to respond to them in code.
Steps:
- Insert a part (block) into your game.
- Add a script to the block.
- Write the code to detect when the block is touched.
- Write the code to change the block’s color to a random color.
Example Code:
local part = script.Parent

part.Touched:Connect(function(hit)
	if hit.Parent:FindFirstChild("Humanoid") then
		local randomColor = Color3.fromRGB(math.random(0, 255), math.random(0, 255), math.random(0, 255))
		part.Color = randomColor
	end
end)
Challenge 2: The Teleporter
Goal: Create two pads. When a player touches one pad, it teleports them to the other.
What you’ll learn:
- How to position objects using coordinates.
- How to move characters in the game using scripts.
- How to use variables to store object locations.
Steps:
- Create two parts (teleporter pads) and name them “Teleport1” and “Teleport2”.
- Position them in different places in your game.
- Add a script to “Teleport1”.
- Write the code to detect when “Teleport1” is touched, and then move the player to “Teleport2’s position.
Example Code:
local teleportPad1 = script.Parent
local teleportPad2 = workspace:WaitForChild("Teleport2")

teleportPad1.Touched:Connect(function(hit)
	local player = hit.Parent
		local humanoid = player:FindFirstChild("Humanoid")
	if humanoid then
		local character = player
		local rootPart = character:FindFirstChild("HumanoidRootPart")
		if rootPart then
		   rootPart.CFrame = teleportPad2.CFrame + Vector3.new(0,2,0) -- Added a little upward offset
		end
	end
end)
Challenge 3: The Simple Scoreboard
Goal: Create a simple scoreboard that keeps track of how many times a player touches a special part.
What you’ll learn:
- How to create a GUI (Graphical User Interface).
- How to store and update scores using variables.
- How to display text on the screen.
- Basic understanding of Player service
Steps:
- Add a ScreenGui object inside StarterGui.
- Inside the ScreenGui add a TextLabel.
- Create a part that the player will touch to gain a score
- Add a script to the part
- Create a variable to hold the score and initialize it to 0.
- When the player touches the part, update the score and the TextLabel.
Example Code:
local part = script.Parent
local score = 0

local Players = game:GetService("Players")

local function updateScoreDisplay(player)
   local playerGui = player:FindFirstChild("PlayerGui")
   if playerGui then
        local screenGui = playerGui:FindFirstChild("ScreenGui")
		if screenGui then
	        local scoreLabel = screenGui:FindFirstChild("TextLabel")
			if scoreLabel then
			   scoreLabel.Text = "Score: " .. score
			end
		end
   end
end


local function onTouched(hit)
    if hit.Parent:FindFirstChild("Humanoid") then
		score = score + 1
		local player = Players:GetPlayerFromCharacter(hit.Parent)
		if player then
            updateScoreDisplay(player)
        end
    end
end

part.Touched:Connect(onTouched)


Players.PlayerAdded:Connect(function(player)
    updateScoreDisplay(player)
end)
Challenge 4: The Moving Platform
Goal: Make a platform that moves back and forth.
What you’ll learn:
- How to create animations using code.
- How to make objects move smoothly over time.
- Use of Vector3 to set directions and positions
Steps:
- Add a part (platform) to your game.
- Add a script to the platform.
- Set the starting and ending positions where you want the platform to move.
- Use a loop and a function to move the platform back and forth.
Example Code:
local platform = script.Parent
local startPosition = platform.Position
local endPosition = startPosition + Vector3.new(10, 0, 0) -- Move 10 studs on X-axis
local moveSpeed = 5
local movingForward = true

while true do
	local targetPosition
    if movingForward then
        targetPosition = endPosition
    else
        targetPosition = startPosition
    end

	local distance = (targetPosition - platform.Position).Magnitude
	local step = moveSpeed  workspace.DeltaTime
	if distance > 0 then
		platform.CFrame = platform.CFrame:Lerp(CFrame.new(targetPosition), step / distance )
	end

    if (platform.Position - targetPosition).Magnitude < 0.1 then
        movingForward = not movingForward
		wait(1)
    end
	wait()
end
Challenge 5: The Jump Boost Pad
Goal: Create a pad that makes a player jump higher when they step on it.
What you’ll learn:
- How to access and change player properties.
- How to make dynamic gameplay changes.
- Applying conditional statements within coding.
Steps:
- Create a part (jump pad).
- Add a script to the jump pad.
- Detect when the player touches the jump pad.
- Increase the player's jump power temporarily.
Example Code:
local jumpPad = script.Parent
local boostAmount = 50
local boostTime = 2

jumpPad.Touched:Connect(function(hit)
	local humanoid = hit.Parent:FindFirstChild("Humanoid")
	if humanoid then
		local originalJumpPower = humanoid.JumpPower
		humanoid.JumpPower = originalJumpPower + boostAmount
		wait(boostTime)
		humanoid.JumpPower = originalJumpPower
	end
end)
More Advanced Challenges
Once students get the hang of the basics, there are many exciting more advanced challenges they can dive into, helping them to grow further in their coding ability:
Creating a Simple Game
Goal: Design a basic obstacle course, a maze, or a simple racing game with a start and finish line.
Skills learned:
- Game design concepts.
- Working with multiple scripts.
- Combining various code snippets to achieve a final product
- Putting previous skills to practice and creating something complex.
Making a Mini-Game
Goal: Build a small, interactive game, such as a Simon Says game or a simple memory game.
Skills learned:
- Using loops for repetitive actions.
- More complicated conditional logic using if, then, else, etc.
- Creative application of coding knowledge
Implementing Saving and Loading
Goal: Write a script that allows players to save their game progress and load it later.
Skills learned:
- Data persistence using DataStoreService.
- Handling user data securely.
- Understanding of asynchronous operations.
Tips for Successful Coding Challenges
Here are a few tips that can help students succeed and have a better experience while learning to code on Roblox:
- Start Simple: Begin with small, manageable tasks. It's easier to feel successful when you can solve easier challenges.
- Break Down Problems: Divide larger challenges into smaller steps. Makes them less scary to tackle.
- Read the Errors: When your code doesn’t work, Roblox Studio will tell you why. It’s okay to read errors and use them to figure out what you did wrong.
- Experiment: Don’t be afraid to try new things. Coding is all about trial and error.
- Ask for Help: There are a lot of resources online, such as tutorials and communities. Don't be shy to ask for help when you get stuck.
- Practice Consistently: As with any skill, the more a student codes the better they will become.
- Have Fun: Keep the challenges fun and engaging.
- Collaborate with Others: Try to do challenges with friends, it’s a great way to get better at coding together.
These challenges provide a wonderful opportunity for students to have fun while learning valuable programming skills. With practice and creativity, they can begin building amazing things in Roblox! These exercises not only help with coding, but also improve critical thinking and problem-solving abilities.
Remember, coding is a journey, and it’s okay to make mistakes! These coding challenges help lay a solid foundation for future programming endeavors. So, start experimenting with code, be creative, and most of all have fun!
How pro Roblox developers learnt to script
Final Thoughts
Roblox coding challenges for students offer a fantastic way to learn programming. These engaging activities improve problem-solving and creativity. Students can develop games and interactive experiences using Lua, Roblox's scripting language.
By taking part in these challenges, students gain valuable coding skills. They learn to debug code and think logically. This process encourages them to be innovative and collaborative with others.
Ultimately, participating in roblox coding challenges for students is beneficial. It provides practical experience, preparing students for future technical fields. These experiences provide essential skills and also fun.

