
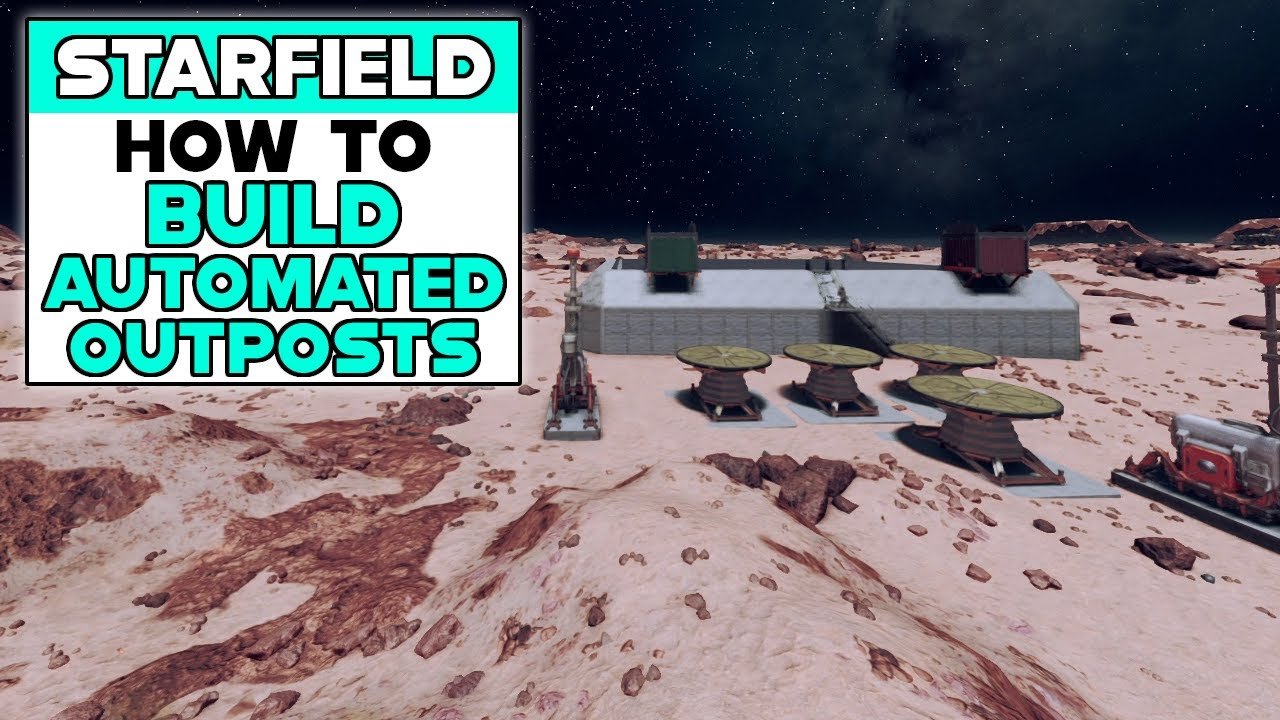
Building an automated outpost in Starfield involves connecting resource extractors to storage containers, then using cargo links to transport materials between outposts.
So, you want to automate your Starfield resource gathering? Setting up a self-sufficient network of outposts can feel daunting at first, but it’s completely achievable. This guide focuses on Starfield how to build an automated outpost efficiently.
We will show you the key components like extractors, storage, and cargo links. By understanding these mechanics, you will have a great foundation to start. Follow these steps to build your own production empire.

Starfield How to Build an Automated Outpost
Ready to become a space mogul in Starfield? Forget manually hauling resources and constantly managing your bases. Let’s talk about how to create a truly automated outpost that works for you, even when you’re off exploring distant planets. This guide will walk you through the steps, from picking the right planet to setting up your supply lines. We’ll make the process as simple as possible, so even beginner space explorers can build their own automated resource empire.
Choosing the Perfect Planet
Before we start placing down structures, you need to find the right spot. Not all planets are created equal when it comes to automation. Here’s what to look for:
Resource Variety
Ideally, you want a planet that has a good mix of resources. This cuts down on the number of outposts you need and makes your supply chains easier to manage. Look for planets with resources like:
- Iron (Fe)
- Aluminum (Al)
- Copper (Cu)
- Nickel (Ni)
- Cobalt (Co)
- And other useful materials
Having a variety of basic resources in one place is extremely beneficial because you don’t have to rely on multiple outposts for basic crafting materials.
Biome Considerations
While resources are key, don’t overlook the planet’s biome. Harsh weather and hostile creatures can make outpost management more difficult. Look for:
- Moderate temperatures
- Minimal radiation levels
- Lower risk of dangerous wildlife
- Locations with relatively flat land for easy building
The Scan Tool
Use your scanner to its full potential. When you land on a planet, take a moment to analyze your surroundings. Look for areas with multiple resource deposits close together. You want to maximize efficiency, which means minimizing travel between mining sites.
Also, check the planet’s description. It’ll give you clues about resources and any potential dangers before you even land. This helps save time and resources.
Laying the Foundation: Essential Structures
Once you’ve found the perfect planet, it’s time to get building. Here’s a breakdown of the essential structures you’ll need for a fully automated outpost:
The Outpost Beacon
This is your starting point. Place the outpost beacon down to claim the land as your own. It also shows the boundary of your outpost. Make sure to choose a good location because you can’t move it later.
Extractors
These are the workhorses of your automated outpost. Extractors automatically pull resources from deposits. Here’s what you need to know about them:
- Resource-Specific: You’ll need different extractors for different resources. Make sure you’re building the correct one for your planet.
- Placement: Position them directly over the resource deposits you discovered.
- Power: Extractors require power to function. We’ll cover power generation shortly.
Storage Containers
All those extracted resources need somewhere to go. Storage containers are vital to keeping your system flowing smoothly. There are different types of storage containers for various resources. Here’s a breakdown:
- Solid Storage: For raw materials like iron, aluminum, and copper.
- Liquid Storage: For liquids such as water, or fuels.
- Gas Storage: For gaseous resources like helium-3.
Always have ample storage. Having too little storage will stop the whole extraction process. It’s better to have too much than too little.
Power Generation
Without power, your outpost is nothing more than a collection of metal. You will need to create a power grid for the Extractors and other buildings, here’s how you generate power:
- Solar Arrays: They are great for consistent power during the day, especially on planets that have more sun exposure.
- Wind Turbines: Ideal for planets with steady wind. You’ll need to check what each planet has to offer first.
- Fuel Generators: They offer reliable power, but they require fuel, like He-3, which also means having another extractor to be set up.
Start with the easiest and most accessible option, and you can upgrade to different systems as you require it. It is very important to monitor your outpost to make sure it is running smoothly.
Habitation Modules
While you might not be living full-time in your automated outpost, habitation modules are important for crew assignments and research. They provide living space and help with management. You can customize these modules and add specializations as well.
Transfer Containers
These containers are what make automation possible. Transfer containers allow you to move resources between containers and outposts. They are essential for building complex supply chains, linking your extractors to your storage units.
- Cargo Links: This is how you ship items to other locations. You need a cargo link for each location you want to send resources to.
- Inter-System Links: These allow you to transport resources between different star systems, and make intergalactic trade easy.
By connecting containers, storage, and Cargo links, you can have resources move automatically between any outpost, and from any location to your other base.
Building Your First Automated System
Okay, let’s build a simple automated system as a starting point. We’ll begin with extracting Iron.
- Place the Outpost Beacon: Find a spot with an Iron deposit. Place your outpost beacon.
- Build an Iron Extractor: Place an iron extractor directly over the Iron deposit.
- Power the Extractor: Place one solar array.
- Add Storage: Put down a solid storage container near the extractor.
- Connect the Extractor to the Storage: The extractor should directly send the iron to your storage.
Congratulations, you’ve just created a basic automated mining operation. This is a simple example but from here you can expand to include various other types of resources.
Expanding and Optimizing Your Outpost
Now that you understand the basics, let’s make your outpost even better. Here’s how you can expand and optimize your automated system:
Setting Up Multiple Resource Extraction
Once you have a handle on a single resource, start tackling more. Here is how to do it:
- Locate Additional Resource Deposits: Use the scanner to look for different deposits near your existing setup.
- Build Additional Extractors: Place the correct extractors for each resource type.
- Create Individual Storage: Place specific containers for every unique resource.
- Power All Extractors: Be sure you have enough power for every extractor, adding extra solar arrays, or fuel generators as needed.
Having a variety of different types of resources will allow you to craft a vast amount of items in your crafting tables. This makes your outpost a valuable location.
Creating Efficient Supply Lines
Supply lines are key to moving resources between locations and outposts. Here’s how to set them up.
- Cargo Links: Place cargo links in every outpost. Connect extractors to storage then to the cargo link.
- Assign destinations: Assign each cargo link to send its resources to a specific destination.
- Use Transfer Containers: Use transfer containers between your storage units and cargo links to make the transfer automatic.
By setting up efficient supply lines, your resources will move to the necessary locations without you needing to intervene.
Advanced Power Management
As your outpost grows, you’ll need to think more about your power needs. Look into:
- Fuel Generators: If solar and wind aren’t enough, use fuel generators and set up He-3 extraction.
- Power Distribution: Strategically plan the placement of power sources to avoid bottlenecks.
- Power Management: Regularly check your power usage to make sure all systems are working correctly.
Power management is very important because if power runs out, production will stop, and you will need to manually start the processes over again.
Crew Assignment and Management
As you expand, you might want to assign crew members to different outposts, to improve production. Here’s how:
- Recruit crew: Recruit crew members from various locations, and make sure they have the correct skills.
- Assign crew to outposts: Assign crew with appropriate skills to different outposts, to boost effectiveness.
- Manage crew skills: Level up the skills of your crew members to make them more effective in their jobs.
A skilled crew will make your outposts more efficient and provide valuable bonuses.
Troubleshooting Common Issues
Even the most well-designed automated outposts can run into problems. Here are some common issues and how to fix them:
Full Storage Containers
If your storage containers get full, the extractors will stop working. Here’s how to avoid this:
- Add More Storage: Increase your storage capacity.
- Use Supply Lines: Set up supply lines to send resources to other outposts.
Power Shortages
If extractors stop working, your problem might be a power shortage.
- Add More Power: Include more solar, wind, or fuel power generators.
- Distribute Power: Make sure all structures have enough power.
Broken Cargo Links
Cargo links can sometimes fail. Here’s what to do:
- Check Connections: Verify that all links are connected to power and containers.
- Restart Links: Sometimes a simple restart is all you need.
Resource Depletion
If extractors stop working, you may have depleted the resource. Scan the area for nearby sources to continue mining.
Tips for Efficiency
Here are a few more tips to keep your automated outposts running smoothly:
- Regular Maintenance: Check your outposts regularly to make sure everything is running as expected.
- Adapt and Evolve: Be willing to change your outpost design as you gain experience.
- Experiment: Don’t be afraid to test out different layouts and resource combinations.
Building an automated outpost in Starfield is a rewarding experience. It allows you to focus on other parts of the game, knowing that your resource empire is constantly growing. Use the knowledge provided in this guide, and you will be able to create the most advanced and efficient resource collection operation in the settled systems.
STARFIELD How To Build AUTOMATED OUTPOSTS
Final Thoughts
Automating your Starfield outpost involves resource extractors, storage, and cargo links. Setting up these systems correctly ensures a continuous flow of materials. Proper planning will significantly ease your crafting and research efforts.
You can utilize robots to automate some tasks. Careful placement of modules is necessary for optimal efficiency. This enables efficient production chains without constant manual work.
Ultimately, learning Starfield how to build an automated outpost will make your game experience better. The correct setup lets you focus on exploring the universe instead of micromanaging your base.

