
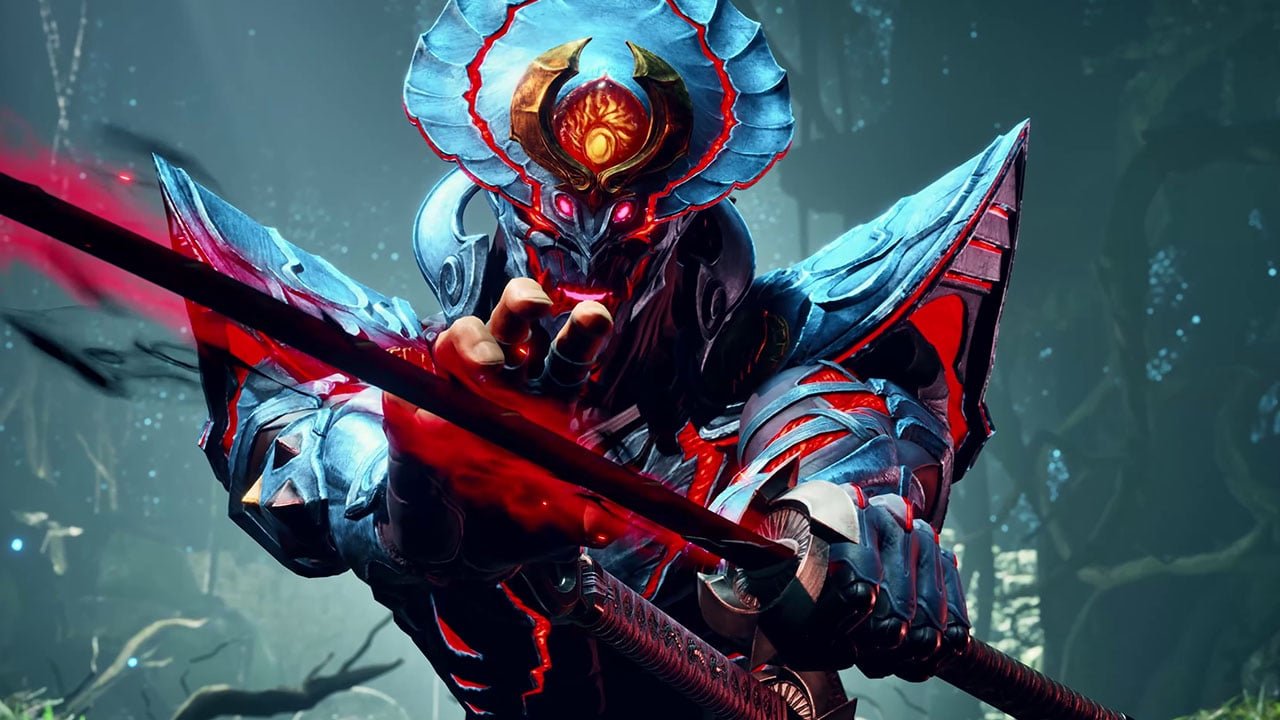
Tekken 8 graphical fidelity settings offer options to adjust texture quality, shadow detail, and resolution, impacting visual clarity and performance.
Want to get the best out of your Tekken 8 experience? The game’s graphical fidelity settings are crucial for both visual appeal and smooth gameplay. Finding the right balance allows you to enjoy the intense action without compromising on performance or visual quality.
Tweaking these settings can make a significant difference. Consider your hardware capabilities when adjusting the Tekken 8 graphical fidelity settings. Each adjustment will affect the load on your system.

Tekken 8 Graphical Fidelity Settings: A Deep Dive
Hey there, fellow fighters! So, you’re ready to jump into the action-packed world of Tekken 8, huh? Awesome! But before you start throwing punches and kicks, let’s talk about something super important: the game’s graphical settings. Getting these right can make a huge difference in how the game looks and how smoothly it plays. Whether you’re rocking the latest gaming rig or playing on a more modest machine, understanding these settings will help you get the best experience possible. Let’s break down all the juicy details.
Understanding the Basics: Why Settings Matter
You might be wondering, “Why should I even bother with these settings?” Well, it’s simple. Graphical settings control how pretty the game looks and how well it performs. When the game looks beautiful, it can make the experience much more immersive. A smooth frame rate makes the game feel responsive. If the game is laggy, or choppy, it can be incredibly frustrating, especially in a fast-paced fighting game like Tekken. The goal is to find the sweet spot that gives you great visuals and smooth gameplay, tailored to your PC’s capabilities.
Resolution: Making it Sharp
Let’s start with resolution. This controls the sharpness and clarity of the game image. It’s measured in pixels, those tiny little dots that make up your screen. Higher resolution means more pixels and more detail. But, a higher resolution also requires more power from your computer. Here’s what you need to know:
- 1080p (1920×1080): This is often called “Full HD.” It’s a good starting point and provides clear visuals on most monitors. It strikes a nice balance between quality and performance.
- 1440p (2560×1440): Often called “QHD” or “2K,” this resolution provides a noticeable step up in sharpness over 1080p. It will need more graphical power, so make sure your system can handle it.
- 2160p (3840×2160): This is also called “4K” and offers the absolute best detail and clarity. However, it requires a really powerful computer. If you’re on a lower end PC or laptop, it’s probably best to avoid this until you upgrade.
If you have a very strong graphics card, you can use higher resolutions. If you have less powerful hardware, you’ll want to stick to the lower resolutions. Trying to play in too high of a resolution can cause your game to stutter and lag. Experiment to find the resolution that gives you the best clarity with a smooth framerate.
Fullscreen, Windowed, and Borderless Modes
Tekken 8, like most modern games, offers three main display modes: Fullscreen, Windowed, and Borderless Windowed. Each has pros and cons:
- Fullscreen: This mode dedicates the entire screen to the game. It typically provides the best performance because it bypasses some of Windows’ display management. It might sometimes cause issues with Alt-Tabbing out of the game, but that’s rare these days.
- Windowed: The game runs in a window that you can resize. This is good for multitasking if you need to quickly switch between the game and other applications. However, it can sometimes have lower performance than fullscreen.
- Borderless Windowed: This is like a windowed mode, but the window fills the entire screen with no borders visible. It’s a good compromise, allowing fast Alt-Tabbing with similar performance to fullscreen. It’s many peoples favorite mode for playing games.
For the best performance and immersion in Tekken 8, Fullscreen mode is generally recommended, but try them all and see what works best for you.
Graphics Quality Presets: Easy Mode
If you’re not a fan of tweaking individual settings, Tekken 8 has presets that help you quickly change many things at once. There are usually options like: Low, Medium, High, and Epic. Here’s how these usually break down:
- Low: This setting prioritizes performance. The game will not look as detailed, but it should run smoothly on most computers. This is great for older hardware or if you’re looking for the highest frame rate possible.
- Medium: This is a good balance between visual quality and performance. It provides a noticeably better image than Low and will perform well on most mid-range computers.
- High: This setting increases visual fidelity, adding better shadows, textures and effects. It’ll look great but requires a good gaming rig to maintain a high frame rate.
- Epic: This pushes everything to the max. It’s best for high-end PCs and gives you the best possible visuals. If your computer can handle it, you can expect to see beautiful models, fantastic special effects, and amazing textures.
You can pick one of these as a starting point and then change individual settings if you want more control.
Diving Deeper: Advanced Graphics Settings
Now, let’s really get into the weeds. Here’s a breakdown of the individual graphics settings you can change in Tekken 8. These settings will have the biggest impact on how your game looks and performs. These are some of the most important settings that you will need to tune to get the best experience for your PC. Some of the options below are dependent on other options, and might not appear if their dependancy option is turned off. Play with these options to see how they affect things.
Texture Quality
Texture quality controls how detailed the surfaces of objects in the game look. Higher quality means sharper and clearer textures, but it uses more video memory (VRAM). If your video card is limited on VRAM, it’s important to pay attention to this. There are usually options like:
- Low: Textures look blurry and lack detail.
- Medium: A good compromise between quality and performance.
- High: Textures are sharp and detailed.
- Ultra: Highest level of texture detail available, requires plenty of VRAM.
If you have a lot of VRAM available on your graphics card, you should set this to high or ultra, but if your video card is a little older, this setting could be a performance killer.
Shadow Quality
Shadow quality affects how detailed the shadows look in the game. Shadows can add depth and realism to the scene. However, they can be quite taxing on performance. You’ll typically see options like:
- Low: Shadows are simple and low-resolution.
- Medium: Shadows have more detail and look better.
- High: Shadows are very detailed and accurate, but demanding.
- Off: No shadows are rendered, boosting performance at the cost of realism.
If you can afford the performance cost, a high shadow quality looks great, but it’s an easy thing to turn down if you need more frames. It really depends on your PC’s power.
Anti-Aliasing
Anti-aliasing smooths out the jagged edges that sometimes appear on objects in the game. It makes the image look much smoother overall. Common options include:
- Off: No anti-aliasing, jagged edges will be visible.
- FXAA: A fast but sometimes blurry anti-aliasing method. It is relatively light on performance.
- TAA: A more advanced method that can look better, but can be more taxing on resources.
- MSAA: Generally considered the most effective method of anti-aliasing, but it’s the most expensive. It can cause big performance hits, especially at higher values like 4x or 8x MSAA.
Start by trying TAA if you can. If it is too much on your GPU, FXAA is a good fallback. MSAA is great if you have lots of graphics power, but it might not be worth it if it costs you too much performance.
Effects Quality
Effects quality controls the detail of special effects, such as fire, sparks, and motion blur. Higher settings add more detail to these effects. You might see options like:
- Low: Effects are less detailed.
- Medium: Effects are better and have some nice detail.
- High: Effects look rich and detailed.
If you like your special effects to look amazing, set this as high as your system can handle. Just keep an eye on your frame rate to make sure you’re not sacrificing too much performance.
Ambient Occlusion
Ambient occlusion adds realistic shading to where objects touch each other and where light is blocked. This makes the world look more grounded. Typical options include:
- Off: No ambient occlusion.
- Low: Subtle ambient occlusion.
- Medium: Moderate ambient occlusion.
- High: Stronger and more detailed ambient occlusion.
This effect is usually not too taxing on resources, so it is generally safe to turn on to improve the visual quality without a huge impact on performance. Just make sure you don’t set it too high if it slows your game down too much.
Motion Blur
Motion blur creates a blur effect when the camera or objects move quickly. Some people love it for the cinematic look it can give, others hate it because it can be distracting. You will usually see an option to turn this setting on or off.
- On: Motion blur effect is enabled.
- Off: Motion blur effect is disabled.
This is really a matter of personal preference. If you don’t like the look of blurring, just turn it off.
Depth of Field
Depth of field blurs objects that are further away, focusing on what’s in the foreground. This can give the game a more cinematic look, but it’s not necessary. You’ll usually find an on/off toggle for this effect.
- On: Depth of field effect is enabled.
- Off: Depth of field effect is disabled.
Some people think depth of field makes the game look better, and some people think it is distracting. Try playing with it on and off to decide your preference.
Post Processing Effects
Post-processing effects are a bunch of effects that get applied after everything else is rendered. This can include things like color correction, bloom, and lens flares. If you have a weaker video card, you may want to lower the post-processing quality to get better frames.
- Low: Less post processing and effects
- Medium: Moderate post-processing and effects
- High: More post-processing and effects, this is the most visually appealing setting.
If your PC has enough power, keep this set to high to see the best results.
Character Model Detail
This option controls how detailed character models appear in the game. Higher settings will increase the visual complexity of your favorite characters, but it will also require more graphics power. You might see options like:
- Low: Character models are less detailed.
- Medium: Character models look good with decent detail.
- High: Character models look their best with lots of detail.
Setting this to high will make your favorite character models look very impressive, but it might reduce performance on older hardware.
Dynamic Resolution
Dynamic resolution is a setting where the game will automatically change the resolution in order to maintain your desired frame rate. This setting will try to keep the game running smooth by adjusting the resolution dynamically. Usually this is a setting that you can toggle on or off.
- On: Dynamic Resolution is enabled.
- Off: Dynamic Resolution is disabled.
If you are struggling to maintain your targeted frame rate, dynamic resolution can be very helpful. If you prefer to have a consistent resolution with the game, you can turn this off.
V-Sync
V-Sync (Vertical Synchronization) helps to eliminate screen tearing, which is when your screen shows different parts of an image at the same time. It does this by syncing your game’s frame rate with your monitor’s refresh rate. Typical options include:
- On: V-Sync is enabled, which can prevent screen tearing at the cost of some performance.
- Off: V-Sync is disabled, which can lead to screen tearing but with less performance overhead.
If you’re experiencing screen tearing, turning on V-Sync can help, but if you’re struggling for performance, turning this off can get you some extra frames.
Optimizing for Different Setups: Finding Your Sweet Spot
Now that we have talked about all the individual settings, how do you know what is right for you? Well, it depends on your hardware. Here are a few starting recommendations, depending on the type of hardware that you are running:
High-End PCs
If you have a powerful PC, you can usually max out most of the settings. Here’s how to get the most out of your game:
- Resolution: 4K (2160p) is the goal here if your monitor supports it.
- Presets: Set to Epic for maximum fidelity.
- Textures: Set to Ultra.
- Shadows: Set to High or Ultra for detailed visuals.
- Anti-Aliasing: Try TAA or MSAA for a smooth image.
- Other effects: Set to High for great visual effects.
You should be able to get very high frame rates with these settings, while also having a beautiful looking game. If you are not happy with your frame rate, you can try turning down a few of these to get more performance.
Mid-Range PCs
If you have a decent PC, you can find a great balance of visual quality and performance. Here’s what you should consider:
- Resolution: 1080p or 1440p is a good start, depending on your monitor.
- Presets: Set to High for a good balance of quality and performance.
- Textures: Set to High.
- Shadows: Set to Medium or High.
- Anti-Aliasing: Try FXAA or TAA.
- Other effects: Set to Medium or High.
On a mid-range PC, you will want to prioritize textures, but you may have to turn down other settings to maintain a good frame rate. Play around with these options to see what works best for your hardware.
Lower-End PCs
If you’re playing on a less powerful PC, you’ll have to prioritize performance. Here’s what you should consider:
- Resolution: 1080p is your best bet here.
- Presets: Set to Low or Medium.
- Textures: Set to Medium or Low.
- Shadows: Set to Low or even turn them off.
- Anti-Aliasing: Turn it off, or use FXAA.
- Other effects: Set to Low or Medium.
On lower-end PCs, you will likely need to trade visual quality for performance. If you have a very weak PC, you will want to turn almost everything to low. This will make the game look less impressive, but it should play smoothly. Keep an eye on your frame rate and performance to make sure it’s playable.
Experimentation is key! Don’t be afraid to tweak settings and see what works best for your specific setup. It might take a few minutes to find that perfect balance for your rig, but it’s worth it!
Adjusting Tekken 8’s graphics settings might seem like a lot, but it is important if you want the best experience. By understanding all of these options, and testing them out on your specific PC, you will be able to get the best looking visuals possible, while still maintaining a stable frame rate, and having a great experience playing Tekken 8.
TEKKEN 8 BEST GRAPHICS SETTINGS + FAST RESPONSE TIME
Final Thoughts
In summary, adjusting Tekken 8 graphical fidelity settings impacts performance significantly. Players should experiment to find a balance between visual quality and smooth gameplay. Lower settings increase frame rates but reduce graphical details. Optimizing your game based on your system’s capabilities is crucial.
Considering Tekken 8 graphical fidelity settings allows a personalized experience. Tailoring these options leads to the best possible playing experience. Choosing the correct presets for your machine is recommended.

