
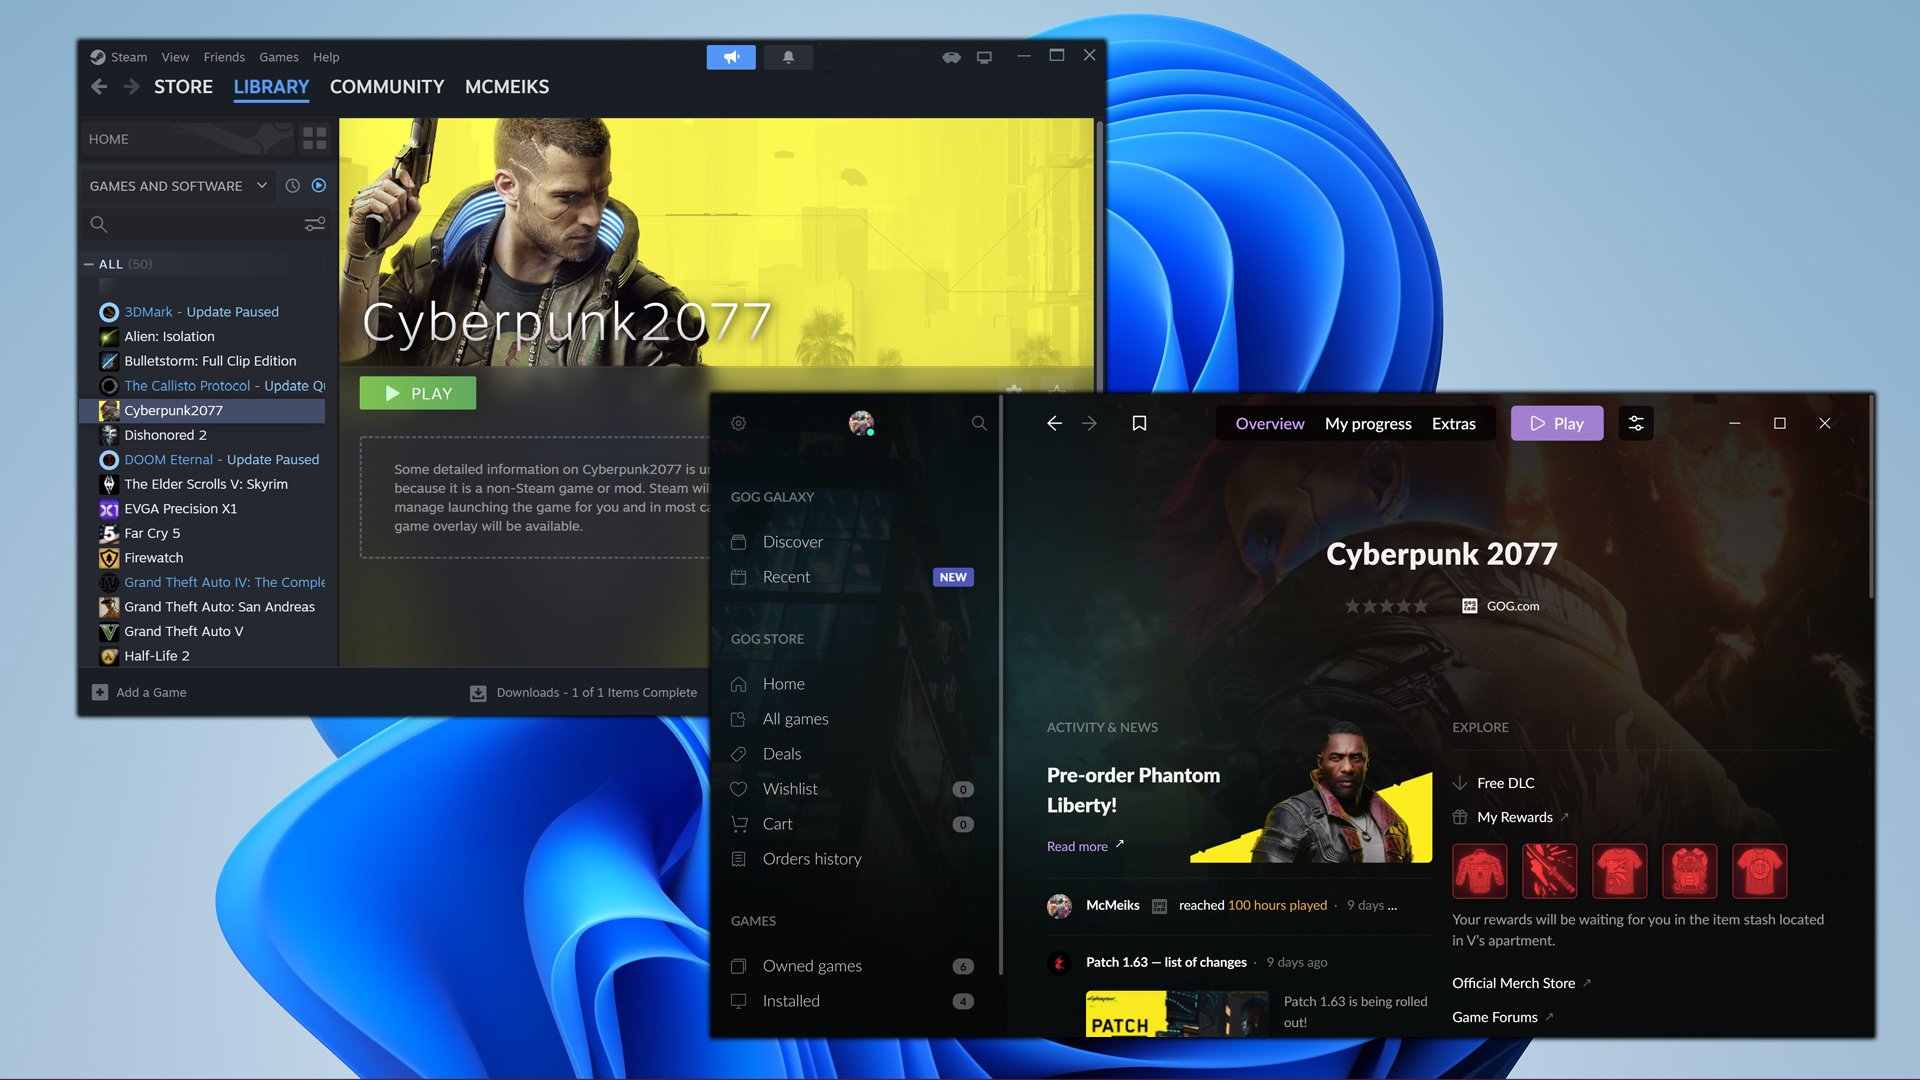
To add a non Steam game to Steam, click ‘Add a Game’ at the bottom left of your Steam library, then select ‘Add a Non-Steam Game’ and browse for the game’s executable file.
Ever wanted to bring all your games together in one place? It can be frustrating to switch between different launchers. Learning how to add a non steam game to steam can simplify your gaming life.
By adding external games, you can launch them directly through Steam. This method grants you Steam’s overlay features, like screenshots and friend invites. Plus, you can track your playtime.

How to Add a Non-Steam Game to Steam
Ever wished you could launch all your games from one place, even the ones not bought on Steam? Well, you can! Steam isn’t just for games you purchase through their store. It has a handy feature that lets you add almost any game, or even other applications, to your library. This means all your gaming – from AAA titles to indie gems you picked up elsewhere – can live together in harmony. Think of it as your central gaming hub. This guide will walk you through, step by step, to add non-Steam games to your Steam library. We’ll cover the how-tos, what to expect, and even a few troubleshooting tips to make the process smooth and easy. We are here to make sure you have all the fun without any hassle, so let’s dive into it!
Why Add a Non-Steam Game to Steam?
Before we jump into the “how,” let’s talk about “why.” Why would you even want to add a game that isn’t on Steam to Steam? There are several great reasons!
Centralized Game Library
First off, it keeps everything organized. Instead of having shortcuts scattered all over your desktop or digging through different folders, you can have all your games listed in one easy-to-access place. Steam acts as your game launcher for all your titles, whether they came from Steam or not. This means no more frantic searches for that one game you haven’t played in a while. It’s all right there, neatly tucked into your Steam library.
Steam Overlay
Another big advantage is the Steam Overlay. The overlay is a feature that pops up when you press Shift+Tab while playing a game. It lets you access features like messaging friends, browsing the internet, and taking screenshots without exiting the game. When you add a non-Steam game, you can often use the same Steam overlay features. This is especially great for games that might not have their own built-in overlay system. So, you get the same convenient features even for non-Steam games.
Activity Tracking
Steam also tracks your game time. If you’re curious about how much time you’re putting into a particular game, Steam can give you that information. When you add a non-Steam game, Steam tracks your playtime just like it does for Steam titles. This helps you keep tabs on how much you play and allows you to see which games you spend the most time with. This feature is helpful for planning your gaming sessions or just for fun to see the time you have spend on any game.
Friend Activity
When you play a non-Steam game through Steam, your friends might be able to see what you’re playing. While not every non-Steam game will have full support for this, it’s a nice feature that can let your friends know what you are up to, and maybe they can jump in to the same game with you. This can make the gaming experience more social.
How to Add a Non-Steam Game to Your Steam Library – Step by Step Guide
Okay, now for the main event: how to actually add a non-Steam game to Steam. It’s a pretty simple process, and here is a step-by-step guide to help you through:
Step 1: Open Your Steam Client
First, open the Steam application. You can usually find the Steam icon on your desktop or in your start menu/application folder. Click it to launch Steam.
Step 2: Locate the “Add a Game” Option
Once Steam is up and running, look for the “Games” menu at the top of the Steam window. Click on it. A drop-down menu will appear, and near the bottom you’ll see “Add a Non-Steam Game to My Library.” Click that.
Step 3: The “Add a Game” Window
A new window will pop up, with a list of installed applications on your computer. Steam will try to find the executables (.exe files) for potential non-Steam games. But, sometimes, your game’s executable might not show in the initial list. If you find it, select it by putting a check mark beside it.
Step 4: Browse for the Game
If your game isn’t listed in that window, you’ll need to find it manually. Click the “Browse…” button at the bottom of that window. This will open a standard file browser, like the Windows Explorer or Mac Finder. You need to navigate to the folder where your game is located. Remember, you are looking for the main application executable file with the “.exe” extension (on Windows), or sometimes it is a script with “.app” extension (on Mac). Typically the name of the executable will be same as of the name of the game.
Step 5: Select the Game’s Executable
After navigating to the game’s folder, find and select the main executable file. Then, click “Open.” This will add the executable to the “Add a Game” list. Now put a checkmark beside it.
Step 6: Add the Game to Your Library
After you’ve selected the game’s executable, click the “Add Selected Programs” button. This will add the selected program to your Steam Library.
Step 7: Check Your Steam Library
Now, head to your Steam Library. The game should now appear in your list of games. It will probably be at the bottom of the list, because by default Steam shows games alphabetically, but you can change the filter. If it doesn’t appear immediately, try restarting your Steam client.
Customizing the Game Entry in Steam
Now that you’ve added your non-Steam game, you might want to make a few tweaks to personalize it within your Steam Library. This is very simple, and it will make your game more visually appealing and easier to identify.
Renaming the Game
Sometimes, the name Steam uses for a non-Steam game isn’t exactly how you want it to appear. Here’s how to change the name:
- Right-click on the game in your Steam Library.
- Select “Properties”.
- In the “General” tab, you’ll see a box labeled “Shortcut Name”.
- Type the name you want to use and press enter.
- Your game will now appear with its new name in your Steam Library.
Changing the Game Icon
The default icon for a non-Steam game can sometimes be a generic looking icon. You can change this icon to make it better recognizable in your Steam library.
- Right-click the game in your Steam Library.
- Select “Properties”.
- Click the icon in top-left. A window will open for browsing files.
- Locate the desired icon file (usually .ico, but .png or .jpg might work).
- Select it and click “Open”.
- Your game now has a new icon.
Setting Custom Artwork
You can add custom images for your game’s background image, logo, and banner. This is a great way to make your non-Steam game look like a Steam game. Here’s how to do it.
- Find images you’d like to use for your game. Make sure you have the proper size for these images. For the cover images, the recommended size is 600×900 pixels, for the banner it is 460×215 pixels and for the logo it is 120×40 pixels.
- Open your Steam client and find the game you added from your Steam library.
- Click the game and you will see the page for it.
- If no image is present, then in top right side you will see ‘Add’ button, click on it.
- Now you will see ‘Add artwork’ , ‘Add logo’ , and ‘Add banner’ options. Click the desired one.
- Browse the image that you want to use, then click ok.
- You have changed the artwork.
Troubleshooting Common Issues
Sometimes, things don’t go as smoothly as planned. Here are some common problems you might encounter when adding a non-Steam game to Steam and how to fix them.
Game Not Launching
If your non-Steam game doesn’t launch through Steam, there could be a few reasons why. First, ensure that you selected the correct game executable file when adding it to Steam. Secondly, try launching the game directly from its folder. If it works there, it may be a Steam issue. To solve, try these steps:
- Verify Game Files: Although this is usually for Steam games, this option will recheck the game’s files and try to correct any issue.
- Run Steam as Administrator: Right-click the Steam shortcut and select “Run as administrator.” This can help with permissions issues.
- Restart Steam or Computer: Sometimes a simple restart can fix things.
- Verify Compatibility: Check if the game is compatible with your system, especially if it’s an older game.
Game Overlay Not Working
The Steam overlay might not work with all non-Steam games. If you’re having trouble accessing it, here’s what you can do:
- Enable the Overlay: Go to Steam > Settings > In-Game, and make sure the “Enable the Steam Overlay while in-game” box is checked.
- Run Steam as Administrator: As mentioned before, running Steam as an admin can solve permission issues.
- Check for Conflicts: Some third-party applications might interfere with the Steam overlay. Disable any unnecessary software running in the background.
- Verify Compatibility: Sometimes, older or less common games do not support overlay.
Game Activity Not Being Tracked
If Steam isn’t tracking your playtime for the non-Steam game, this might be due to the game not being properly integrated with Steam. Here are some things you can try to solve this issue:
- Verify the Executable: Double-check that you added the correct executable file.
- Restart Steam: After playing, restart Steam to ensure that the play time is being recorded.
- Check Overlay: If overlay doesn’t work, the play time can’t be recorded properly.
Game Icon Not Updating
Sometimes the custom icon or custom artwork might not show properly. If this occurs you can do following:
- Restart Steam: Sometimes Steam cache create issue. Restarting Steam can solve this.
- Try different image formats: If .ico doesn’t work properly, try .png or .jpg.
- Cache Issue: Sometimes it can be a cache issue. You can go to Steam Settings > Download > Clear download cache and after that restart Steam.
Limitations and Things to Keep in Mind
While adding non-Steam games to Steam is very convenient, it’s essential to understand that it’s not a perfect substitute for a Steam game. There are some limitations you should know about.
No Steam Achievements
Non-Steam games will not be able to grant you Steam achievements. If achievements is a big factor for you while playing games, this will be important to consider. This feature is exclusive to Steam games.
Limited Integration
Not all features might work perfectly, as mentioned, especially features like game overlay. The level of integration depends a lot on the game itself. Some games might not work very well with overlay and activity tracking, so don’t expect perfect integration.
No Automatic Updates
Steam will not automatically update your non-Steam games. You will have to manage updates manually, as if you would run the game outside Steam. Steam can update your Steam games automatically as a built-in feature.
Potential Conflicts
In rare cases, non-Steam games might conflict with Steam, leading to crashes or other issues. This is uncommon, but you should keep this in mind. Always check your game files and if you are experiencing any issue, try restarting the game and your Steam client.
Benefits of Using Steam for All Your Games
Despite some of these limitations, having all your games in one place has many upsides. You can use your preferred game controller with most of your added games if Steam recognizes the controllers, and all the games can be conveniently launched from one location. When you use Steam for all of your games, regardless of where they were purchased, you get the benefit of consistent user interface, which means the gaming experience will be more convenient and more enjoyable. Steam acts as your game launcher for most of the games, which you like to play on your computer.
Adding non-Steam games to Steam is simple and a convenient way to keep all of your games in one place. While it might not have all the features of Steam games, it is still a great option for anyone looking to keep their games well-organized. With a few simple steps, you can bring all your games together in your Steam library and enjoy your gaming experience to the fullest.
How To Add Non Steam Games To Steam – Full Guide
Final Thoughts
Adding a non-Steam game is straightforward. You simply navigate to the “Games” menu within the Steam client and select “Add a Non-Steam Game.”
Next, browse your computer for the game’s executable file and select it. Steam will then add it to your library.
This method lets you manage all your games in one place, even titles not bought directly via Steam. Remember, this process will add the game; it does not give you a Steam copy if you didn’t purchased it already. learning ‘how to add a non steam game to steam’ expands your library’s reach easily.

