
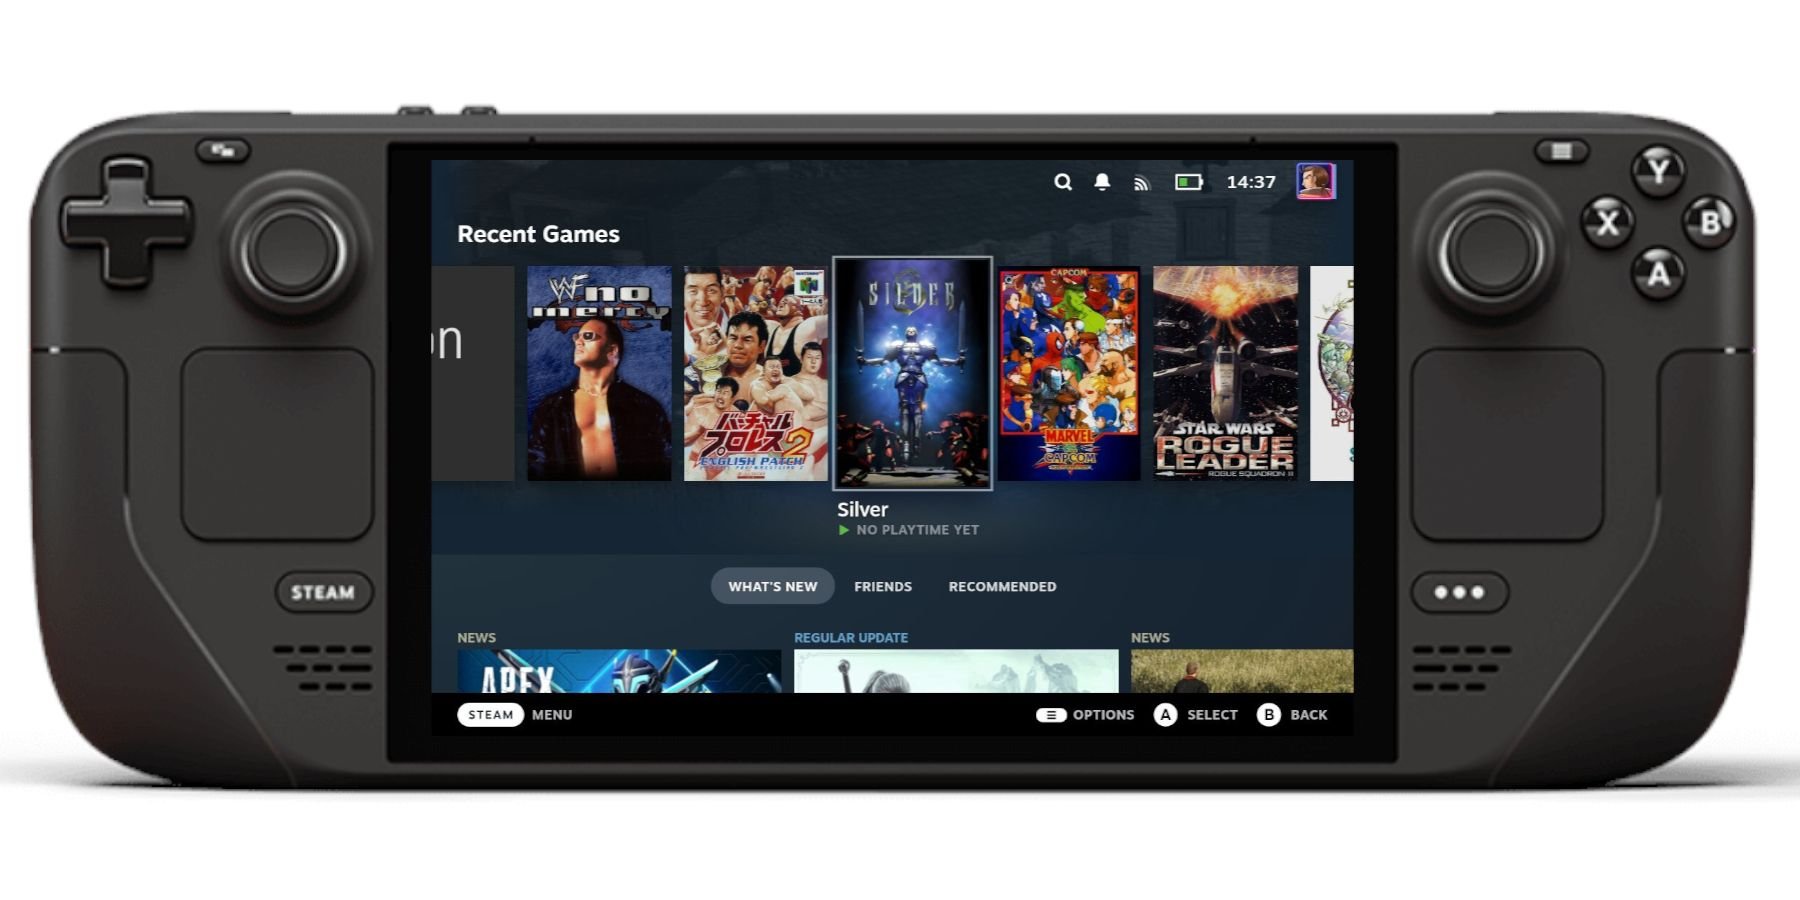
To add games to EmuDeck, place your ROM files in the appropriate folders within the roms directory, which is usually organized by system. EmuDeck will then detect and display these games.
Ready to expand your retro gaming library? EmuDeck is a fantastic tool, but figuring out how to add games to emudeck can feel a little confusing. The process is actually quite straightforward once you know the steps. It involves locating the correct folders and placing your game files.
This simple guide will help you quickly populate your EmuDeck setup. You’ll be playing your favorite retro titles in no time. So, let’s dive in and get those ROMs loaded up!

How to Add Games to EmuDeck
So, you’ve got EmuDeck all set up and ready to go – fantastic! Now comes the exciting part: filling it with games! Adding games to EmuDeck is like stocking your own personal retro arcade, and it’s easier than you might think. This guide will walk you through all the steps, from finding the right files to getting them recognized by your emulators. We’ll cover different types of game files, where to put them, and even how to handle tricky situations. Ready to get started?
Understanding Game Files: ROMs, ISOs, and More
Before we dive in, it’s important to understand the different types of game files you’ll encounter. These files are essentially digital copies of the games you want to play. Here’s a quick rundown:
ROMs
ROM stands for “Read-Only Memory.” These are the most common type of file you’ll use for older consoles like the NES, SNES, and Sega Genesis. They’re usually smaller in size and easy to handle. ROMs are basically the game cartridges dumped into a file. Think of them as the actual game files extracted from the physical cartridge you used to blow into.
ISOs
ISO files are like digital images of entire discs, such as CDs or DVDs. You’ll use these for games from consoles like the PlayStation, PlayStation 2, GameCube, and Wii. ISO files are larger than ROMs because they contain all the game data that’s on the original disc.
Other File Types
- CSO/DAX: These are compressed versions of ISO files, used to save space. You may encounter these for PSP games.
- BIN/CUE: Older disc image formats, often used for PlayStation games. The CUE file is important, it tells the emulator how to use the BIN file.
- N64,V64,Z64: different rom formats for Nintendo 64 games.
It’s super important to obtain game files legally. You can create digital backups of your own physical game copies, but downloading games you do not own can be illegal. Please use your game backups responsibly and follow local laws.
Locating Your Game Files
This is a key step, as EmuDeck requires you to place your game files in specific locations. If you don’t put them in the right place, EmuDeck won’t find them. Think of it like a library – books need to be on the right shelf for people to find them. EmuDeck will create a folder structure for you that you will need to follow. The main directory where you will place your games is the “roms” folder.
Finding the “roms” Folder
By default, EmuDeck creates a folder on your storage named “roms”. Here is where EmuDeck will look for all your game files. If you have EmuDeck installed on the internal storage, you’ll find this in the home/deck folder. If you are using an SD card, it’s typically in the main directory of your SD card. If you have Steam Deck, using a file manager like Dolphin, you can easily see the contents of both the internal memory, as well as the SD card.
Here’s the basic structure for the “roms” folder:
      roms/
        |-- amiga/
        |-- atari2600/
        |-- dreamcast/
        |-- gamecube/
        |-- gb/
        |-- gba/
        |-- gbc/
        |-- genesis/
        |-- nes/
        |-- n64/
        |-- psx/
        |-- ps2/
        |-- psp/
        |-- snes/
        |-- wii/
        |-- ...
Each console has its own folder inside the “roms” folder. This is where you’ll put the specific game files for that console. So, all of your Nintendo Entertainment System (NES) game files will go in the “nes” folder. GameBoy Advance (GBA) games will go into the “gba” folder. And so on. It’s like having labeled drawers, each one for a different type of game.
Creating Necessary Folders
EmuDeck does create many of the required folders for you automatically. If the folder for the console you want to play is not present, you can create a new folder to place them in. For example, if you want to play games from a specific handheld or console, make sure that the corresponding directory is available in the roms folder, such as “psp”, for games of that specific console (Playstation Portable).
Adding Games to EmuDeck: Step-by-Step
Now that we know where the game files go, let’s get them added!
Step 1: Locate Your Game Files
First, make sure you have the game files you want to add on your computer. They might be in your “Downloads” folder, on an external drive, or somewhere else on your storage. Make sure you know where these files are.
Step 2: Transfer the Game Files
Now that you know where the game files are, we will have to transfer them to the corresponding folders within the roms directory on your Steam Deck. You can do this in a couple of ways, depending on how your storage is set up.
Transferring to the Internal Storage
If your game files are on your computer, and your Steam Deck storage is also connected to the same network, you can use a simple Samba file share. In EmuDeck you can go to “Tools & Stuff” then “Samba Share”, and enable the file share. This will give you a path which you can use on your computer to connect to your Steam Deck storage. Alternatively, you can use a USB cable to transfer your game files over.
Transferring to an SD Card
If your Steam Deck has a micro SD card, you can copy the files onto your SD card, and then place the SD card into your Steam Deck. If you use a computer, you can take out the card from the Steam Deck and use it like a normal storage device and copy the files over. Then you can put the SD card back to your Steam Deck and the files should be available.
Once you know where the rom files are, simply move or copy each of the files to the corresponding folder in your Steam Deck “roms” folder. For example, if you want to put Super Mario Bros in, move or copy the file for it in to the “roms/nes” folder.
Important: Make sure that your files are not inside other folders in the specific console directory. This means that the ROMs/ISO should be available directly in the correct subfolder. The file structure should look like this: “roms/nes/Super Mario Bros.nes” – and not like this: “roms/nes/folder/Super Mario Bros.nes”. The emulator won’t be able to find your files if they are located in an extra directory.
Step 3: Update the Game List
Once the files are in the correct directories, EmuDeck needs to find the games. This is done by updating the game list within the EmulationStation Desktop Edition (ESDE), which is usually the frontend that EmuDeck uses by default. Simply open Steam in desktop mode, and run “EmulationStation DE” from your library. This will update the list of the available games, and they should appear automatically. Once the list is updated, you can launch a game.
Troubleshooting Common Issues
Sometimes things don’t go exactly as planned. Here are some common issues and how to fix them:
Games Not Showing Up
- Wrong Folder: Double-check that your games are in the correct subfolder within the “roms” folder.
- Incorrect File Format: Ensure that you have the correct file extension for your game. For example, “nes” for NES files, “iso” for Playstation files and so on.
- File Names: Make sure there is no weird character in your file name, which can sometimes confuse the emulator.
- Update Game List: Sometimes, you might need to close out of ESDE, and reopen it for the new games to show up in the list.
Emulator Not Launching Games
- Bios Files: Some emulators require BIOS files. These are special files that the emulator needs to properly run. You can usually find what BIOS files you require in your EmuDeck installation, which will let you know the file name and the directory where they should be placed.
- Incorrect Emulator: Sometimes an emulator will not work with the game. For example, a game might require a specific version of the emulator, or a different emulator entirely.
- File Corruption: If your game file is corrupted, it will usually not work with an emulator. In this case, find a good source for your game file and try again.
Performance Issues
- Emulator Settings: Adjusting the emulator’s settings can greatly affect how well a game runs. Try changing the resolution, graphics, and other options.
- System Limitations: If your device is running very low on performance, it might not run all games perfectly, specifically with newer consoles and their games.
Advanced Tips and Tricks
Organizing Games by Folder
As you add more games, it can get harder to find the games you want. To keep things organized, you can create subfolders within console folders. For example, you could have folders within the “nes” folder such as, “Action”, “Platformer”, “Puzzle” and so on, and organize your roms this way. When you do this, EmulationStation DE might not pick them up automatically. In this case, you can create a file named “.nomedia” within each subfolder. This will hide the folders from the program, and it will only pick up the game files located within those subfolders.
Scraping Metadata
Metadata is information about your game, such as the game’s box art, description, and other details. EmuDeck will usually scrape this data automatically. However, if you have not used it before, you will need to select a service for metadata, and have to manually scrape the data for each game. This can take time, but makes the whole interface look much more polished and professional. You can do this in the EmulationStation Desktop Edition settings.
Using Save States
Save states are a really great feature of emulators. They allow you to save your progress at any point in the game. This means that you don’t have to rely on the game’s saving system. It’s like having a super power to rewind in the game. To use save states, usually a hotkey combination will trigger the save/load action. Usually, the hotkey combination is located at the right side of the controller (like R2+Right, R2+Left, etc), but you should look at the settings for each specific emulator.
Adding games to EmuDeck is a journey of discovery, a trip through the history of video games. Don’t be afraid to experiment and explore. The world of emulation is full of possibilities, and with a little patience, you can create your own perfect retro gaming setup.
How to Add ROMS to EmuDeck (Steam Deck Guide)
Final Thoughts
To get games into EmuDeck, transfer your ROM files to the designated folders. These folders are easily accessible via the file manager. EmuDeck automatically recognizes these files after they’re placed correctly.
After ROM transfer, use Steam ROM Manager, it will make your games available within Steam. This tool is very important. It correctly parses the games for the front-end. Therefore, this procedure outlines how to add games to emudeck.

