
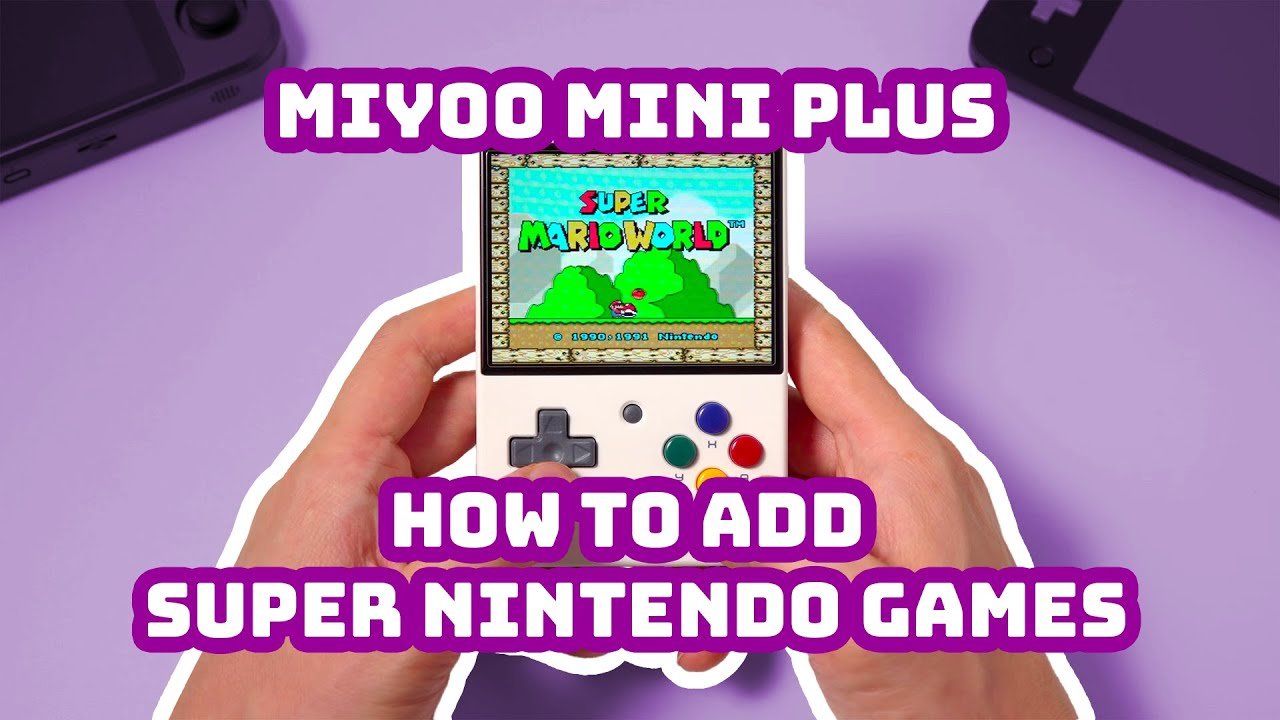
Adding games to your Miyoo Mini Plus involves transferring ROM files to the appropriate folder on the device’s SD card using a computer.
Eager to play more games on your Miyoo Mini Plus? It’s simple to expand your library and enjoy more retro fun. This process involves copying game files over from your computer to the handheld. Let’s delve into how to add games to miyoo mini plus.
You’ll need access to a computer and a way to connect your device or its SD card. We will guide you through the steps. This will allow you to transfer the game files easily. Now you can enjoy all your favorites on the go.

How to Add Games to Miyoo Mini Plus
So, you’ve got your awesome Miyoo Mini Plus, ready to play all sorts of cool retro games! But, it’s looking a little empty, right? Don’t worry, getting games onto your Miyoo Mini Plus is easier than you might think. It’s like adding new toys to your toy box. In this article, we’ll walk you through step by step, so you can fill your Miyoo Mini Plus with all the games you want to play. It is important to understand that we are not supporting any illegal activity and encourage to download games you already own and have a copy of the game and files from it, to support developers and creators of the games, we are sharing and focusing on how to add to the device.
Understanding Game Files and ROMs
Before we jump into the how-to, let’s talk a little about the “what.” Games for the Miyoo Mini Plus come as files called ROMs. Think of a ROM like a digital version of a game cartridge or disc. These files are what your Miyoo Mini Plus needs to run the games. Now, a super important thing to remember, is that it is crucial to own the game you are trying to download files for. Downloading files you don’t have the right to download, is not allowed.
These ROMs come in different formats, depending on the gaming system they’re from. Here are a few of the common ones you’ll likely see:
- .nes: These are for games from the Nintendo Entertainment System (NES). Think classic games like Super Mario Bros. and The Legend of Zelda.
- .sfc or .smc: These are for Super Nintendo Entertainment System (SNES) games. Titles like Super Metroid and The Legend of Zelda: A Link to the Past use these formats.
- .gb: This is for games from the original Game Boy. Tetris and Pokémon Red/Blue are examples.
- .gba: Game Boy Advance games use this format. Think of games like Fire Emblem or Pokémon Emerald.
- .md or .bin : These are games for Sega Genesis, you’ll find games like Sonic the Hedgehog and Streets of Rage here.
- .zip : you will find Arcade Games in this type of format.
- .iso : PlayStation games uses this format, you will find games like Tekken and Crash Bandicoot
It’s not required to know the full information on the file extensions or formats of the games. But, Knowing which file extensions are which system helps make it easy to keep track of your game files and making sure you are not putting the wrong games in the folders.
Getting Your ROMs Ready
Okay, now that you know about ROMs, it’s time to get them organized. It’s like sorting your toys before putting them in your toy box. This part is very crucial and it’s good to be organised to make the things easier for you in future.
Finding ROMs
Here’s the tricky part: we can’t tell you exactly where to get ROM files because, as we said before, it’s essential to own the games before downloading their files. It is illegal and morally wrong to download the games files that you do not have an original copy for. However, you can find many good websites by searching your game on the search engine. You can also find games from the sources where you have already bought them, for example if you have original disc or game cartridges, you may find the way to make files from your collection. Remember, you need to be extra careful while browsing internet and downloading anything, there is a risk of downloading files that are harmful for your devices. Always make sure, you have good antivirus installed on your device and never download anything from untrusted sources.
Organizing Your ROM Files
Once you have got the games, you need to make sure that you have everything nicely organized, so you won’t struggle later. It’s good to keep the files that are similar in same folders, for example, all the games from Game Boy should be kept inside one folder. Here’s a suggested way to organize your games:
- Create a main folder on your computer, like “Miyoo Mini Plus Games.” This will be your primary folder for all games.
- Inside this folder, create separate folders for each gaming system, like “NES,” “SNES,” “GBA,” “GB,” “Genesis”, “Playstation”. This will help you avoid confusion and find the files you are looking for without any trouble.
- Put the ROMs inside their proper folders. So, for example, all your .nes files should go into the “NES” folder, and .sfc files into “SNES” folder, and so on.
This way, your game files will be well organized and it will be easier for you when you are putting the files in to your SD card or device. Having well organized games is essential for good user experience.
Preparing Your SD Card
Now it’s time to get your SD card ready to receive your game files. This is like making sure your toy box is clean before putting in all the new toys. If you haven’t already got one, it’s really good to get a new SD card. It would be great to get one which is at least 32 GB, but we would recommend more than 128GB, so you would have sufficient space for all your games. There are many good SD cards available on the market, and SanDisk brand is highly recommended to avoid any issues in the future.
Formatting Your SD Card
Sometimes, brand new SD cards already work with Miyoo Mini Plus, but sometimes not. To make sure everything goes smooth and without issues, formatting the SD card is a good practice. Formatting cleans up the SD card, making sure it’s ready to store your games. Here’s how you can do it:
- Plug your SD card into your computer using a card reader. You may need to buy it separately, if you don’t have one.
- On Windows, go to “This PC”. You will see all the disks connected to your computer. Right-click on your SD card. Be very careful that you choose the right SD card, because formatting deletes everything from the chosen disk!
- Select “Format.” A window will pop up.
- In the “File system” drop-down menu, choose “FAT32”.
- Leave the “Allocation unit size” as it is (usually it’s “Default”).
- Check the “Quick Format” box (it helps save a little time).
- Click “Start”. Your computer will warn you that all the data will be deleted from the disk. If you are sure you have selected the correct disk, you can click “OK” to continue.
Your SD card is now ready to receive the games. Mac users, can follow a similar process using the ‘Disk Utility’ application.
If your SD card is already formatted in the right format, you can skip this step, but it’s highly recommended to format the card before putting games on it.
Transferring Games to Your SD Card
Okay, the SD card is now formatted and ready for the games, it is time to move the games from your computer to your SD card. It’s like moving your toy from your toy box on your computer to your real toy box.
Copying ROMs to the SD Card
Now, all the hard preparation is complete and it is very easy to transfer the files to your SD card. Here’s what you need to do:
- Open the “Miyoo Mini Plus Games” folder you created earlier. You should have all the folders with the games by consoles in it.
- Open the SD card location in another window (like open two windows).
- Drag the folder from the “Miyoo Mini Plus Games” folder to your SD card. For example, drag “NES” folder and put it on your SD card, after that drag the “SNES” folder and so on.
- Be patient, copying files may take some time, depending on the size of your games.
- After all the files are transferred to the SD card, unplug your SD card from the computer.
That’s it! Your games are now on the SD card. The transfer is complete, and you are now ready to plug it into your device.
Inserting the SD Card into Your Miyoo Mini Plus
It is the final step, after all this hard work. You are ready to play the games that you have moved from your computer to the SD card.
Placing the SD Card
It’s easy to do, it is as simple as sliding the SD card into the slot. Here is how you do it:
- Make sure your Miyoo Mini Plus is turned off.
- Find the SD card slot on your Miyoo Mini Plus, usually it’s on the side of the device.
- Gently insert your SD card into the slot. Make sure it goes all the way in and clicks into place.
Your Miyoo Mini Plus is now ready to recognize the games stored on your SD card.
Booting Up and Playing
Now for the best part – powering up and playing! It is time to finally play your game and enjoy the fruits of all hard work.
Starting Your Miyoo Mini Plus
After all this hard work, it’s now time to power up the device and load the games. Here’s how:
- Press the power button on your Miyoo Mini Plus, it’s usually located on the side of the device.
- Wait for the device to boot up.
- You should see the main menu on the screen with all of the consoles available.
- You can navigate with the direction buttons, and select the system you want to play.
- Choose a game and start playing.
If you do not see all of the games, that you know you have transferred on SD card, don’t worry, there is a good chance that it needs to reload the games list. You can do this by going in the main menu to the section that says “Refresh Game List” or something similar. If it still doesn’t work, double check that you have put the games in the right format, with right extensions and that you have put them in the right folders.
Troubleshooting Tips
Sometimes, things don’t go as smoothly as we’d like. It’s like having a toy that needs a little fixing. Here are some things to check if your games aren’t working:
- The game files are not in the correct folders: Go back to “Organizing Your ROM Files” section and check if the files are in the correct folders. If you have put a Game Boy Advance game (.gba file) inside “NES” folder, your device is not going to recognize it.
- SD card is not formatted correctly: Go back to “Formatting Your SD Card” section and see if you have followed all of the steps, maybe there is something missing.
- SD card is not properly inserted: Recheck the SD card and make sure that it is properly inserted in the slot.
- Files are corrupted: Maybe your file has been corrupted somehow during transfer. If you are experiencing this issue, try to download the same game file again from another source.
- The game files are not compatible with the device: Not every game file is compatible with the Miyoo Mini Plus. Make sure that the games you have downloaded are in the supported format, for example if you are trying to play a PS3 game, it is not going to work, because this device is only made to play old retro games from older consoles.
If you are still struggling, you can search on the internet, there are many forums and YouTube videos, which might help you with your situation, and give you additional steps to try. And you can always ask a friend who is more knowledgeable with these things.
How to install Onion OS and add games to the Miyoo Mini Plus
Final Thoughts
To add games, connect your Miyoo Mini Plus to your computer via USB. Then, drag and drop ROM files into the appropriate folders on the device’s storage. Remember to organize your files well.
Properly placed games will then appear in the system’s menu. This concludes how to add games to miyoo mini plus. The process itself is quite straightforward, just follow these steps.

