To add non-Steam games to Steam, navigate to the ‘Games’ menu, select ‘Add a Non-Steam Game to My Library,’ then browse and choose the game’s executable file.
Ever wanted all your PC games in one place? It’s pretty convenient to launch everything from Steam, even games you bought elsewhere. Wondering how to add non steam games to steam? It is simpler than you might think.
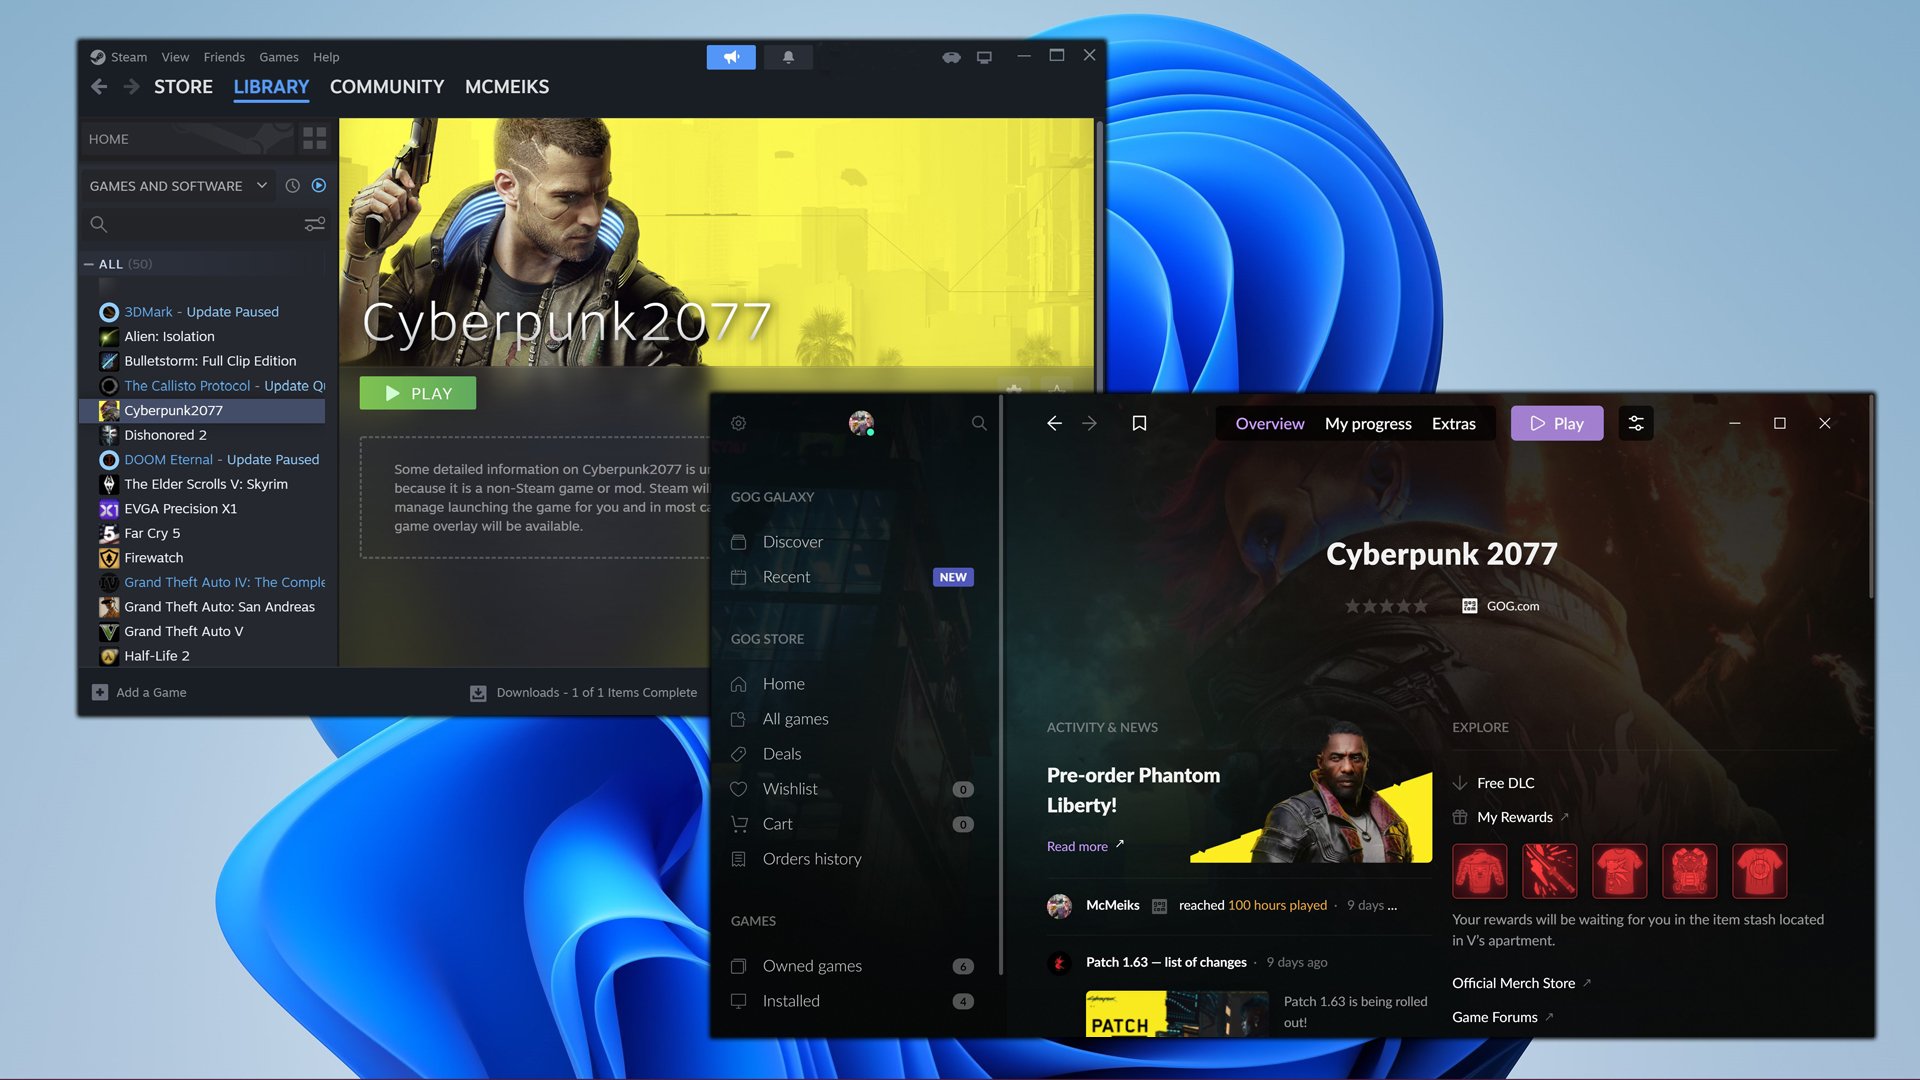
This method allows you to include games not purchased through Valve’s platform. They will then show up in your Steam library. We’ll guide you through the easy process.

How to Add Non-Steam Games to Steam
Want to play all your favorite PC games from one place? That’s where Steam comes in! It’s not just for games you buy on Steam. You can also add games you got from other places, like physical discs, or other online stores like GOG or the Epic Games Store. This lets you use Steam’s cool features for all your games, like chatting with friends, keeping track of your game time, and even using Steam controllers.
Why Add Non-Steam Games to Steam?
You might be wondering, “Why bother adding non-Steam games?”. There are actually several good reasons. Think of it as organizing your toys in one box. Here’s a quick rundown:
- One-Stop Shop: You can launch all your games from one place, so you don’t need to go searching through your computer’s files every time you want to play.
- Steam Overlay: The Steam overlay lets you chat with friends, take screenshots, and even browse the web while playing any game, including non-Steam games.
- Game Time Tracking: Keep track of how much time you spend playing all your games, not just the ones you bought on Steam.
- Steam Controller Support: If you use a Steam controller, you can use it with many non-Steam games.
- Friends and Community: Show your friends what you’re playing, even if it’s a non-Steam game, making it easier to find friends who play the same games.
Essentially, adding non-Steam games creates a unified experience and takes advantage of Steam’s features for all your PC games.
The Simple Way: Adding a Shortcut
The most common method for adding a non-Steam game involves creating a shortcut. Steam essentially adds a link to the game’s .exe file. Here’s how it works:
- Open Steam: Start your Steam client. It’s the app you use to play Steam games.
- Go to “Games”: At the top of the Steam window, click on “Games”.
- Select “Add a Non-Steam Game…”: In the “Games” menu, choose the option labeled “Add a Non-Steam Game…”. A new window will pop up.
- Browse for your game: A list of programs on your computer will be displayed. If you see your game in the list, click on it to check mark it. If not, click the “Browse…” button.
- Find the game’s executable (.exe) file: Navigate to the folder where your non-Steam game is installed. Find the file that starts the game (it will usually have a .exe file extension). Select this file and press “Open.”
- Add Selected Program: Now, the selected game will appear in the previous menu. Make sure it’s checked then press “Add Selected Programs”. The game will now show up in your Steam library.
That’s it! The game should now be in your Steam library. You can launch it by clicking on it like any other Steam game.
What if the Game isn’t on the List?
Sometimes, the game you want isn’t listed in the initial window. That’s where the “Browse…” button comes in handy. It lets you manually navigate to the game’s executable file (.exe). This is usually located in the installation folder of the game.
- Look for folders with the name of your game or the game developer.
- The .exe file often has a name similar to the game. For example, “game.exe” or “gamelauncher.exe”.
Once you’ve located the .exe file, select it and click “Open”, then proceed to add it.
Customizing Your Non-Steam Game
Now that you’ve added your non-Steam game, you can make it look and feel more like a regular Steam game. Steam allows you to change the game’s name, its artwork, and even which category it appears in.
Changing the Game’s Name
Sometimes the default name isn’t what you want. You can rename your non-Steam games in a few easy steps:
- Right-click on the game in your library.
- Select “Properties…”.
- In the “General” tab, find the text box labeled “Name.”
- Type in the name you prefer and close the Properties Window.
Changing the Game’s Artwork
Want your game to look nice in your Steam library? You can change the game’s artwork. Steam gives you lots of freedom to customize the game’s icons and banners. Here’s how to do it:
- Right-click on the game in your library.
- Select “Manage” from the menu.
- Choose from the options: You’ll see options like “Set custom artwork”, “Set custom icon”, or “Set custom logo.”
- Pick the Image: Click on the option you want and then navigate to the image file on your computer and select the image. You can use any images you have saved in different formats like JPG, PNG, or GIF.
- Adjust the Image Some Steam views, such as the large mode or grid mode may need different sizes of artwork. You’ll want to make sure to choose images that look good for all cases.
Good places to find artwork for your non-Steam games include:
- Google Images: Search for “[game name] box art” or “[game name] banner.”
- SteamGridDB: This is a website dedicated to Steam artwork. You can find custom art for many games, even non-Steam ones.
Experiment to find artwork that you like and that fits with the style of your Steam library.
Adding Custom Categories
If you have a lot of games, you might want to organize them into categories. Here’s how to add non-Steam games into different categories:
- Right-click on the game in your library.
- Select “Set Categories…”.
- Type a new category name or choose an existing one.
- Click “OK”, now the game is assigned to a category.
This way, you can sort your games by genre, by franchise, or by any other criteria you want.
Troubleshooting Common Issues
Sometimes, adding non-Steam games doesn’t go as smoothly as we would like. Here are some common problems and how to fix them:
Game Doesn’t Launch
If the game doesn’t start when you click “Play” in Steam, there could be several reasons:
- Incorrect .exe file: Make sure that you selected the correct .exe file when adding the game. Sometimes, there are multiple .exe files in the game’s folder. The correct one starts the game.
- Admin Privileges: The game might need administrator rights to run. To run the game as administrator, right click on the game in your Steam library, go to “Manage” > “Browse Local Files”. This opens the game’s installation folder. Find the .exe file, right click on it, and choose properties. In the Compatibility tab, check the box “Run this program as an administrator”, click apply and ok. Then close the window. Now, the game should run as administrator when launched via Steam.
- Missing Files: Some games require specific libraries or software to run, which might not be installed on your computer. Look for error messages and download and install the required software.
- Anti-Virus Interference: Sometimes, your antivirus software might block the game from launching. Try to temporarily disable your antivirus software. If the game launches successfully then you may need to make an exception in your anti-virus software for the game.
Game Overlay Not Working
If you can’t use the Steam overlay in your non-Steam game, try these tips:
- Overlay Enabled: Make sure the Steam overlay is turned on. Go to Steam > Settings > In-Game and ensure that “Enable Steam Overlay while in-game” is checked.
- Game Compatibility: Some games just don’t work well with the Steam overlay. It may be an issue with the game itself.
- Restart Steam: Restarting Steam can often fix temporary problems with the overlay.
Game Doesn’t Show Correct Artwork
If your custom artwork doesn’t show up or if it looks wrong, you can troubleshoot in a few steps:
- Correct Size: Make sure your artwork is the correct size for Steam. You might need to use image editing software to resize or crop your images.
- Image Format: While Steam supports most common image formats like JPG, PNG, or GIF. Use a suitable image format.
- Cache Issues: Sometimes, Steam’s cache can have incorrect data. Go to Steam > Settings > Downloads and click “Clear Download Cache”. Then restart Steam.
Advanced Tips and Tricks
For those who want to go further, there are some additional things you can do with non-Steam games.
Using Launch Options
Steam allows you to use special launch options for your games. These options can modify how a game starts, like forcing it to run in windowed mode, using a specific screen resolution, or even adding command line parameters. Here’s how to add launch options:
- Right-click on the game in your Steam library.
- Select “Properties…”.
- In the “General” tab, find the “Launch Options” text box.
- Enter your launch options (check the game’s manual or the internet for proper launch options).
Common launch options include: -windowed (for windowed mode), -fullscreen (for full screen mode), -w [width] -h [height] (for specific resolution) where [width] and [height] are the dimensions of the screen.
Using Steam Input for Gamepads
Steam Input is Steam’s system for gamepads. It allows Steam to be able to recognize many different gamepads and makes them usable with games. If you have a controller that’s not natively supported by a non-Steam game, Steam Input can usually help. Here’s how to enable it:
- Go to Steam > Settings > Controller.
- Click “General Controller Settings.”
- Check the box for the type of controller you’re using (e.g. Xbox, PlayStation, Generic).
- Open the game. Now your controller should be working in-game.
You might need to tinker with the controller settings to get it just right for each game.
Adding non-Steam games to Steam is a useful trick to bring all your PC games together in one place. By following the instructions above, you can now enjoy the convenience of Steam features for all your games, even the ones that weren’t purchased on Steam.
How To Add Non Steam Games To Steam – Full Guide
Final Thoughts
Adding non-Steam games is straightforward. Simply select “Add a Game” in the bottom left of your Steam client. Choose “Add a Non-Steam Game” and browse for the application’s .exe file.
Once selected, the game will appear in your Steam library. You can then customize its name and artwork. This method allows you to easily launch all your games from one place.
This simple process outlines ‘how to add non steam games to steam’. Integrating your entire game collection becomes a breeze using this way.

