To clean NES games, use a cotton swab lightly dampened with isopropyl alcohol on the gold connector pins. Gently scrub, then let it dry completely before playing.
Dust and grime can really ruin the fun of retro gaming, especially when those cartridges won’t load. You might be wondering how to clean NES games and get them working again. It’s a common issue for collectors, but thankfully the process is quite simple.
Many old NES games suffer from dirty connectors, causing them to fail. With a few readily available supplies, and some care, you can successfully bring them back to life. Don’t throw them away just yet, give cleaning a try!

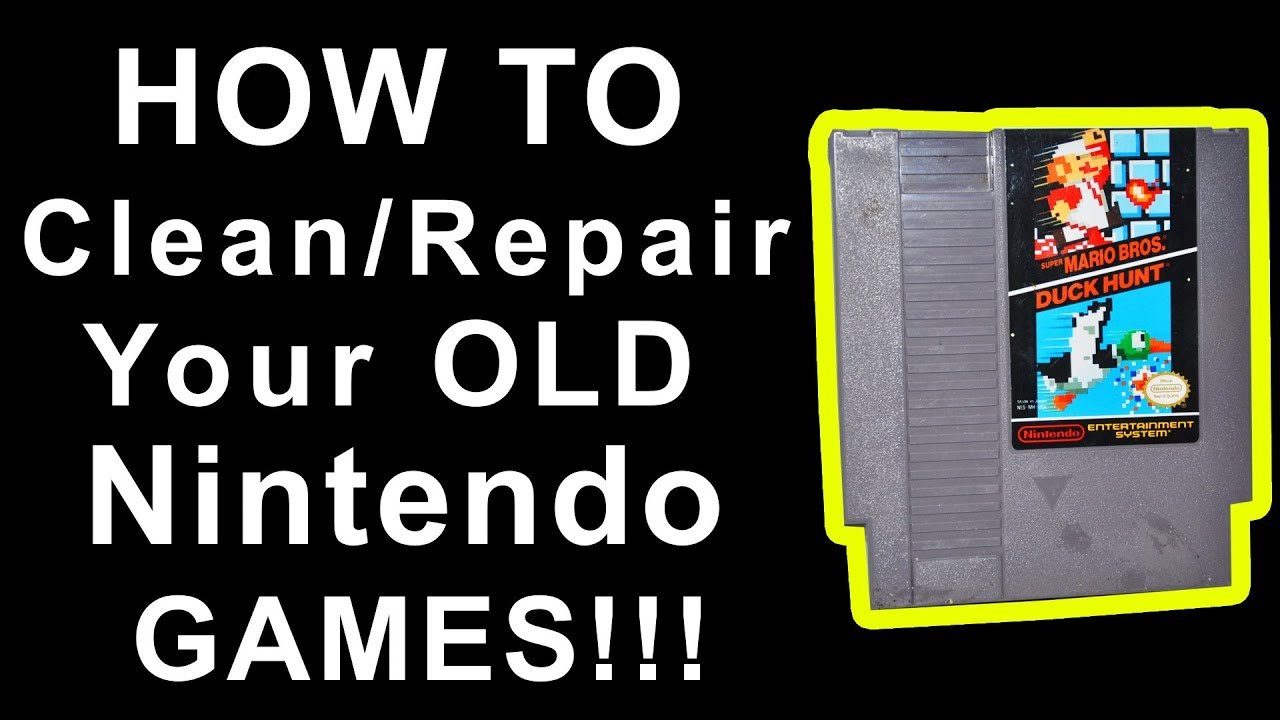
How to Clean NES Games: A Comprehensive Guide
Dust, grime, and those pesky finger smudges – they’re all enemies of our beloved NES games! If you’re experiencing the dreaded blinking screen or your game just isn’t loading right, it’s probably time to give those cartridges a good cleaning. Don’t worry, it’s not as scary as it sounds. Cleaning your NES games is a pretty simple process, and with the right tools and a little patience, you can bring those old classics back to life. This guide will walk you through everything you need to know about cleaning your Nintendo Entertainment System game cartridges, keeping your retro gaming collection in tip-top shape.
Why Do NES Games Need Cleaning?
Before we jump into the how-to, let’s understand why cleaning is so crucial. NES game cartridges use small metal connectors (the pins you see at the bottom of the cartridge) to connect with the console. Over time, these pins can become dirty due to:
- Dust: Airborne particles settle on the pins, blocking proper connection.
- Finger Oils: Touching the pins with your fingers can leave behind oil that attracts more dirt.
- Corrosion: Moisture and humidity can cause the pins to oxidize or corrode.
- General Grime: Just general wear and tear from handling and storage.
All this buildup can prevent the cartridge from making a good connection with your NES, resulting in the game not loading or those frustrating blinking screens. Cleaning ensures a clean, reliable contact between the cartridge and the console, allowing for smooth and enjoyable gameplay.
Gathering Your Cleaning Supplies
Before you begin, it’s important to have the right supplies on hand. Here’s a list of what you’ll need:
- Isopropyl Alcohol (90% or higher): This is the most important item. High-percentage isopropyl alcohol is excellent for cleaning electronics because it evaporates quickly and doesn’t leave behind any residue. You can usually find it at a pharmacy or grocery store.
- Cotton Swabs (Q-tips): These are perfect for gently scrubbing the pins.
- Soft, Lint-Free Cloth: A microfiber cloth is ideal for wiping the exterior of the cartridge.
- Optional: Gamebit Screwdriver: If you plan on doing a more thorough cleaning by opening the cartridge, you’ll need a special Gamebit screwdriver that fits the unique screws on NES cartridges.
- Optional: Eraser (Pencil Eraser): A regular pencil eraser can be used for stubborn oxidation on the pins, but be very gentle.
- Optional: Distilled Water: If you need to remove any alcohol residue, use distilled water, not tap water.
A Word of Caution
Before we get started, a quick note about safety:
- Always work in a well-ventilated area when using isopropyl alcohol.
- Do not use tap water or any other cleaning fluids that are not isopropyl alcohol or distilled water.
- Be gentle and avoid applying too much force to the pins.
The Basic Cleaning Method: External Cleaning
This method is perfect for most games that just need a basic clean. Here’s how to do it:
- Prepare Your Workspace: Lay down a clean cloth or towel on your workspace. This will prevent your games from getting scratched and provide a clean surface to work on.
- Wipe the Exterior: Take your soft, lint-free cloth and gently wipe the entire outer shell of the game cartridge to remove dust and grime. You can slightly dampen the cloth if needed, but make sure it’s not wet.
- Clean the Pins: Now for the important part – the pins! Take a cotton swab and dip it into the isopropyl alcohol. Don’t soak it; you only need to dampen it.
- Gently Scrub: Carefully rub the damp cotton swab back and forth along the metal pins of the cartridge. You should see some of the dirt and grime transferring to the cotton swab.
- Repeat as Necessary: Use a fresh cotton swab with alcohol and repeat the process until the pins appear clean and shiny. Keep in mind, very corroded or rusted pins may not completely clean up to shiny brand new condition.
- Let it Dry: Allow the pins to air dry for a few minutes. The isopropyl alcohol should evaporate quickly.
- Test the Game: Once the pins are dry, insert the game into your NES and give it a try. If you’re still having trouble, move on to the next step.
Deep Cleaning Method: Opening the Cartridge
If your game still isn’t working after the basic cleaning, or if you can see significant grime inside the cartridge, you may need to open it up for a more thorough cleaning. Here’s how:
Opening the Cartridge: Step-by-Step
- Gather Your Tools: You’ll need your Gamebit screwdriver and your other cleaning supplies.
- Locate the Screws: Turn the cartridge over and locate the two screws on the back.
- Remove the Screws: Carefully use the Gamebit screwdriver to unscrew the screws and place them in a safe place.
- Separate the Shell: Gently separate the two halves of the cartridge shell. Be careful not to force them apart; they should come apart easily.
Cleaning the Internal Components
With the cartridge open, you’ll see the game board, which is the printed circuit board with the pins and electronic components, and the plastic case. Now you can get to those hard to reach areas:
- Inspect the Board: Carefully inspect the game board for any visible dirt, dust, or corrosion.
- Clean the Pins (Again): Follow the same steps for cleaning the pins as in the basic method, using cotton swabs and isopropyl alcohol. Make sure you are thorough with cleaning the inside pins.
- Clean the Case: Use a soft cloth and a bit of isopropyl alcohol (damp cloth, not wet) to clean the inside and outside of the plastic case.
- Address Corrosion (If Needed): If you see oxidation or corrosion, you can gently use the eraser to rub the pins. Be very careful, and do not press too hard. Then, use alcohol and cotton swabs to clean off the eraser residue.
- Air Dry Thoroughly: Make sure all parts are fully dried before reassembling.
Reassembling the Cartridge
- Place the Board: Place the game board back into one half of the plastic case, making sure it sits properly in place.
- Join the Halves: Carefully align the other half of the cartridge shell and press them together. Make sure both sides align and snap back together easily.
- Reinsert the Screws: Replace the screws using your Gamebit screwdriver and tighten them securely. Do not over tighten.
- Test Again: Once the cartridge is back together, test it in your NES console.
Dealing with Stubborn Issues
Sometimes, even after a thorough cleaning, your game may still not work correctly. Here are a few more things you can try:
Using an Eraser for Stubborn Corrosion
If the pins have significant oxidation or corrosion, a simple eraser can be your friend. This method is more aggressive than using alcohol and cotton swabs, so proceed with caution.
- Use a Clean Eraser: Make sure you have a clean, standard pencil eraser.
- Gently Rub: Gently rub the eraser back and forth on the pins. Don’t press too hard; you’re only trying to remove the oxidized layer.
- Clean with Alcohol: After using the eraser, clean the pins thoroughly with isopropyl alcohol and cotton swabs to remove any eraser residue.
Advanced Cleaning Solutions
While isopropyl alcohol is the recommended cleaning agent, there are other specialized cleaning products available if you have an extremely dirty cartridge.
- Contact Cleaner: Some electronic contact cleaners can help remove stubborn grime, but use with caution as some may leave a residue. Use the product as instructed and do a final cleaning with isopropyl alcohol.
Cleaning the NES Console Itself
It is also important to make sure the pins inside your NES console are also clean. Dirty console pins can also cause problems. You can try cleaning the console by inserting a clean game cartridge and pushing it down into place several times. You can also use a credit card wrapped with a cleaning cloth dampened with alcohol to try cleaning the console pins.
Preventive Measures: Keeping Your Games Clean
Once your games are clean, it’s a good idea to take some steps to prevent them from getting dirty again. Here are a few tips:
- Store Games Properly: Store your NES games in a dry, dust-free environment. Consider using protective cases or plastic containers.
- Handle with Clean Hands: Wash your hands before handling your game cartridges. This will help prevent oil and dirt transfer.
- Don’t Blow on the Cartridge: It’s a common misconception that blowing into the cartridge will fix things. This actually can deposit moisture onto the pins and make things worse.
- Regular Maintenance: Give your game cartridges a quick wipe down with a soft cloth every so often to remove dust and prevent buildup.
Cleaning your NES games doesn’t have to be a chore. With the right supplies and a little know-how, you can keep your collection in excellent condition for years to come. Remember, gentle is the key, and patience pays off. Now go fire up those classics and enjoy!
With the correct techniques and a little care, you can keep your NES game collection running smoothly for years to come. Remember, preventative measures and regular cleaning will maintain the longevity of your cartridges and ensure many hours of gameplay fun. Now that you have the knowledge to clean your NES games, you can finally get back to gaming and enjoy all of those classic titles!
How To Clean NES Games
Final Thoughts
Cleaning NES games effectively involves using a cotton swab and isopropyl alcohol. Gently rub the contacts until clean. Repeat as needed to remove dirt and grime that interferes with game play.
Remember to let the contacts dry completely before inserting the cartridge into your console. This prevents damage. Following these simple steps ensures reliable performance.
Ultimately, learning how to clean NES games is crucial for maintaining your retro collection. Proper care will keep your cartridges working for years to come.

