Creating a flash game requires using software like Adobe Animate (or similar), writing code (often in ActionScript), designing game assets, and putting all elements together to achieve interactive gameplay.
Remember those simple, addictive flash games from back in the day? You might wonder how to create a flash game of your own. It’s a journey blending creativity and technical skill. We’ll explore the main components involved in bringing such games to life.
Building a flash game needs more than just an idea. It requires using specific tools, writing code for the game logic, and designing engaging visual elements. With these steps, you can craft your interactive gaming experience.

How to Create a Flash Game
So, you’ve got a cool game idea buzzing in your head? That’s awesome! Creating your own flash game might seem like a big mountain to climb, but with the right steps and a bit of practice, you can absolutely do it. We’re going to break it down into smaller, manageable chunks so it’s easy to understand. Let’s get started!
Understanding the Basics of Flash Game Development
Before we jump into the nitty-gritty, it’s good to know the core pieces of what makes a flash game tick. Think of it like building with LEGOs – each piece has a purpose, and they all fit together to create something bigger and better. In our case, those pieces are things like the programming language, the tools, and the design concepts. Let’s explore them:
What is ActionScript?
Imagine a secret language that computers understand. For flash games, that language is called ActionScript. ActionScript is like the brain of your game, it’s what makes things happen. It helps you tell the game what to do when a player clicks, moves, or interacts with anything on the screen. It might seem like gibberish at first, but as you learn it, you can create amazing things. ActionScript controls how your characters move, how points are scored, and even how the game ends.
Choosing Your Tools: Adobe Flash Professional (Animate) and Alternatives
Okay, so you’ve got ActionScript, but how do you put it to work? Well, that’s where the software comes in. The main tool used to create flash games was Adobe Flash Professional, now known as Adobe Animate. This software provides a workspace where you can draw, animate, and write code all in one place. But, because Flash Player isn’t supported by many browsers anymore, modern games use HTML5 and Javascript instead. This allows them to be played without the need for Flash Player. For this guide we will focus on ActionScript in Adobe Animate as it is still relevant for many reasons, like legacy content.
Here are a few reasons why people still create flash content:
- Legacy Content: Many old games still exist and are available to be played in Flash.
- Learning Experience: Flash and ActionScript provide a good entry point to programming principles.
- Personal Projects: Some developers might still use it for personal projects and learning.
Game Design Concepts: What Makes a Good Game?
Before you start coding, think about your game. What makes it fun? How will the player interact with it? Some essential game design elements include:
- Gameplay: This is how the player actually plays the game. Is it a platformer, a puzzle, or something else?
- Mechanics: How does the game work? What are the rules? What can the player do?
- Story: Does your game have a story? Even simple games can have a basic plot that makes the gameplay more engaging.
- Visuals: What does your game look like? Simple or detailed? The look of your game can impact how players feel while playing.
- Sound: Sound effects and music can make a game much more exciting. Good sound design can enhance the player’s experience.
Step-by-Step Guide to Developing Your First Flash Game
Alright, let’s jump into the actual creation process. We will go step by step, to make it simple and easy to follow. Remember that learning to program is like learning a new language, it takes time and patience. So, don’t get discouraged if your first game isn’t perfect. It’s all about the learning journey!
Setting Up Your Development Environment
First things first, we need to prepare your workspace. Here’s how:
- Install Adobe Animate: If you haven’t already, you’ll need to get Adobe Animate. You might have to pay for a subscription, but there might also be a trial period you can use to see if you like it.
- Create a New Document: Open Adobe Animate and start a new ActionScript 3.0 project. ActionScript 3.0 is the version of ActionScript that’s most commonly used for making interactive flash content.
- Adjust the Stage: Set the size of your stage (your game screen). Common sizes are 600×400 or 800×600 pixels. This is where your game will be shown.
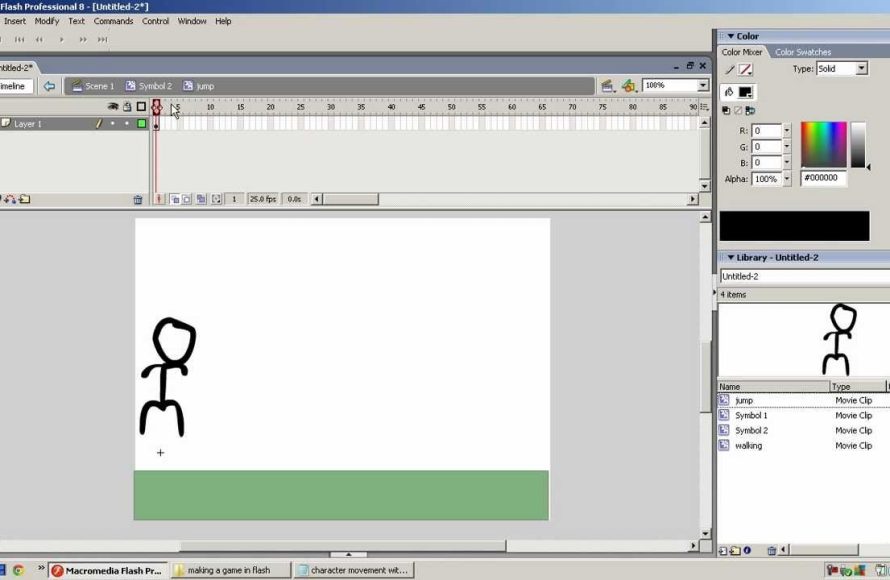
Creating Game Assets: Sprites and Graphics
Next, let’s make some visual elements for your game. Sprites are like little characters or objects in your game.
Drawing Sprites and Graphics
Adobe Animate has drawing tools that let you create your own sprites. You can use simple shapes or draw more detailed characters. Remember to keep your drawings simple when you are learning. For example, you can draw a simple square to act as your main character and a circle for the enemy. Don’t be afraid to experiment with different shapes and colors. You can also import graphics from other programs, like Photoshop, if you prefer creating your designs there.
Animating Your Sprites
Animation makes your game come to life. Here are the basics of animating sprites:
- Keyframes: Keyframes are like markers that tell you what your sprite looks like at a certain point in time.
- Tweening: Tweening is like magic, it fills the gaps between your keyframes to create a smooth animation. It automatically moves your sprite between your keyframes and makes the animation fluid.
- Symbol: To animate efficiently, it’s a good practice to convert your drawn object into a “symbol”. This allows you to create instances of same object and reuse it multiple times. For example, you can create a symbol for your player character and another one for the enemy object.
Coding Basic Game Logic with ActionScript
Now it’s time for the code. We will start with something simple to give you an idea of how things work. This is where you will tell the computer what to do.
Moving Your Player Character
Let’s make your player character move when you press the arrow keys. Here’s the simplified breakdown of ActionScript code:
           // Event listener for keyboard press
           stage.addEventListener(KeyboardEvent.KEY_DOWN, onKeyDown);

           function onKeyDown(event:KeyboardEvent):void {
                //Check if Left arrow key is pressed
               if (event.keyCode == Keyboard.LEFT) {
                  player.x -= 5; // Move player to the left
               }
                //Check if Right arrow key is pressed
               if (event.keyCode == Keyboard.RIGHT) {
                   player.x += 5; // Move player to the right
                }
               //Check if Up arrow key is pressed
               if (event.keyCode == Keyboard.UP) {
                    player.y -= 5; // Move player up
               }
                //Check if Down arrow key is pressed
               if (event.keyCode == Keyboard.DOWN) {
                    player.y += 5; // Move player down
               }
            }
Here’s what the code does: it listens for keyboard presses and then moves the player character in the right direction, based on which arrow key you’re pressing. Each time, the position of the sprite changes by 5 pixels.
Collision Detection
Collision detection is how your game knows when two sprites touch each other. For example, when your player touches an enemy. Here’s a simple example:
          if (player.hitTestObject(enemy)) {
             trace("Collision!");
              // Other actions for collision detection, like game over etc.
          }
This snippet checks if the ‘player’ sprite is touching the ‘enemy’ sprite. If they touch, a text “Collision” will be printed in the output panel.
Implementing Game Rules and Scoring
Every game needs rules and a way to track player progress. Let’s say your goal is to collect objects to earn points:
             var score:int = 0;
             function onCollision():void
             {
                  if (player.hitTestObject(collectable))
                  {
                     score++;
                     trace("Score:" + score);
                     //Logic to remove the collected object
                     collectable.remove();
                   }
             }
Each time the player collides with a “collectable”, the score is increased by 1 and it is displayed in the output window. Also, the collectable object is removed from the screen to make the player feel rewarded.
Adding Polish to Your Game
A little bit of extra work can make your game even better. Here are a few extra things to consider.
Adding Sound Effects and Music
Sound effects can make a big difference. Think about those “bips” when a player clicks, or the “booms” when an explosion happens, or background music that makes the game enjoyable. You can import sound files into your game and play them when specific actions happen. For example, play a “collect” sound effect when the player picks up an item.
Creating a User Interface (UI)
The UI is what the player sees on the screen, other than the game content itself. Elements like score counters, health bars, menus, and instructions are all part of the UI. Keep it simple and easy to understand for the player. A well designed UI makes your game look more polished and easier to play.
Testing and Debugging Your Game
It’s very important to test your game frequently. This is how you make sure everything is working correctly. When something doesn’t work as expected, you need to “debug” or find the error and fix it. The easiest method is to use the ‘trace’ command to see what’s happening with your code. You can also use Adobe Animate’s debugger, to explore line by line what’s going wrong. Testing and debugging are vital to make sure your game works smoothly.
Advanced Techniques
Once you’ve got the basics down, you might want to explore more advanced techniques. Here are a few concepts that will help you level up your game:
Using Classes for Organization
As your game gets bigger, using classes can help keep your code organized. Classes are like blueprints that tell you how to make objects. For example, you can have a class for your player character, another for enemies, and another one for collectable objects. This will make your code more reusable and manageable. It’s a good practice to organize code in this way, and it makes debugging simpler too.
Level Design and Game Flow
Level design is how you create your game world. Think about the layout of your game levels, where obstacles are placed, and where the player has to go. It’s like building a maze for the player to navigate. Level design affects game flow and keeps the player interested and engaged. It can be simple or complex, depending on the type of game you are making.
Advanced Animation Techniques
Moving beyond simple keyframe tweening, you can explore more advanced animation techniques. You can use motion paths, skeletal animation, or even physics simulations to make your animations look more dynamic and fluid. These can add a professional touch to your project and make the player experience more immersive.
Game Optimization
When your game gets more complex, optimization becomes crucial. Optimization involves finding ways to make your game faster and more efficient. This can involve simplifying your code, reusing assets, and avoiding unnecessary calculations. This makes sure your game is running smoothly for everyone, regardless of whether they are using high powered or low powered devices.
Sharing Your Game With The World
You made a game! That’s amazing. Now, you might want to show it to your friends and family. How do you do that?
Exporting Your Flash Game
Adobe Animate lets you export your game in a few different ways, for example, as an SWF file, which could be played with the Flash Player browser plugin. However, because Flash Player is no longer supported by the browsers, you may consider using an HTML5 canvas, which generates a javascript and HTML file to run your game. This allows your game to be played by almost everyone, on a browser, with no need for a Flash Player plugin.
Hosting and Sharing Options
Once you export your game, you will need a place to put it so people can play. There are a few good options for that:
- Your Own Website: You can upload your game files to your own personal website if you have one.
- Game Portals: Sites like Newgrounds and Kongregate used to be great places to share flash games. Although Flash is no longer supported, these sites may have options for HTML5 games.
- Social Media: You can also share your game on your social media, for example using Facebook and Twitter, with a link to wherever you host it.
Creating your own flash game is a very fun and rewarding experience. It takes time, patience, and practice, but it can give you lots of satisfaction. Don’t be afraid to experiment with new ideas and techniques. Start small, keep learning, and most importantly have fun with it.
How to make YOUR dream game with no experience
Final Thoughts
To create a flash game, start with a simple concept and plan your gameplay. Then, use ActionScript to code the game logic. Graphics can be created within Flash or imported.
Implement user interfaces and test your game thoroughly. Finally, optimize game performance for smooth play. Knowing how to create a flash game involves practice and learning resources.
Consider using tutorials and community forums to aid your creation process. Remember that iteration is a key part of game development, keep improving your project.

