
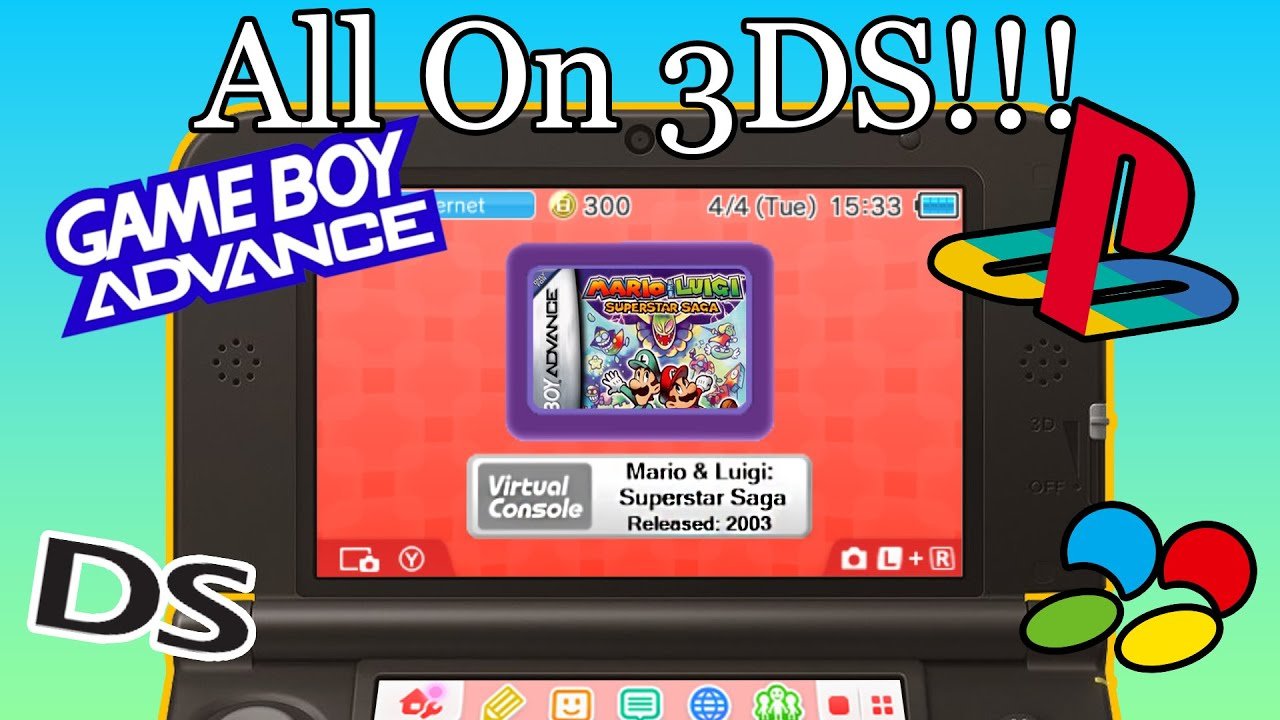
You cannot directly put GBA games on the 3DS home menu without using custom firmware and installing emulator software.
Dreaming of playing classic GBA titles right from your 3DS home screen? Many gamers wonder how to put GBA games on 3DS home menu. It’s a tempting thought, having those retro adventures readily accessible. The reality requires a bit of technical maneuvering, though.
The 3DS doesn’t natively support GBA games in that way. You’ll need to delve into custom firmware, which allows you to run emulators on your device. Doing so lets you experience your favourite games in a whole new light and brings a smile to the faces of many retro gamers.

How to Put GBA Games on 3DS Home Menu
So, you love your Nintendo 3DS and have a bunch of awesome Game Boy Advance (GBA) games you’d love to play on it? You’re not alone! Many people want to bring their favorite GBA titles to their 3DS home screen for easy access. While Nintendo doesn’t officially allow you to download and place GBA games on the 3DS menu without a little tech work, it is certainly possible, and that’s what this article will walk you through. This process involves a bit of technical know-how, but we’ll guide you step by step. Let’s get started on how to get those GBA gems onto your 3DS!
Understanding the Process
Before we dive into the specifics, it’s good to know what we’re trying to do. The 3DS doesn’t natively play GBA games. Think of it like trying to fit a square block in a round hole. We need to create a special “bridge” that allows the 3DS to understand and run GBA games. This is done through custom firmware and virtual console injection. Custom firmware is like a special operating system that adds extra abilities to your 3DS. Virtual console injection is the process of taking your GBA game files and packaging them so that the 3DS thinks they are official games. It can sound a bit complicated, but we will explain everything in a way that’s easy to follow. Don’t be intimidated; you can do this!
What You Will Need
To begin, gather the following items. Having everything ready will make the process smooth and easier. You will require a few essentials before proceeding.
- A Nintendo 3DS, 3DS XL, 2DS, or New Nintendo 3DS system that’s compatible with custom firmware (most systems are!).
- An SD card for your 3DS (at least 4GB is recommended, 8GB or 16GB is even better).
- A computer with internet access.
- Your GBA game ROM files (.gba files). Remember, it is very important to only use ROMs of games you legally own.
- Some software and tools, which we will list in the steps below.
Preparing Your 3DS
This is where we start the important steps. Before installing the custom firmware, there are some things you have to do with your 3DS system. Always double check before doing any steps, as making mistakes may affect your device’s functionality.
Checking Your 3DS Firmware Version
First, you need to check what version of the 3DS software your device is running. Go to System Settings on your 3DS. Then, look at the bottom screen; it shows the current system version. Knowing this information will be important during the custom firmware installation process.
Backing Up Your 3DS NAND
Backing up your NAND is like creating a safety net. The NAND is like the 3DS’s internal hard drive. If anything goes wrong during the installation process, you can use this backup to restore your 3DS to its original state.
How to Back up the NAND:
- You will need a tool called “GodMode9” to backup NAND. We will explain how to install it later.
- After installing “GodMode9”, boot into it by pressing the (Start) button while booting up your 3DS.
- Select ‘NAND Manager’ option.
- Select ‘Backup SysNAND’. This will take some time.
- Once done, it is advised to move the generated ‘nand.bin’ file to a safe place on your PC or a USB drive.
- You can exit GodMode9 by selecting ‘Poweroff’.
Installing Custom Firmware
Now comes the fun part! Installing custom firmware opens a whole new world of possibilities for your 3DS, including the ability to run GBA games. We’re going to guide you through the process using a very popular and user-friendly option called Luma3DS.
Downloading the Required Files
You need the following files before you start the process. Download these to your computer:
- The latest version of Luma3DS from GitHub.
- The latest release of boot9strap from GitHub.
- GodMode9.
Preparing Your SD Card
Here’s how to prepare your SD card:
- Insert the 3DS SD card into your computer.
- Format the SD card as FAT32. This is very important.
- Copy all of the contents from the downloaded Luma3DS zip to the root of your SD card.
- Copy the boot.firm from the boot9strap zip to the root of the SD card.
- Copy GodMode9.firm to the /luma/payloads folder on your SD card. Create the ‘payloads’ folder if it does not already exist.
Installing boot9strap and Luma3DS
With your SD card prepared, insert it back into the 3DS and follow these steps:
- Power on your 3DS.
- If Luma3DS starts, it means that boot9strap is installed already.
- If Luma3DS did not start, power off your 3DS.
- Power on the 3DS, holding the (Start) button and you should boot into GodMode9.
- Select (A) to continue and follow the onscreen instructions.
- Once done, press (Start) to reboot.
Congratulations! You have installed custom firmware on your 3DS.
Injecting GBA Games
Now that you have custom firmware on your 3DS, it is time to get those GBA games on your home menu. We will use a tool called a “GBA virtual console injector” for this.
Downloading the Injector
You’ll need to get the proper tool for the job. Some options are available, but we will focus on a reliable one here. Download the GBA virtual console injector for your computer from the internet. Be careful to download this from a trusted source.
Preparing Your Game ROMs
Before injecting a GBA game, you have to make sure your ROM is ready.
- Locate your GBA ROM (.gba) files.
- Make sure your GBA files have the correct file name, which is the title name of the game.
Using the Virtual Console Injector
Now, it’s time to get down to the injection process:
- Open the GBA injector tool on your computer.
- Follow the instructions of the tool. Usually, it will ask you to select a GBA ROM file.
- The injector will use the selected ROM, add cover art, and the proper configurations.
- It’s going to save the injected GBA as a .cia file. This file is like an installer package for your 3DS.
- Copy the generated .cia file to the “cias” folder on your 3DS SD card. Create the ‘cias’ folder if it doesn’t exist.
Installing the Injected GBA Game
Now that the injected game file is on your SD card, you need to install it on your 3DS.
Using FBI to Install the CIA
We are going to use a very popular tool to install the CIA file, called FBI. If it’s not already installed on your 3DS, you can find it on the internet.
Follow these steps:
- Launch the FBI app from your 3DS home screen.
- Navigate to SD -> cias folder.
- Select the .cia file of your injected GBA game.
- Select “Install CIA”.
- After the process is complete, press (Home) to exit FBI.
Confirming the Installation
Now, your newly installed GBA game should appear as a regular game icon on your 3DS home menu. Select it, and the GBA game should start. If the process is completed successfully, now, you can play your favorite GBA games directly from your 3DS home screen!
Advanced Customizations (Optional)
Want to take your GBA game experience even further? Here are a few optional things you can do:
Customizing Icons and Banners
You can change the icons and banner for your installed GBA games using custom tools on your computer, which can make the games look like they were officially released. Search on the internet for “3DS cia banner editor”.
Using Cheats
If you are interested in using cheats in your GBA games, research on how to use “Action Replay” or “Gameshark” codes with the emulator on your 3DS. There are many online resources that explain how to use cheats in GBA games.
Organizing Your Home Menu
As you install more games, you can organize your home menu by creating folders to make it more organized and easier to navigate.
Troubleshooting Common Issues
Sometimes things don’t go as planned. Here are some common problems and solutions:
Game Not Starting
If the game doesn’t start after installation, double-check that you used the correct GBA ROM file and that the installation was successful. Also, make sure that you are using a supported game by your emulator.
Black Screen or Errors
If your game has black screens or errors, make sure you have the latest version of custom firmware. You may also need to try a different virtual console injector tool.
3DS Not Turning On
If your 3DS isn’t turning on, it might indicate a problem with the custom firmware installation. Recheck all the steps in the custom firmware part and try again.
By following these steps carefully, you can enjoy your favorite GBA games on your 3DS home menu. It might take a little bit of practice and patience. However, it is worth it once you can play your favorite GBA games anytime you want on your 3DS. So, what are you waiting for? Start putting those GBA games on your 3DS home menu! Don’t forget to share this guide with your friends who are also interested. Enjoy gaming!
Play Gameboy games on your 3DS Menu! (Create GBA Cia File)
Final Thoughts
To summarize, installing custom firmware enables you to play GBA games on your 3DS. You achieve this by injecting the GBA ROM into a CIA file. You then install the CIA file, which creates a game icon directly on the 3DS home menu.
Ultimately, this method explains how to put gba games on 3ds home menu. It is a very specific process, but it gives a great way to play these classic games. This process must have custom firmware installed for it to work.

