‘Testing your Roblox game involves playing it thoroughly yourself, asking friends for feedback, and utilizing Roblox’s built-in testing features.’
Building a Roblox game is thrilling, but how do you know if it’s actually fun and functional? We often get caught up in the creative process but often ignore the essential part which is testing. So we’re focusing on how to test your Roblox game today.
Testing is the key to making sure your experience is enjoyable for others. It ensures that your hard work translates into something enjoyable. Let’s explore the best ways to do this.

How to Test Your Roblox Game
Making a Roblox game is super fun, but just building it isn’t enough! You need to test it to make sure it’s actually enjoyable and works the way you want. Testing helps you find problems before other players do. It also helps make your game much more fun for everyone!
Why is Testing Important?
Testing your game is like checking your homework before turning it in. It helps you find and fix mistakes. If you don’t test, your game might have bugs or be too hard to play. Testing helps you make sure everyone has a great time!
Finding Bugs and Glitches
Bugs are like tiny gremlins that can make your game act strangely. Maybe a player can walk through walls or get stuck somewhere. Testing helps you catch these bugs so you can squish them! Finding these issues early helps you save a lot of time and trouble.
Checking Game Balance
Game balance means making sure your game isn’t too easy or too hard. Testing helps you see if the challenges are just right. If things are too easy, players might get bored. If it’s too hard, they might get frustrated and quit.
Improving Player Experience
Testing lets you watch people play your game. You can see if they understand what to do and how to play. You can make your game even more fun by seeing what players enjoy and where they struggle.
Different Ways to Test Your Game
There are many different ways to test your Roblox game. Let’s look at some simple and effective methods. Think of each test as a different tool in your toolbox.
Solo Playtesting
The first step is to play your own game! This helps you see if all the basic parts work. Walk around, try different actions, and see what happens. This lets you find problems that are obvious first.
Playing With Friends
Ask your friends to test your game! They might try things you didn’t think of. They can also provide helpful feedback. Friends are great for getting a fresh perspective.
Using Roblox Studio’s Play Modes
Roblox Studio has different ways to playtest your game. Let’s explore them to make our testing more efficient.
Play Button
The most common method is pressing the “Play” button in Roblox Studio. This starts your game in a new window. This is very useful for a quick test of changes.
Play Solo
The “Play Solo” option starts your game with only you as the player. It’s excellent for testing single-player elements. It also helps you to examine how your game works without any other player.
Start With Player
This mode is handy for placing your character directly where you want in the game. This skips the beginning part of the game and tests your game from specific point.
Testing on Different Devices
Your game might look and play differently on different devices. Test it on a computer, phone, and tablet. This is an important part for ensuring everyone has a good experience. You need to think about users playing from all kinds of devices.
Gathering Feedback
Testing is not just about finding bugs. It’s also about learning what players think of your game. Get feedback from friends and players about what they liked and didn’t like. This feedback is golden to improve the game further.
What to Look For While Testing
Let’s take a closer look at what we should keep an eye on while we test our game. This will ensure that the game is working in great condition for everyone!
Game Functionality
Does everything work like you planned? Make sure players can move, interact, and finish the challenges. If the player can not do basic things, then there is some problem.
User Interface (UI)
Is the UI easy to understand and use? Can players read menus, buttons, and information clearly? Cluttered or complicated UI can make the game less enjoyable.
Gameplay Mechanics
Test to see if game mechanics work smoothly and are fun. Are your jumps and attacks easy to use? These factors can make or break the game for players.
Camera and Controls
Make sure your game camera and controls are comfortable. Players need to navigate your game without issues. Confusing cameras and controls can make a game very frustrating.
Performance
Does your game run smoothly without lags? Check if your game runs well on different devices. Lags or crashes can ruin players’ experience.
Sound and Music
Does the music and sounds fit with the game? Also, make sure they are at the right volume levels. Bad sounds and music can take away the players’ immersion into the game.
Level Design
Does the level look good and is fun to explore? Test whether the levels are easy to navigate or are too difficult. Confusing level can make player lost and also lose the interest.
Creating a Test Plan
A test plan helps you stay organized during testing. You can use a simple checklist to make sure you cover everything. A good test plan can also make the testing more efficient and thorough.
Making a Checklist
Write down all the things you want to test. For example, you might have: “Check player movement,” “Test the jumping,” and “Make sure the door works.” This will help you remember what to focus on and ensure you have covered everything.
Prioritizing Tests
Some parts of your game are more important than others. Test the most important features first. This way, you can focus on getting the core features right. Focus on major mechanics that make up the base of the game.
Keep Records of Tests
Write down any issues or bugs you find while testing. This will help you to keep track of problems and fix them quickly. Noting down what you have tested also helps to identify what to test next.
Tools for Testing
Roblox Studio comes with some tools that can help you test your game. Let’s look at some of the most useful tools.
The Output Window
The output window shows any errors or messages that appear when you play your game. Check here to see if something went wrong. This can help you understand if your scripts have problems.
The Developer Console
You can use the developer console in the game to run commands or see more info. It can also give insight into what’s happening while playing. It’s great for advanced debugging.
Plugins for Testing
Many plugins exist to help with testing. Look for ones that can help with specific tasks. Some plugins add extra features to help find bugs and problems.
Advanced Testing Techniques
After you’ve mastered the basics, you can try some more advanced testing ideas. This can help you make even better games.
Stress Testing
Stress testing is when you put your game under pressure. See how it works when many players join at the same time. This helps you catch performance problems that may only appear with a lot of people.
Automated Testing
You can write scripts to test different parts of your game automatically. This helps to test even more of your game. It makes testing faster and more efficient.
A/B Testing
Try different versions of a feature to see what players like best. This lets you collect real player data. This is a great way to experiment with changes to your game.
Example Test Plan
Let’s say you made a game where players jump around on platforms. Here’s how you might test it:
- Check player movement: Make sure players can walk and jump.
- Test the jumping: Ensure the jumping is not too easy or too difficult.
- Test the platforms: See if players can land on all the platforms without falling through.
- Test user interface: Confirm that players see score and other information.
- Gather feedback: Ask your friends what they think of the game.
- Test on mobile: Check if the controls work properly on phones or tablets.
Documenting Your Testing Process
Keeping a record of what you tested and what you found is very important. Let’s talk more about why and how to do this.
Why is it important to Document?
Documentation helps you keep track of bugs and problems. It also makes it easier to fix problems. When you note things down, you do not forget anything important.
How to document the tests?
Make notes on what you tested and what happened. Keep track of any changes you made to fix problems. You can use a simple document, spreadsheet, or even notebook for documentation.
Making Changes Based on Testing
After testing you might need to make changes in your game. Here’s how to handle that.
Fixing Bugs
Take the bugs you found while testing and go back into Roblox Studio. Try your best to fix the bugs that you found. After fixing them, test again to ensure that bug is gone.
Adjusting Gameplay
Change the gameplay based on player feedback. If it’s too hard, make it a bit easier. If it’s too easy, add some challenge. Make the gameplay comfortable for your players.
Updating the Game
Make changes and updates to your game based on testing. Do not be afraid to experiment. Testing is a continuous process and it will always improve your game.
Testing your Roblox game is like being a detective. You’re looking for clues to make your game the best it can be. Every test is a step towards a game that more people will enjoy. Take your time, and remember that every great game went through a ton of testing.
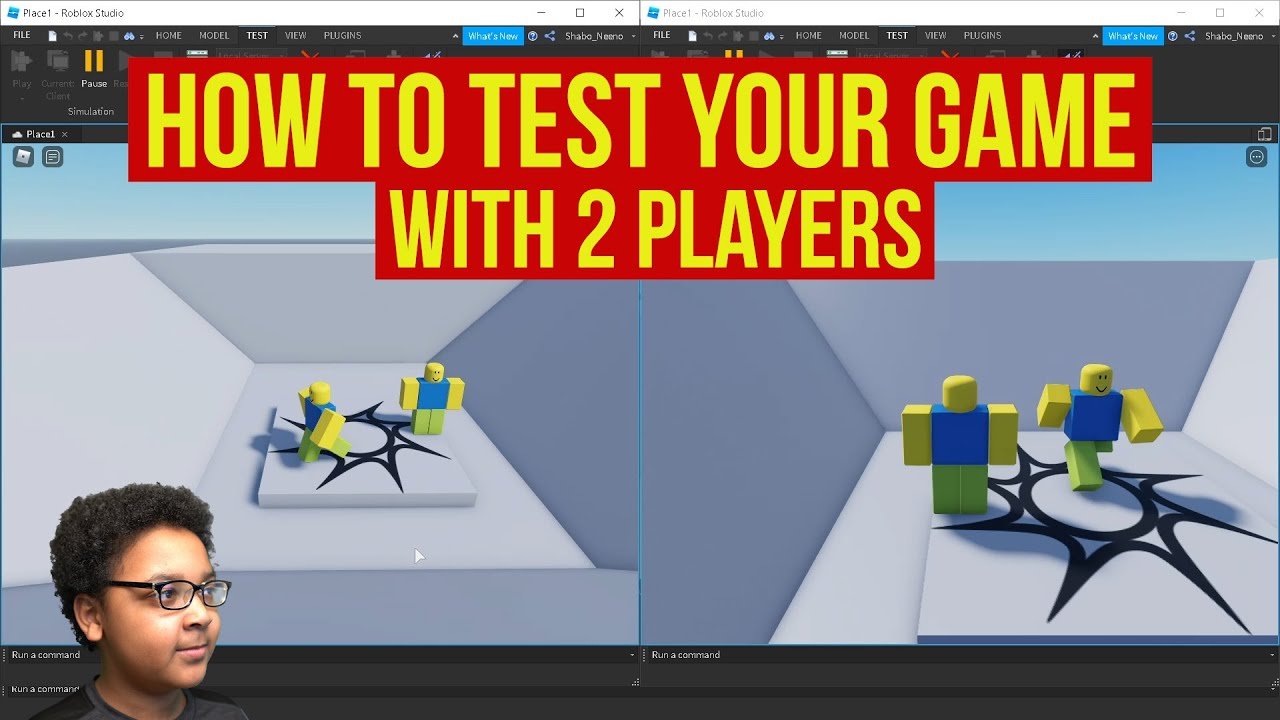
How To Test Your Game With 2 Players In Roblox
Final Thoughts
Thoroughly testing your Roblox game is crucial for a good player experience. Test in different environments and on various devices. This will help to find bugs.
Playtest often with other people, gathering their feedback. Remember, you must check different gameplay scenarios. This is vital.
Finally, focus on ‘how to test your roblox game,’ and improve your game based on this testing. You will then be on the right path.

